We added a detailed breakdown of our costs on a permanent page 👉🏼 here.
What does it cost?

We added a detailed breakdown of our costs on a permanent page 👉🏼 here.

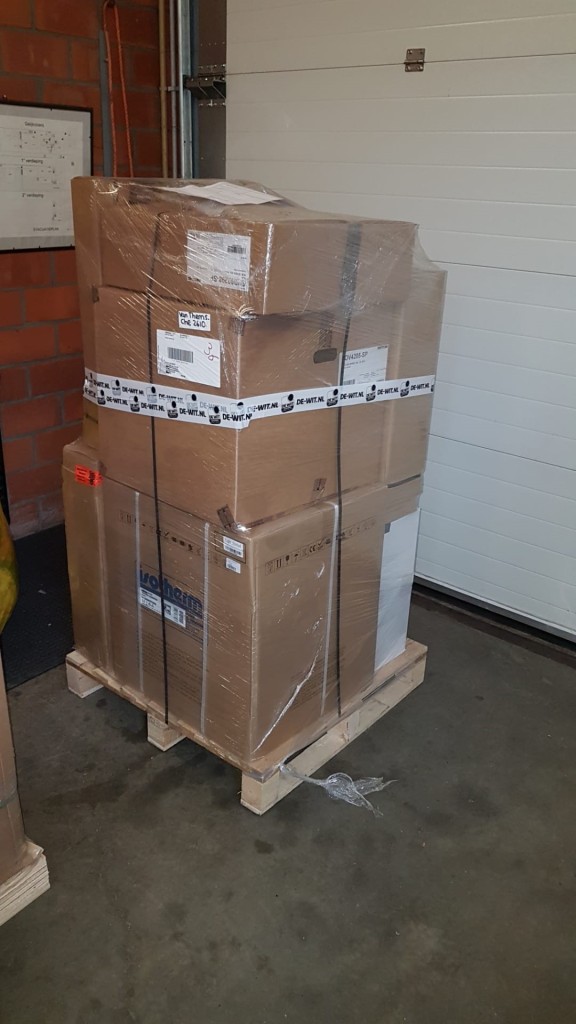
Time for some real action! First part of good news: we ordered the windows and our kitchen appliances (more news will follow on the kitchen build).
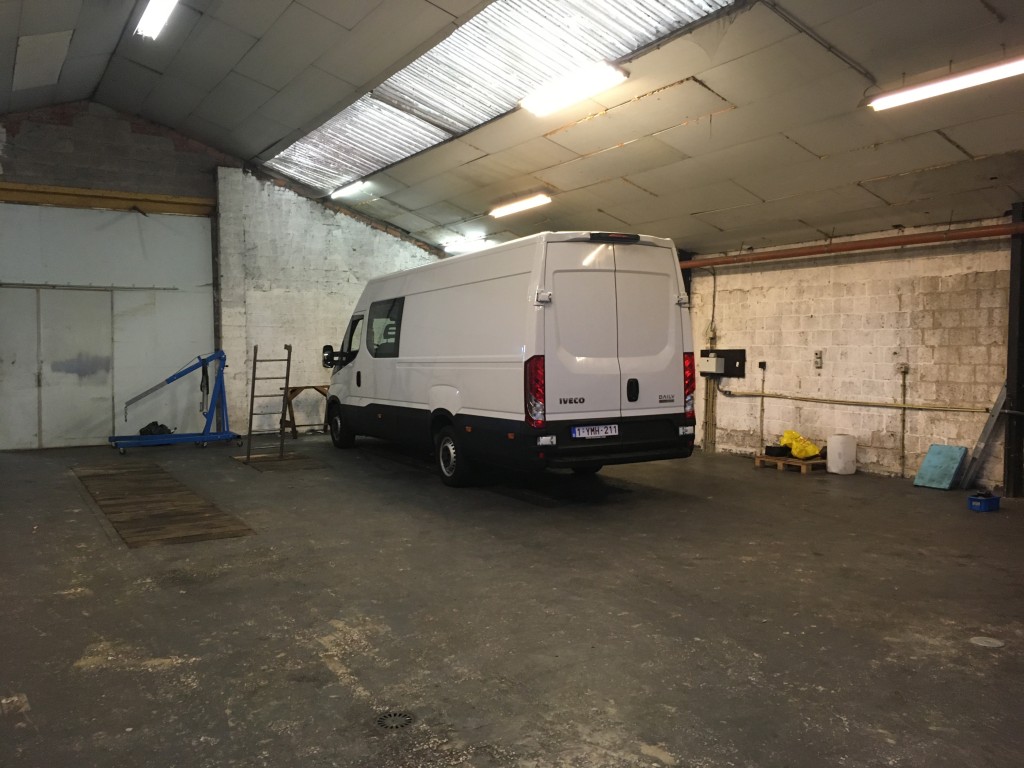
And… we found a workshop at a 20 minutes drive from home. Ronny can stay here while we complete the van build.
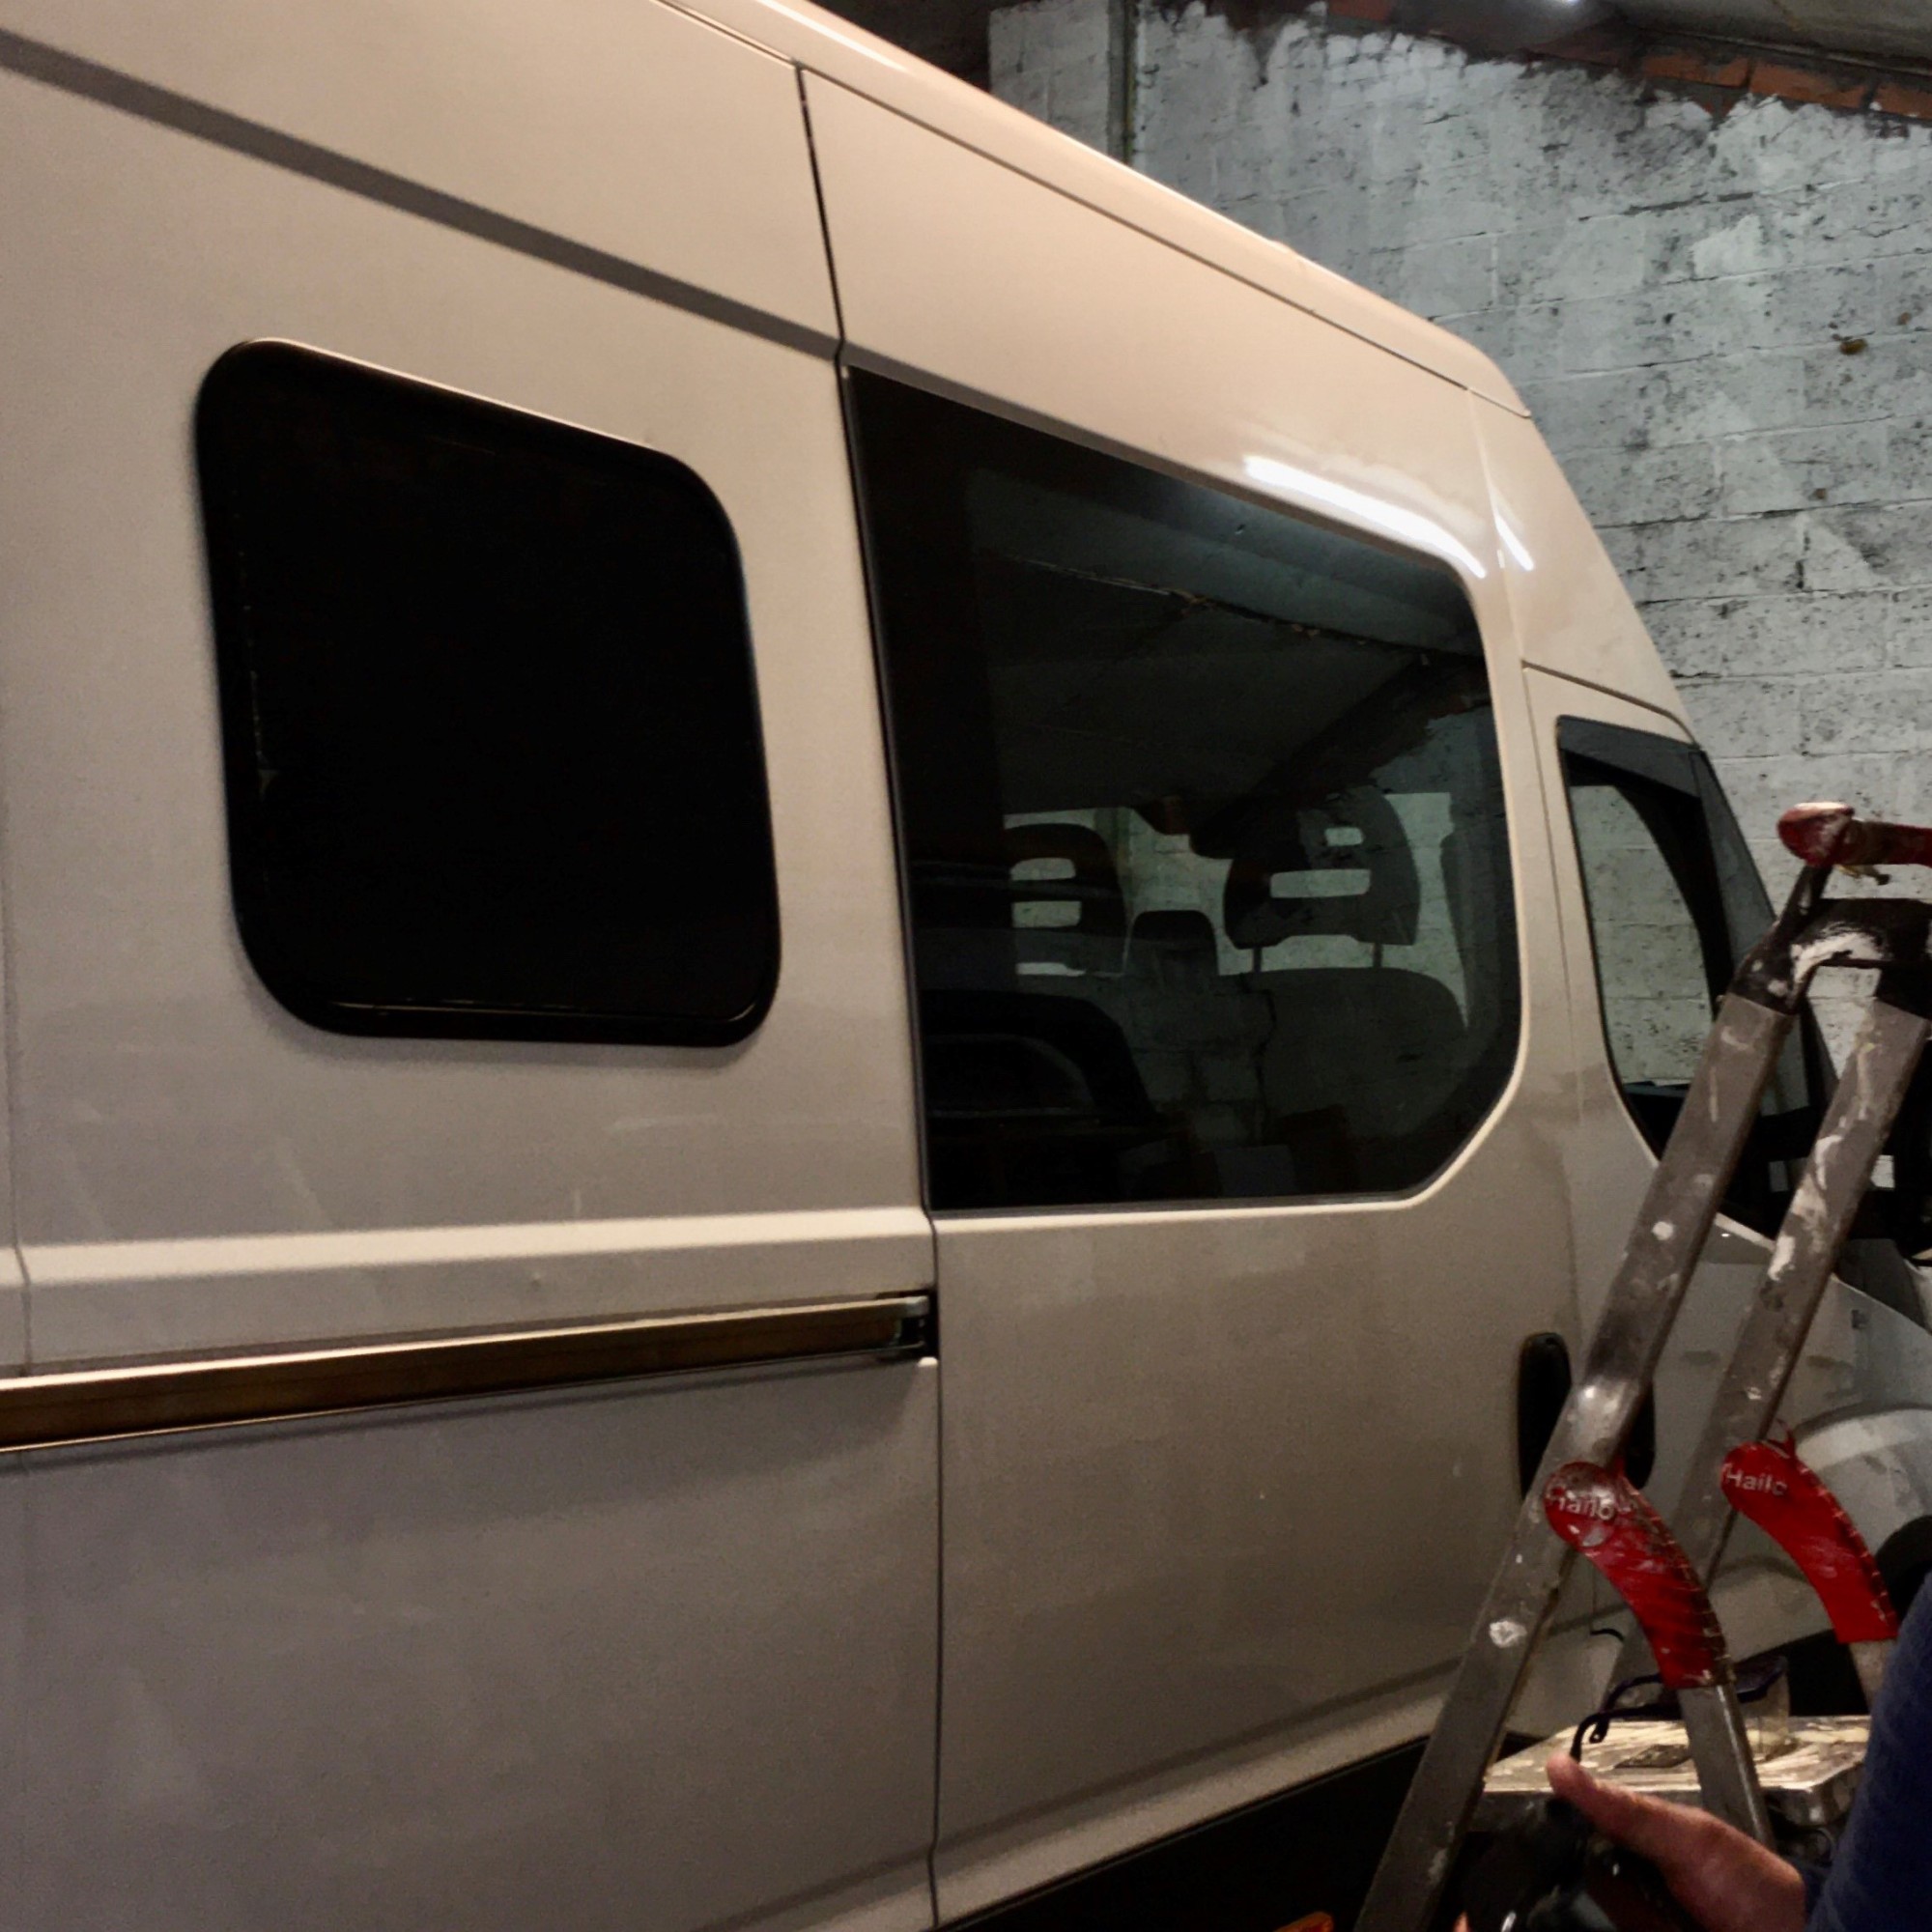
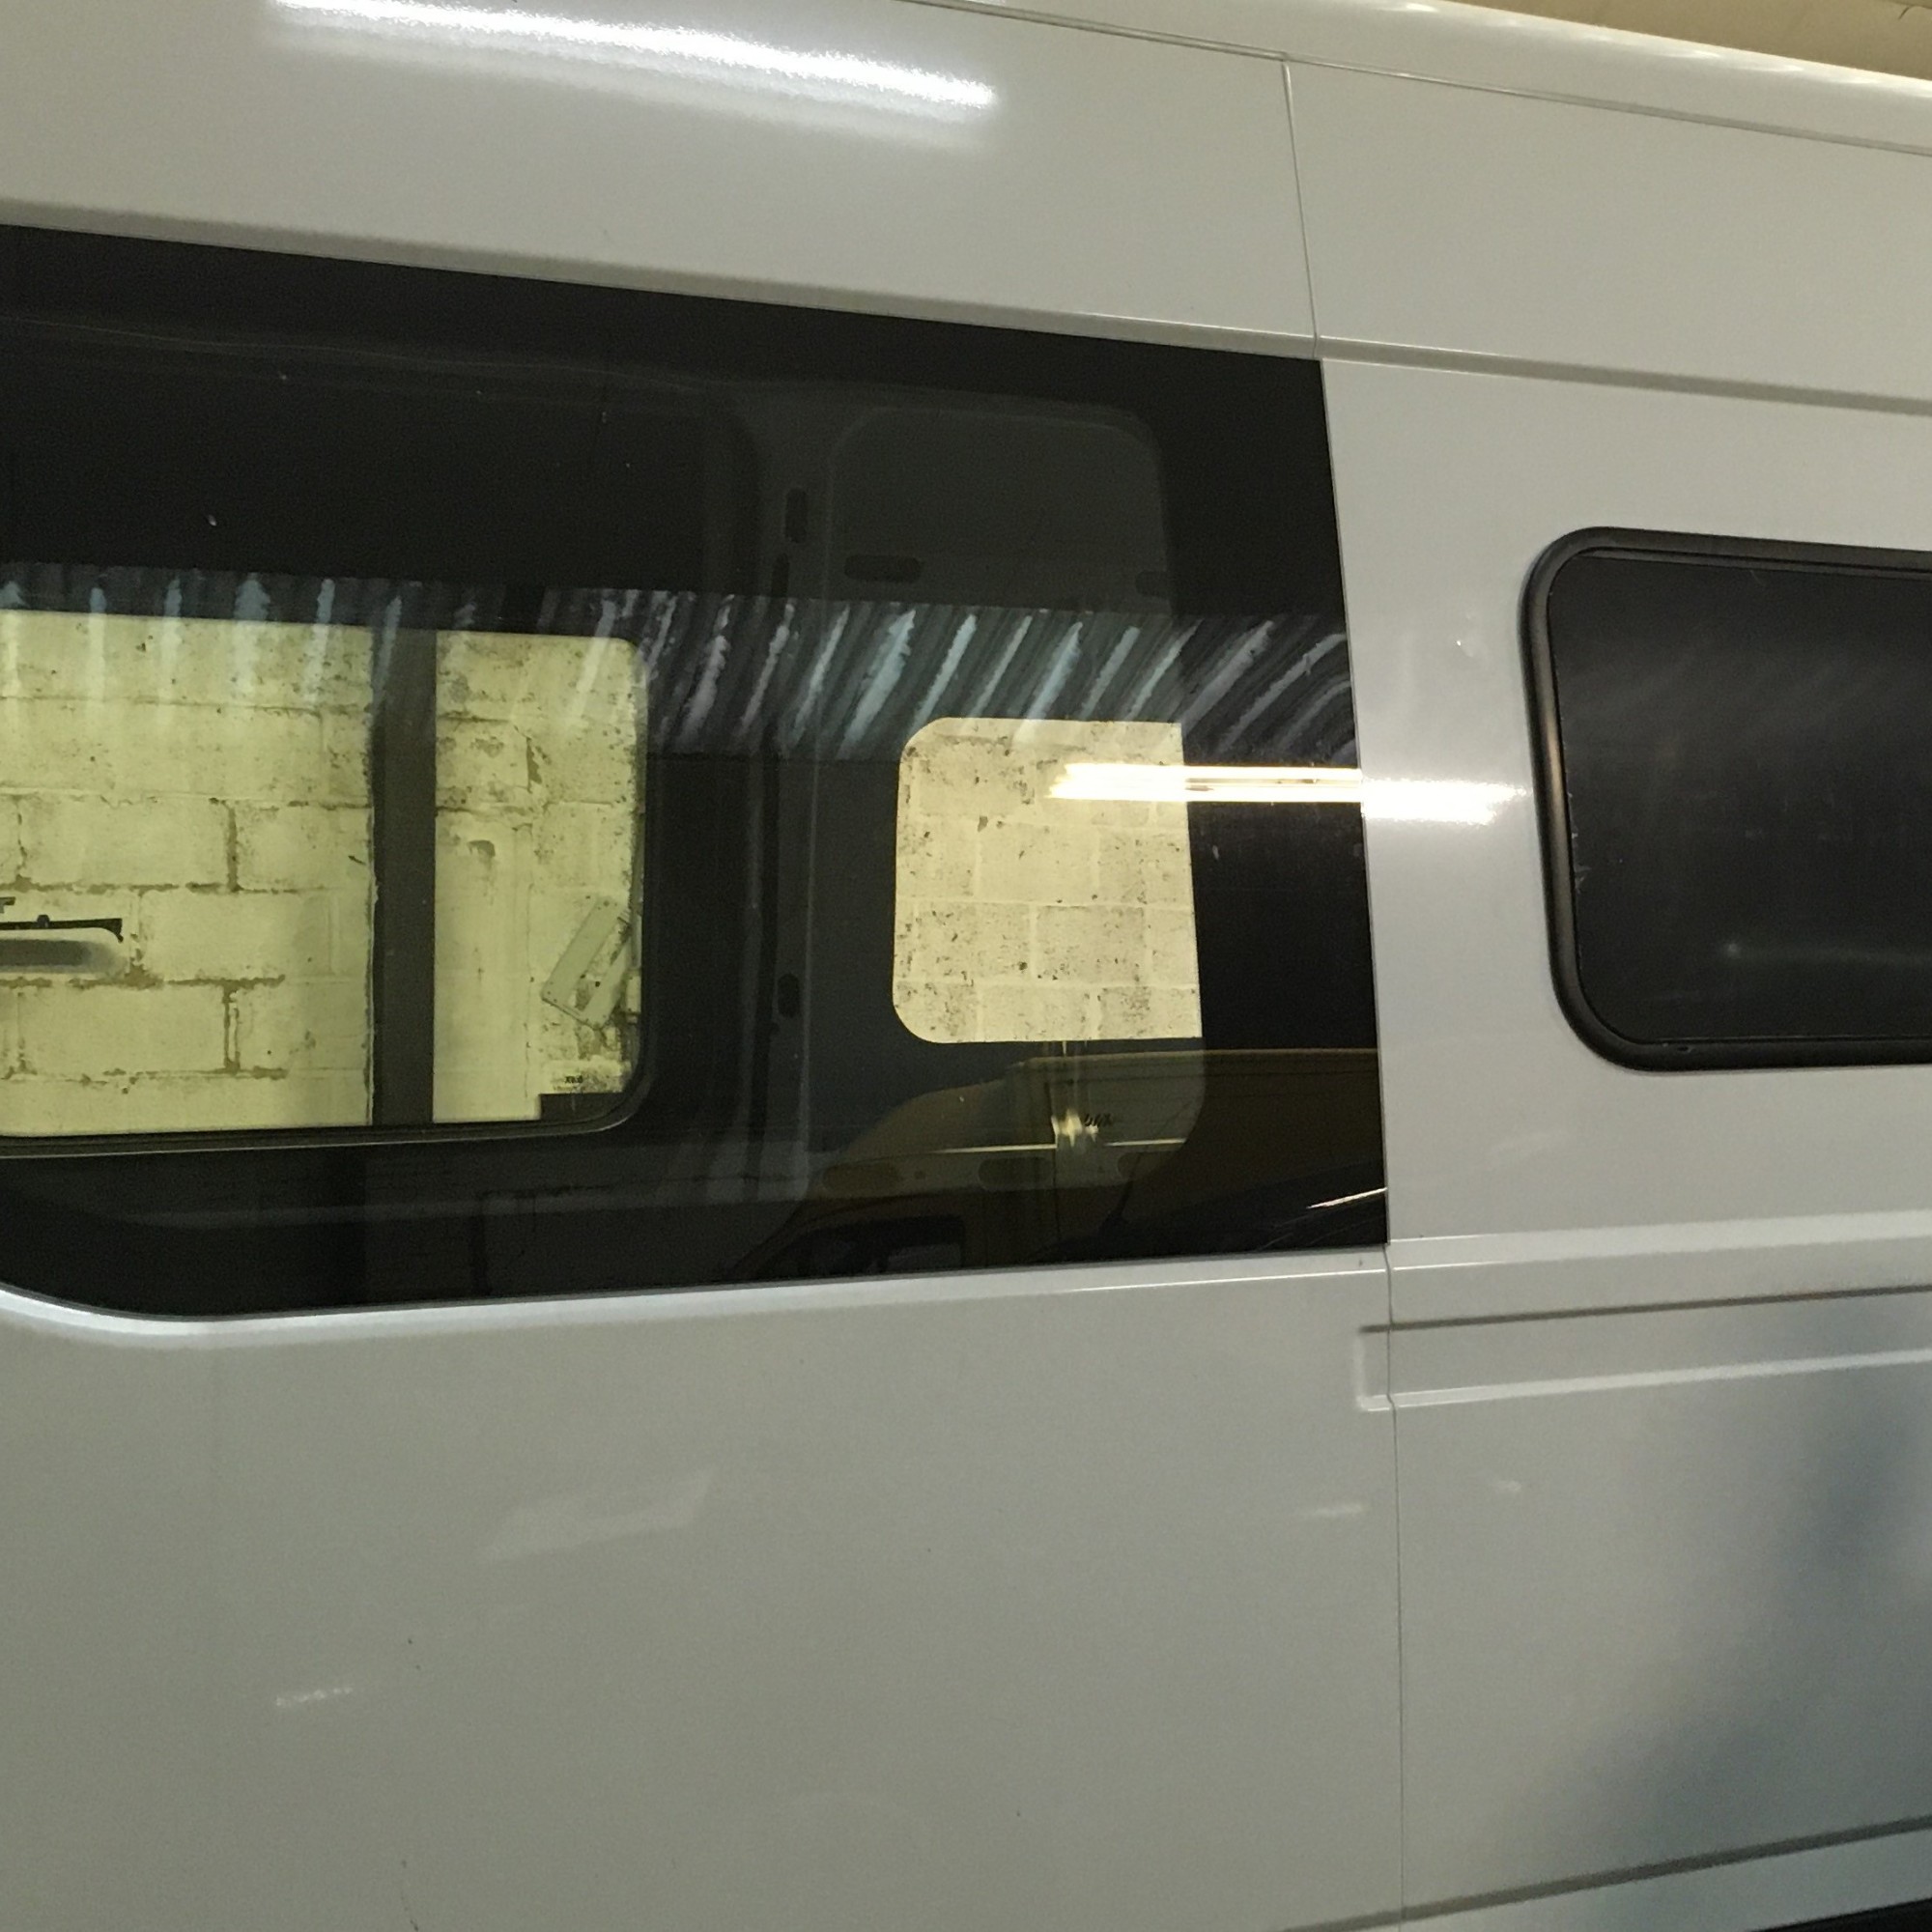
Which meant that we were able to start. For real. First job: install the windows. We chose two Dometic SP7 windows to be installed on both sides of the seating area inside the van.
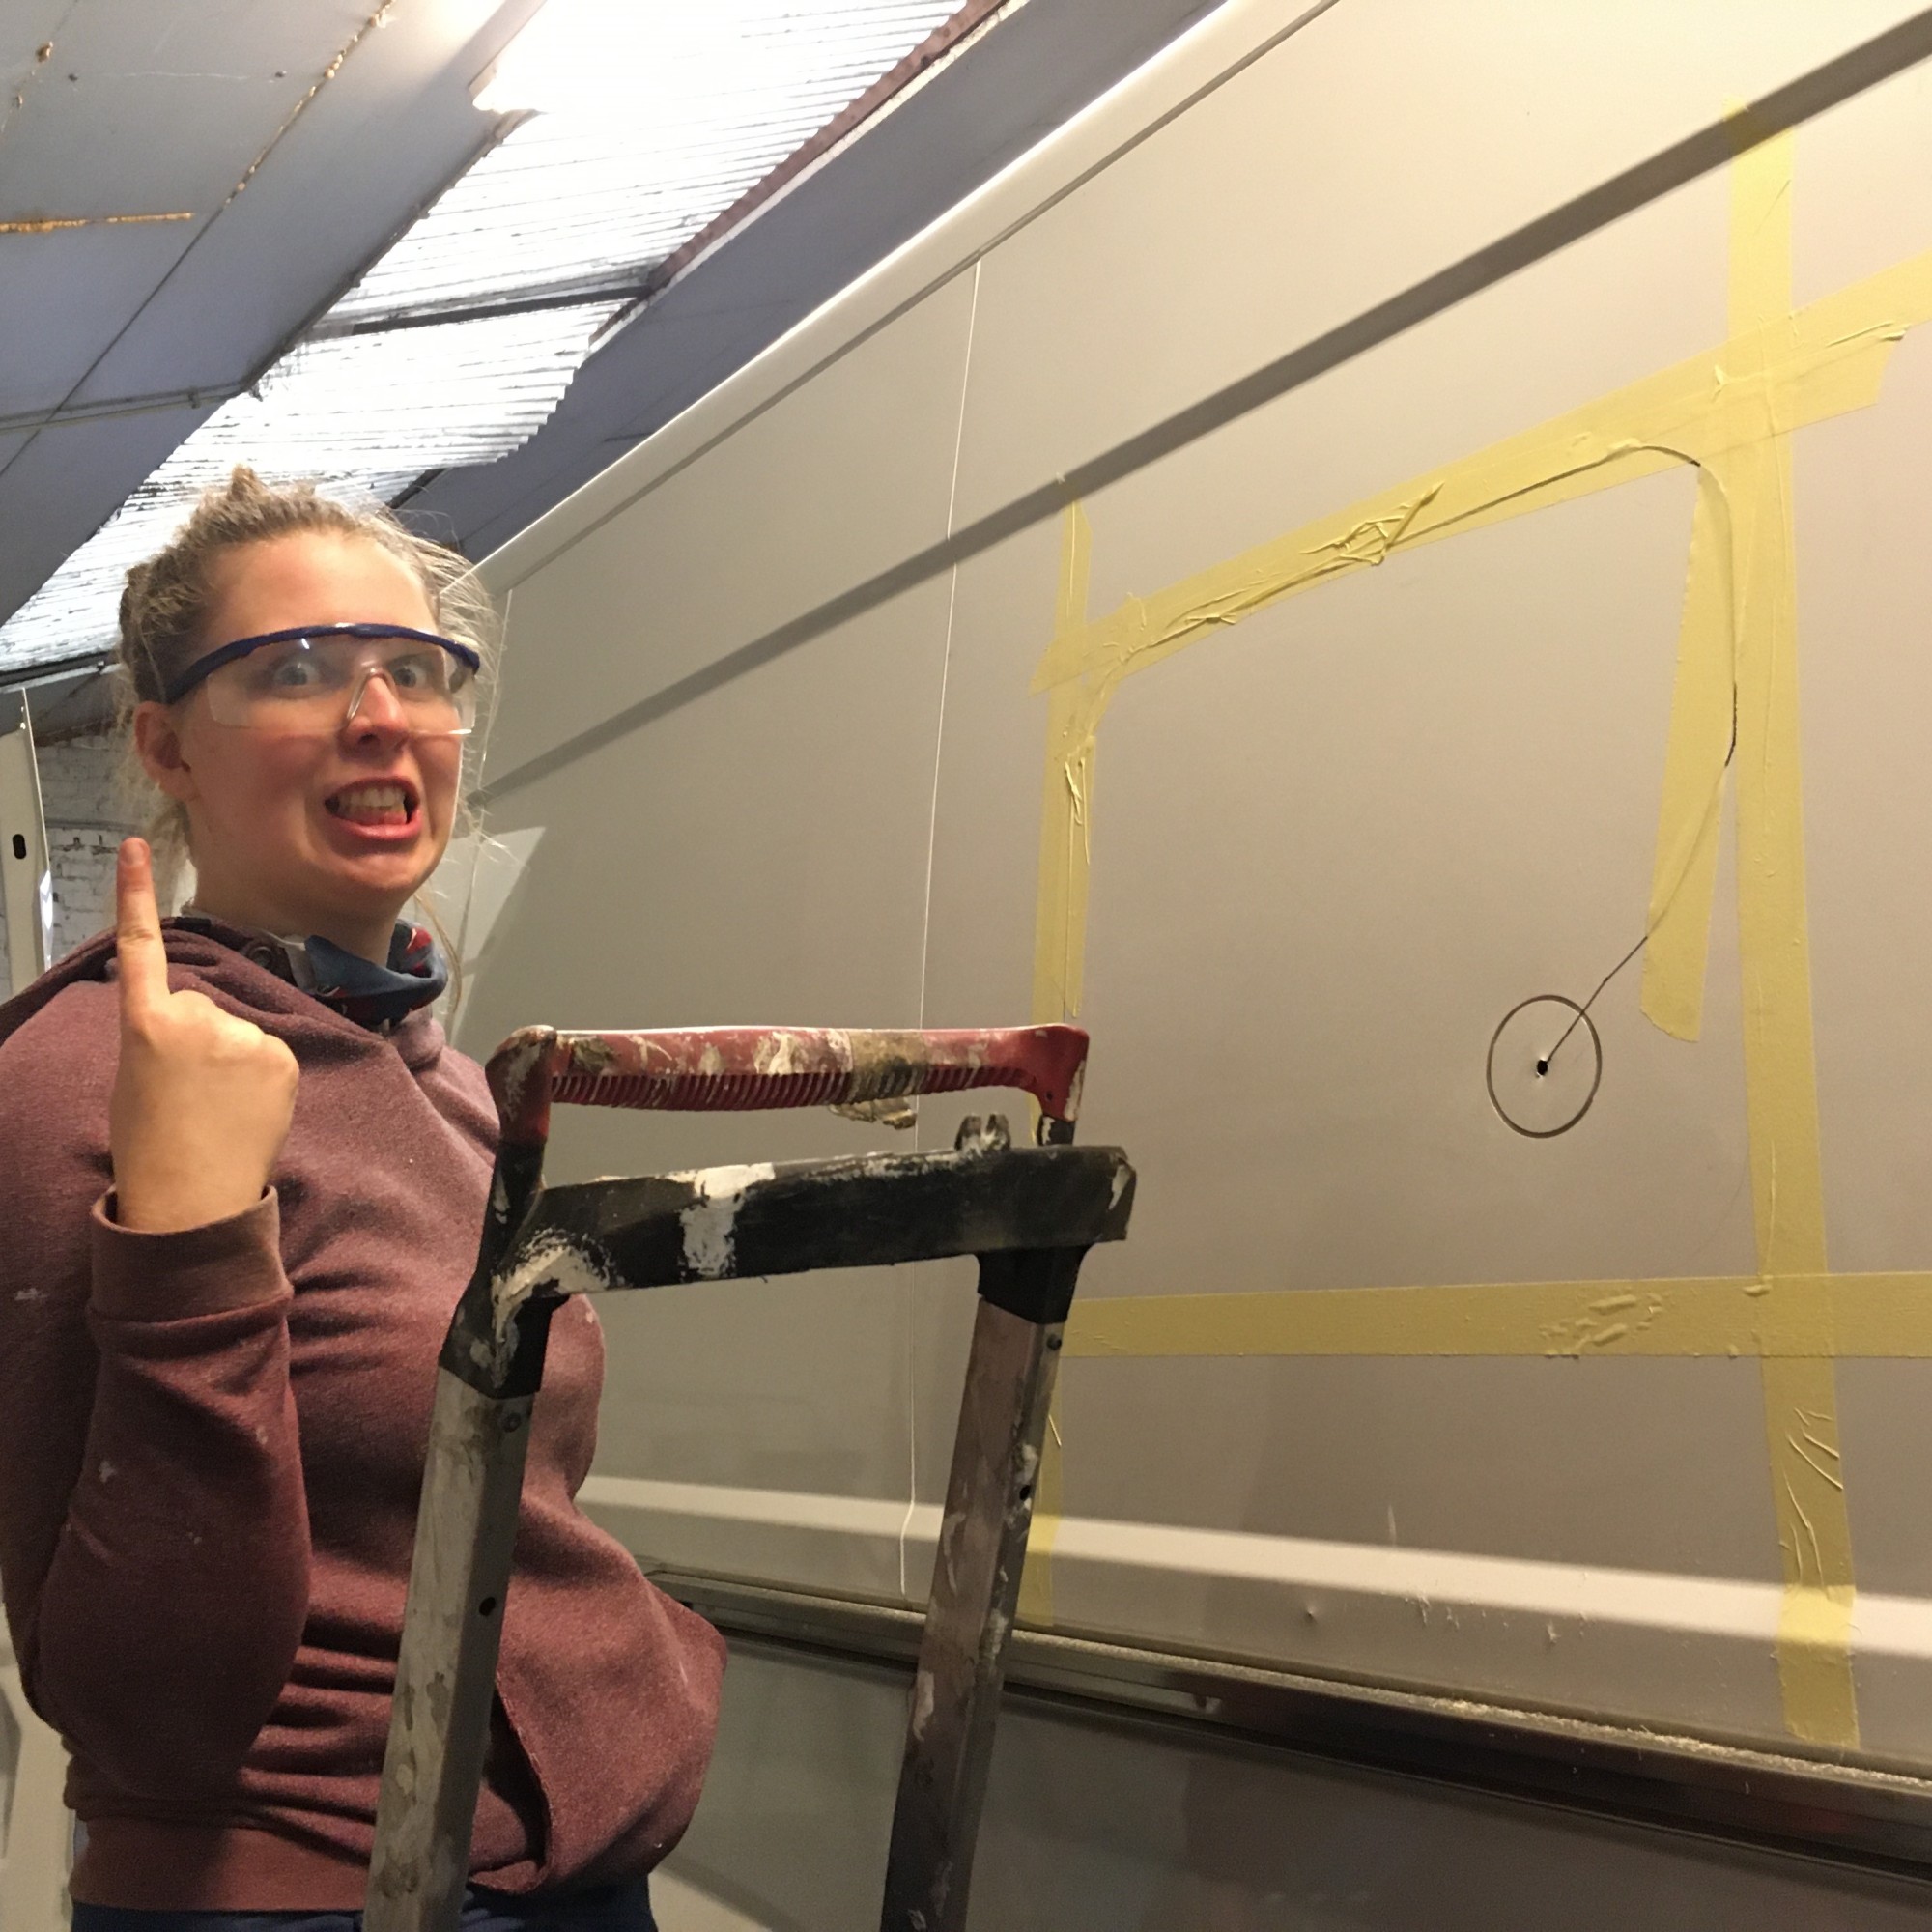
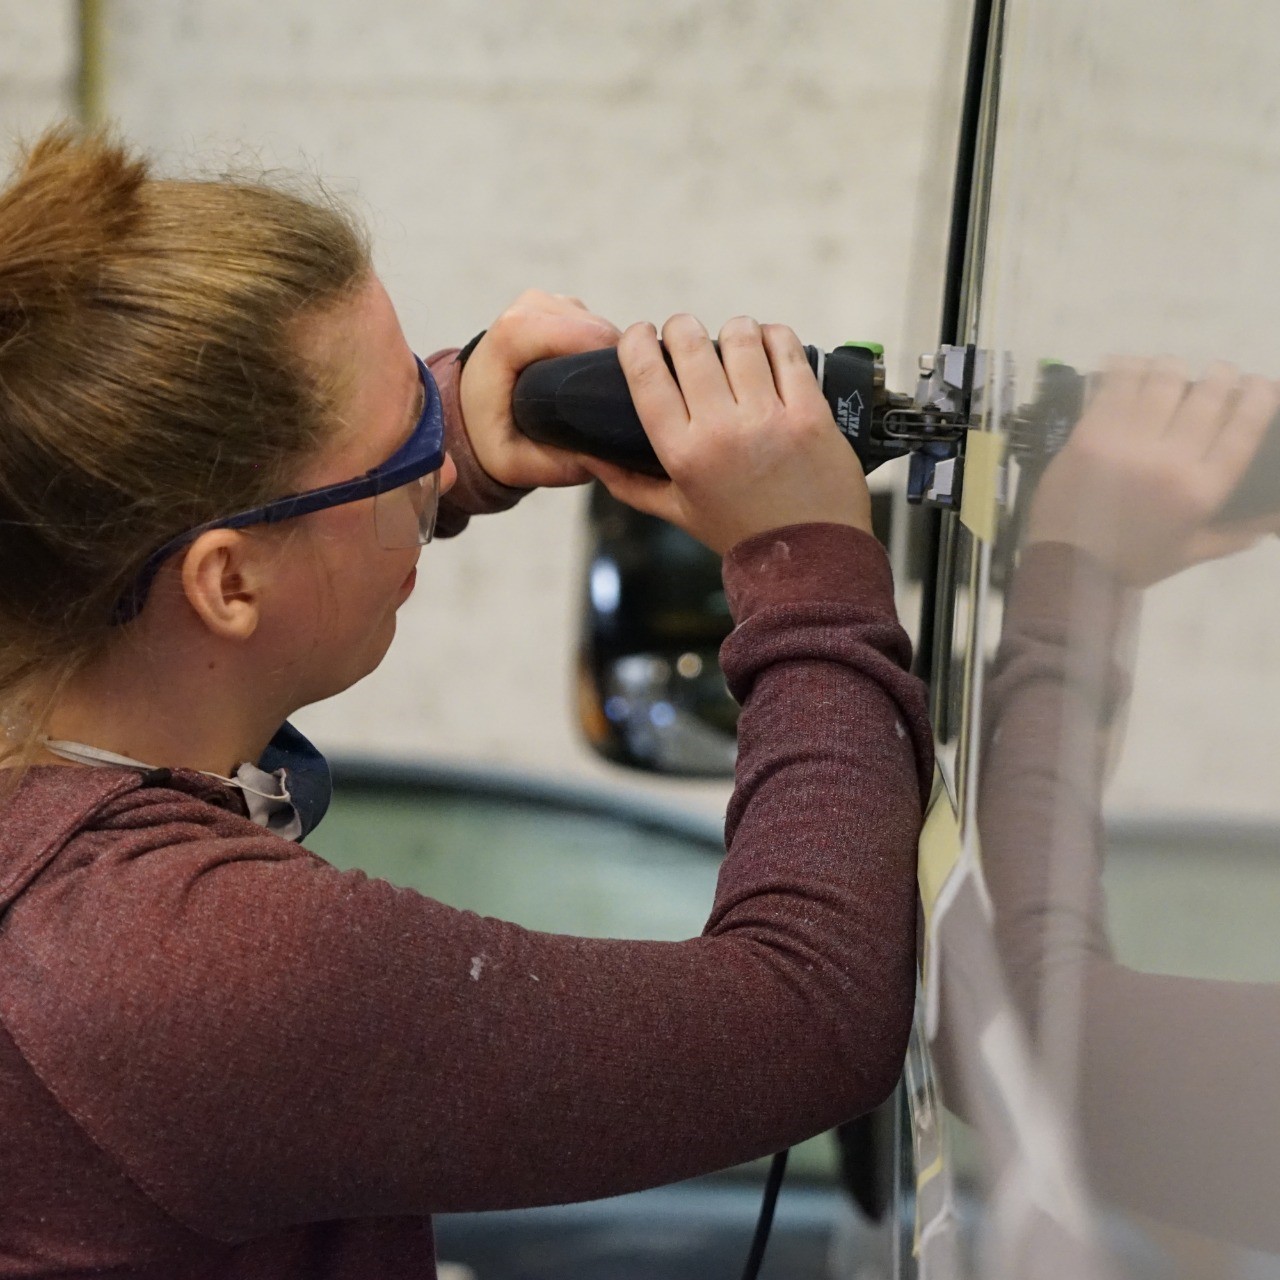
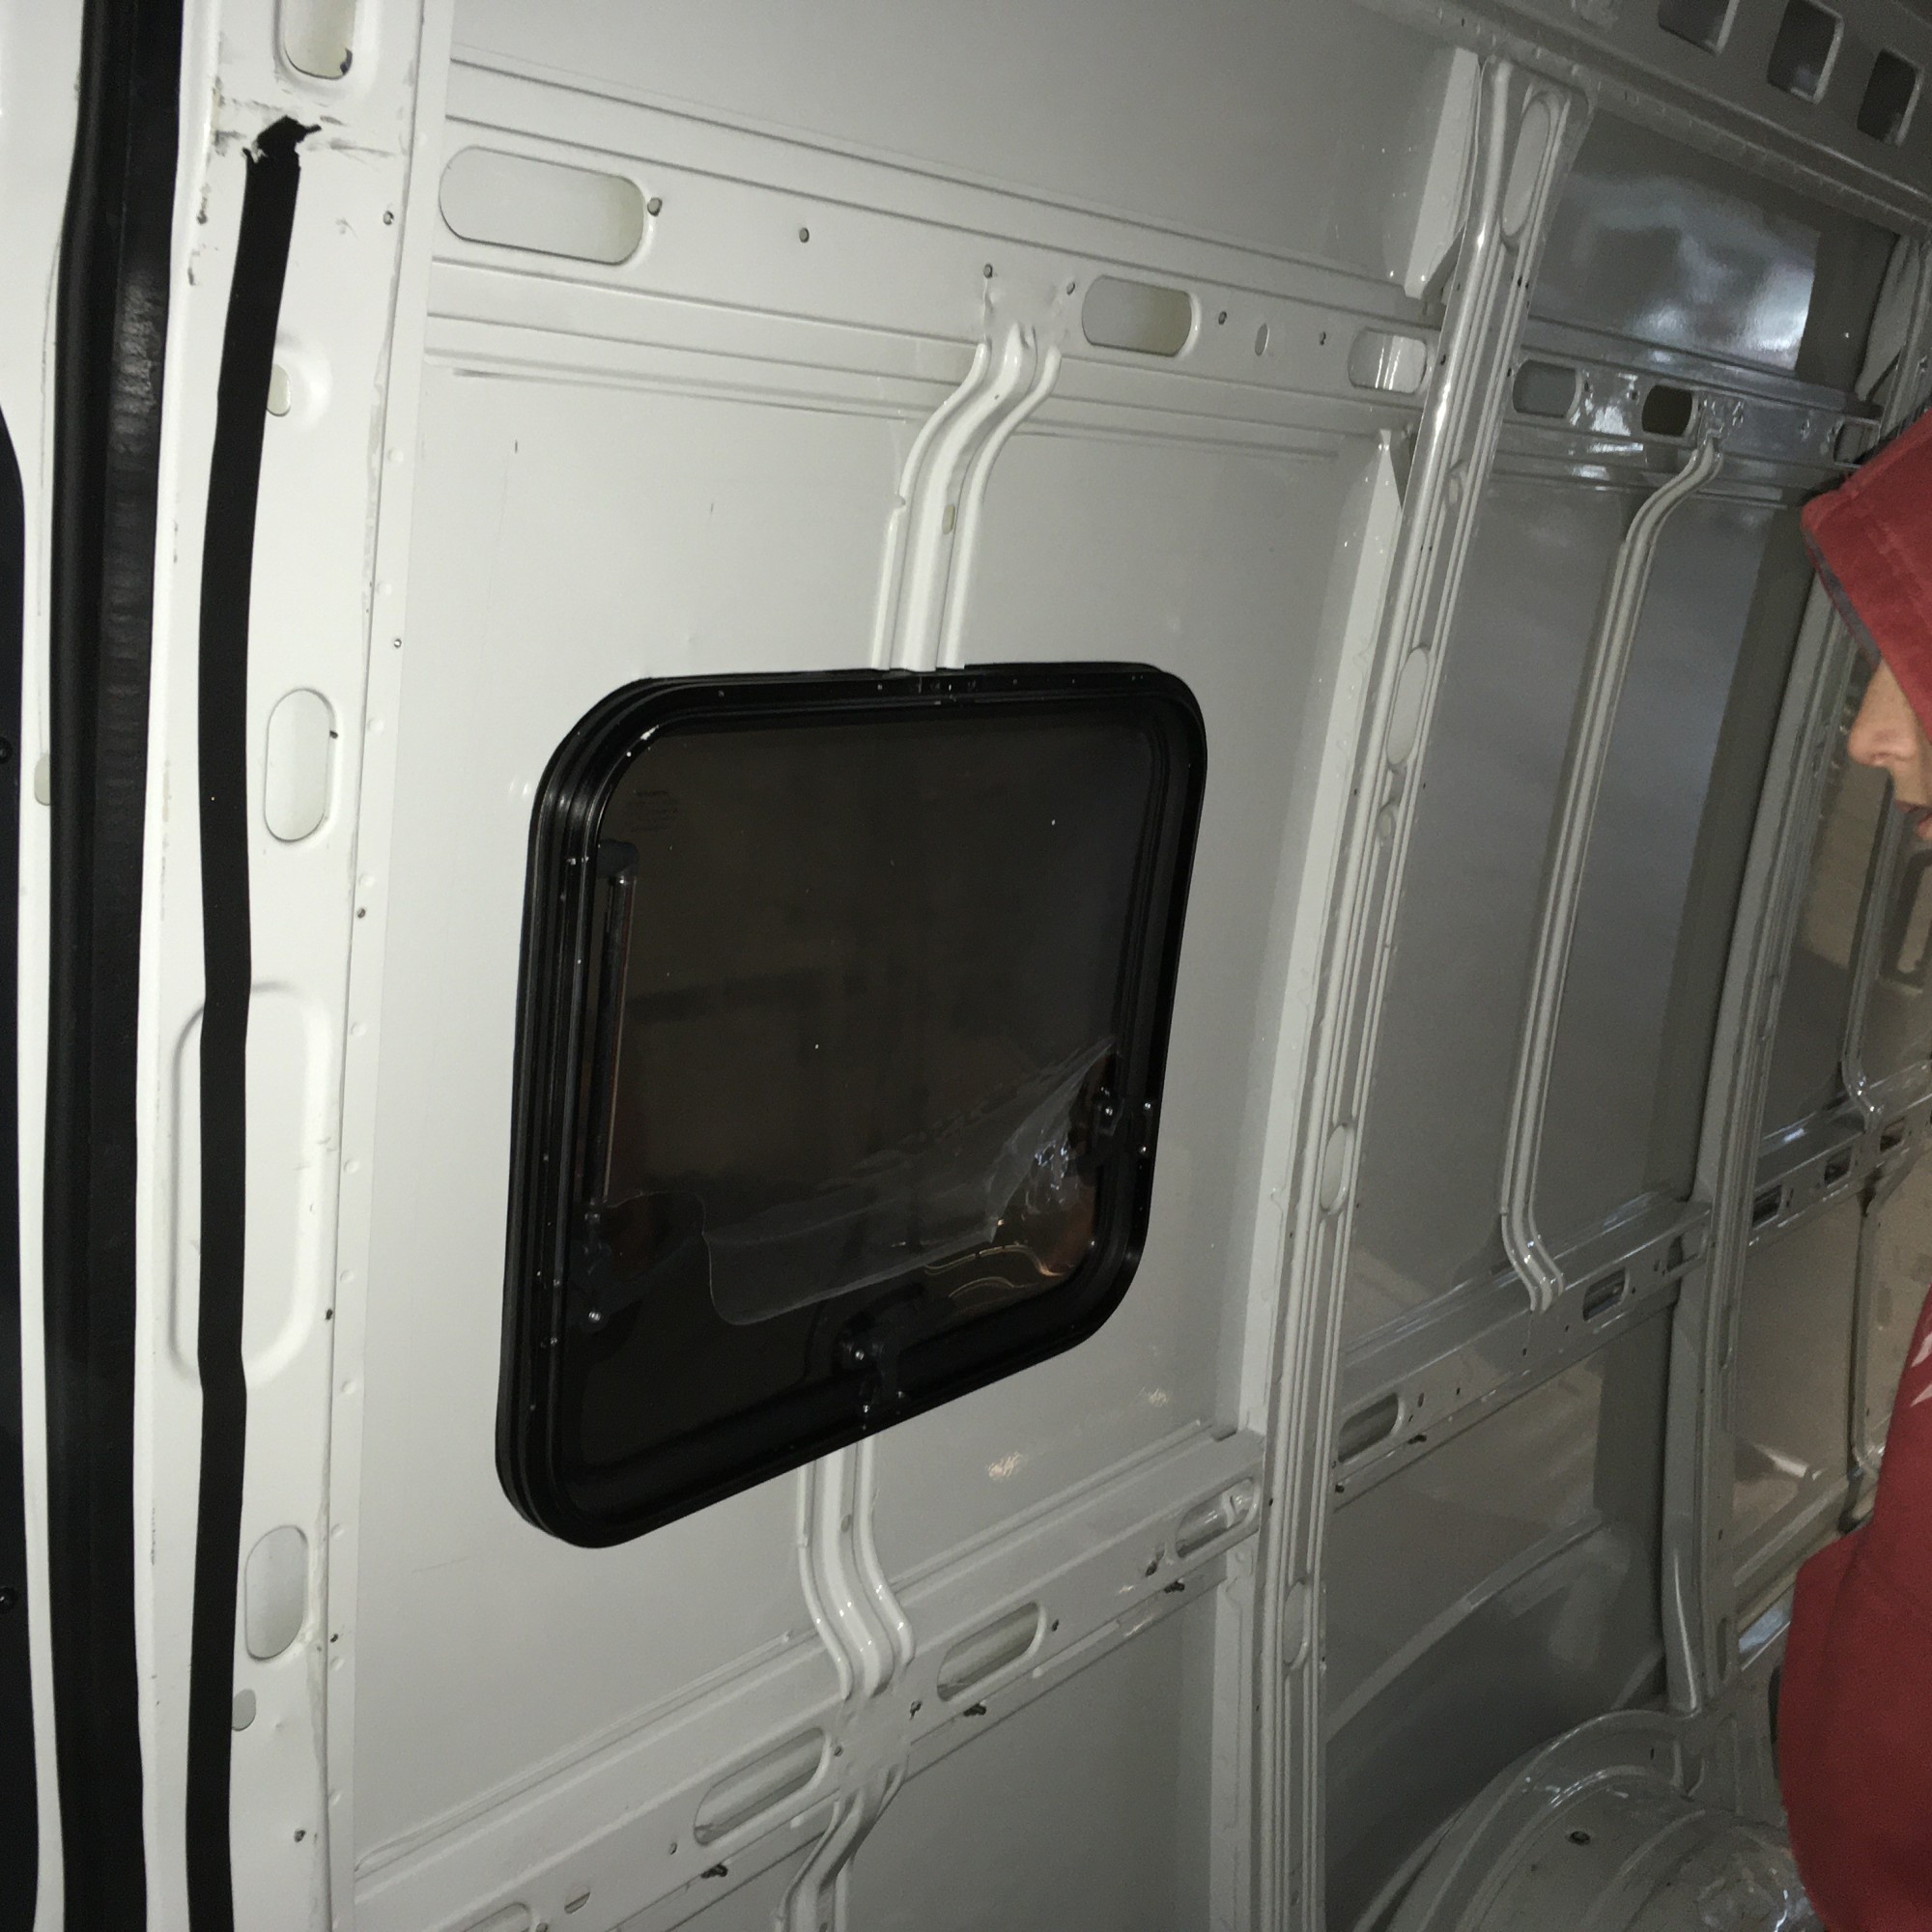
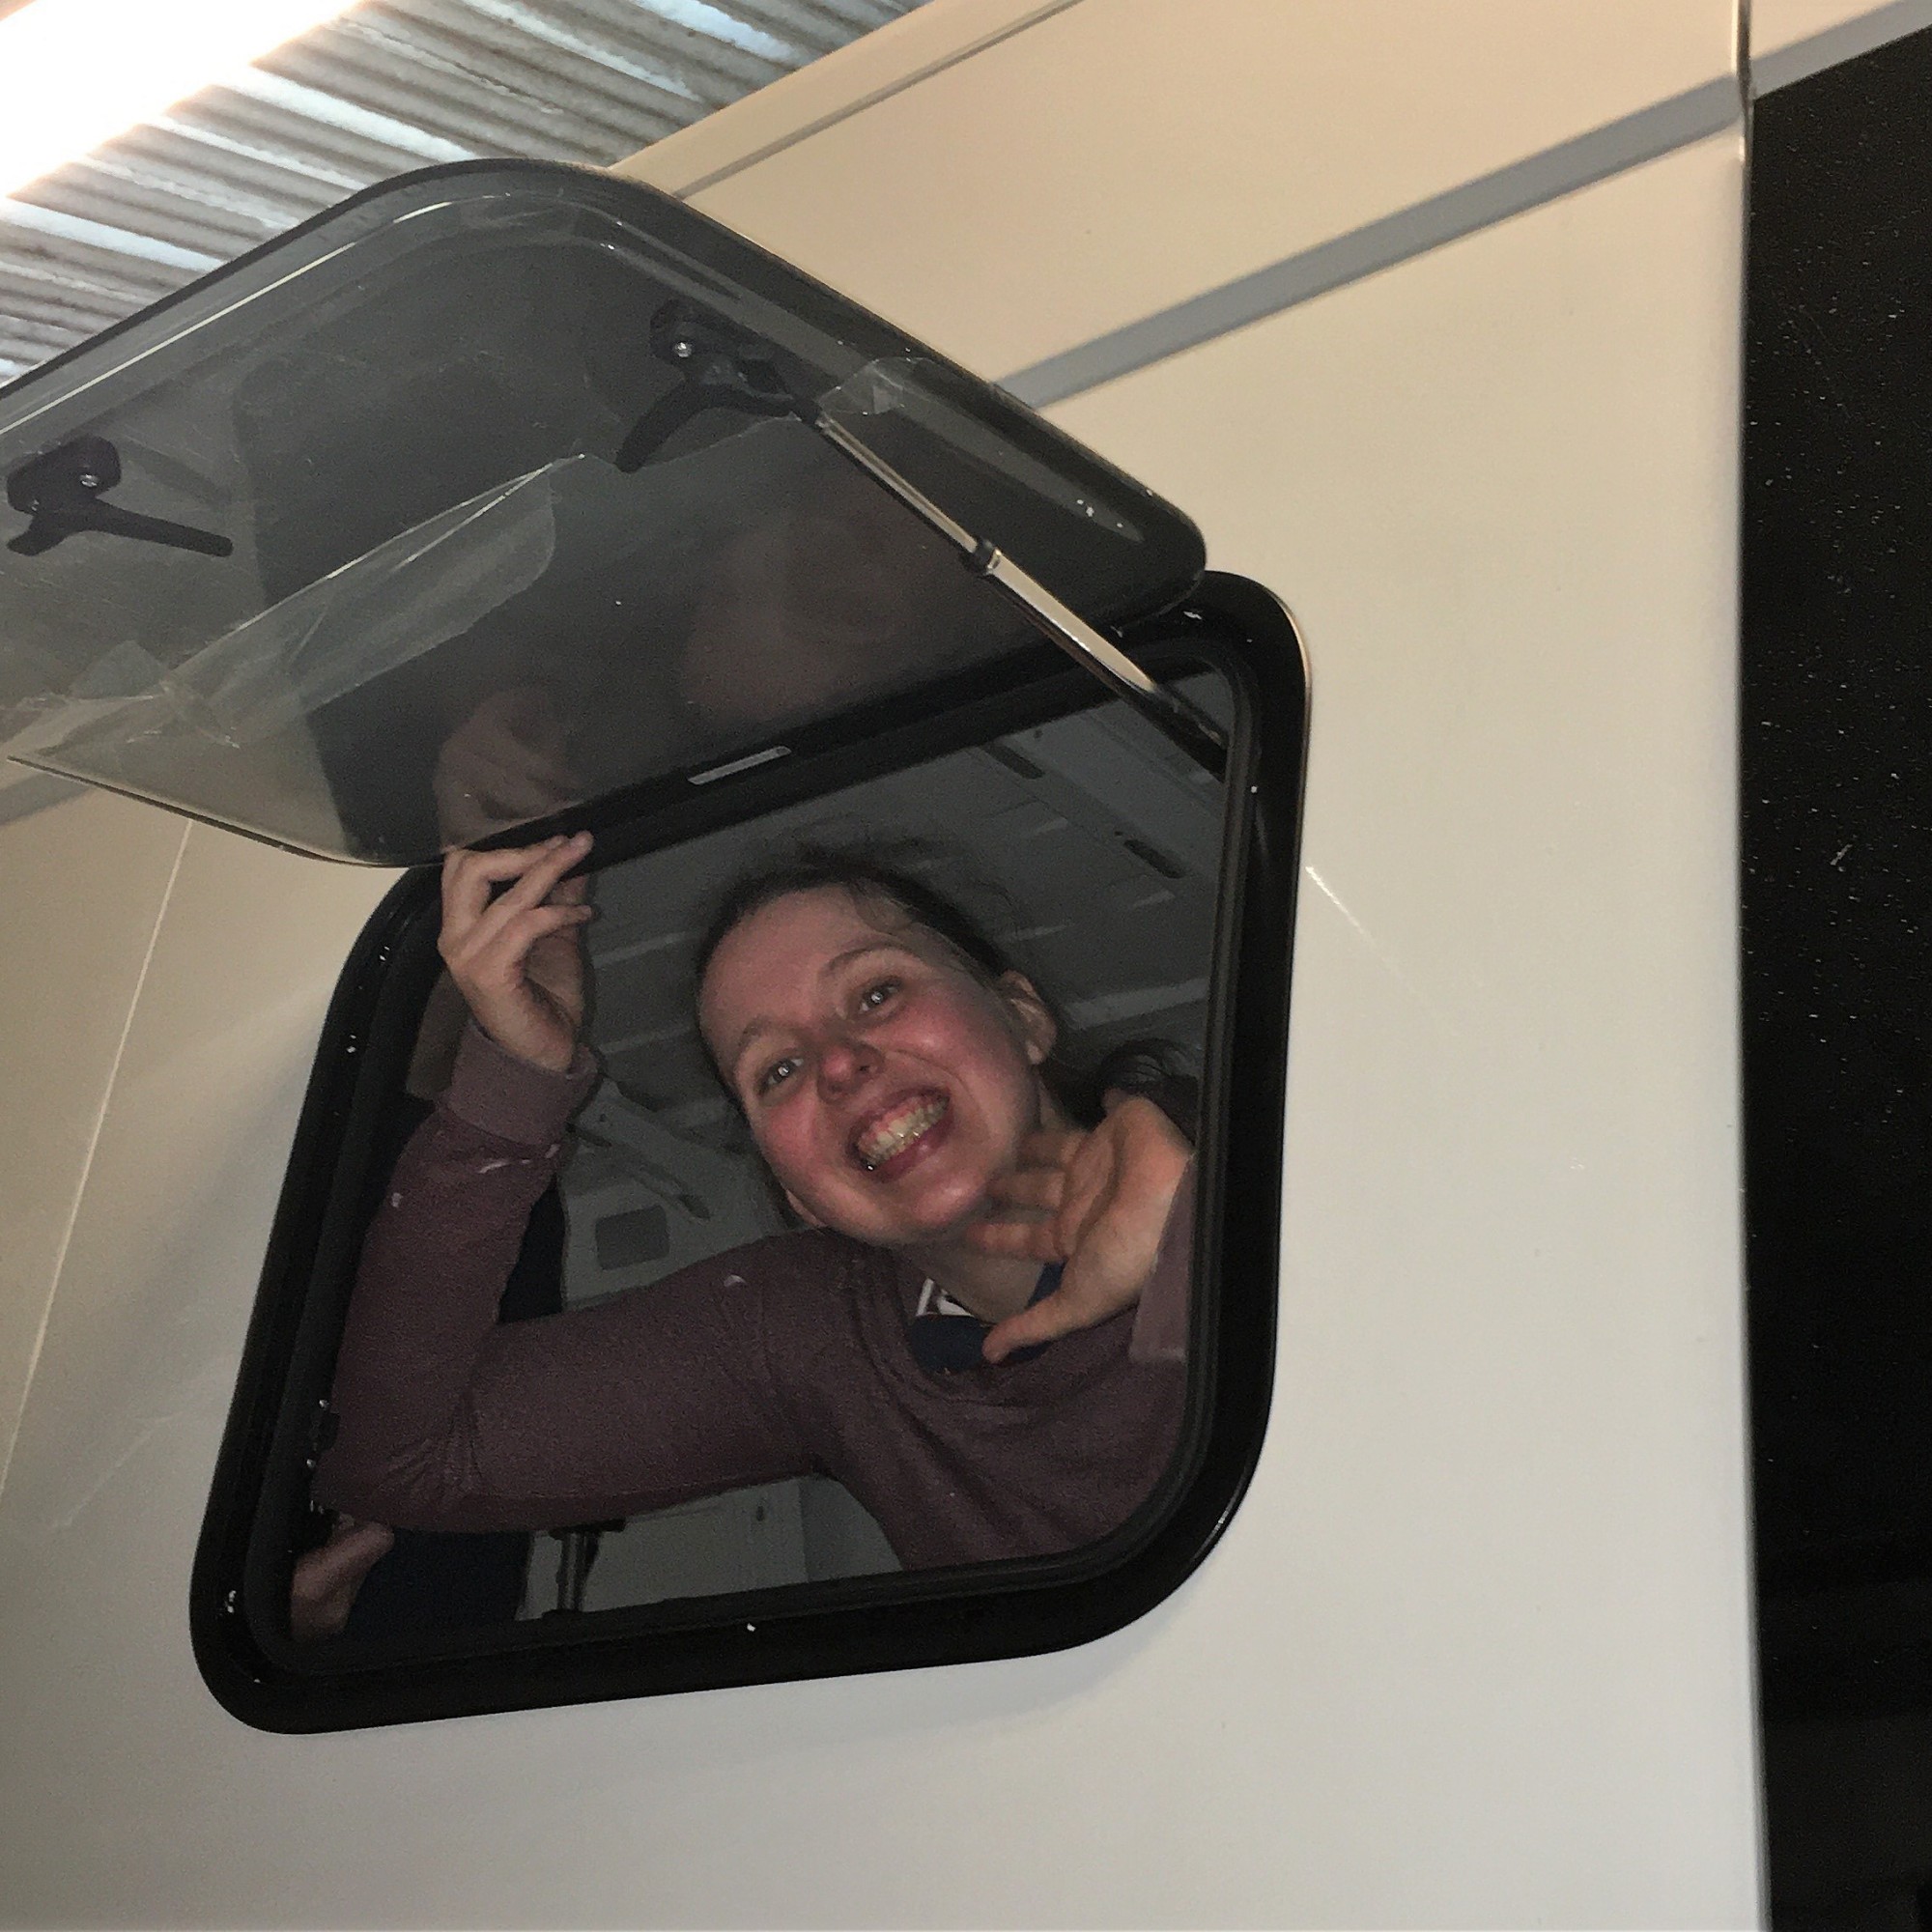
Next step will be cutting out the wooden support for the windows and order the appropriate window fixing kit.
Upcoming: installing our Dometic FanTastic Vent (kitchen) and Dometic GY 11 Roof ventilator (shower).

Well… Only the plastic pieces and the wood on the inside of course.
As we will insulate of Ronny, we had to take out the floor and the plastic on the walls.
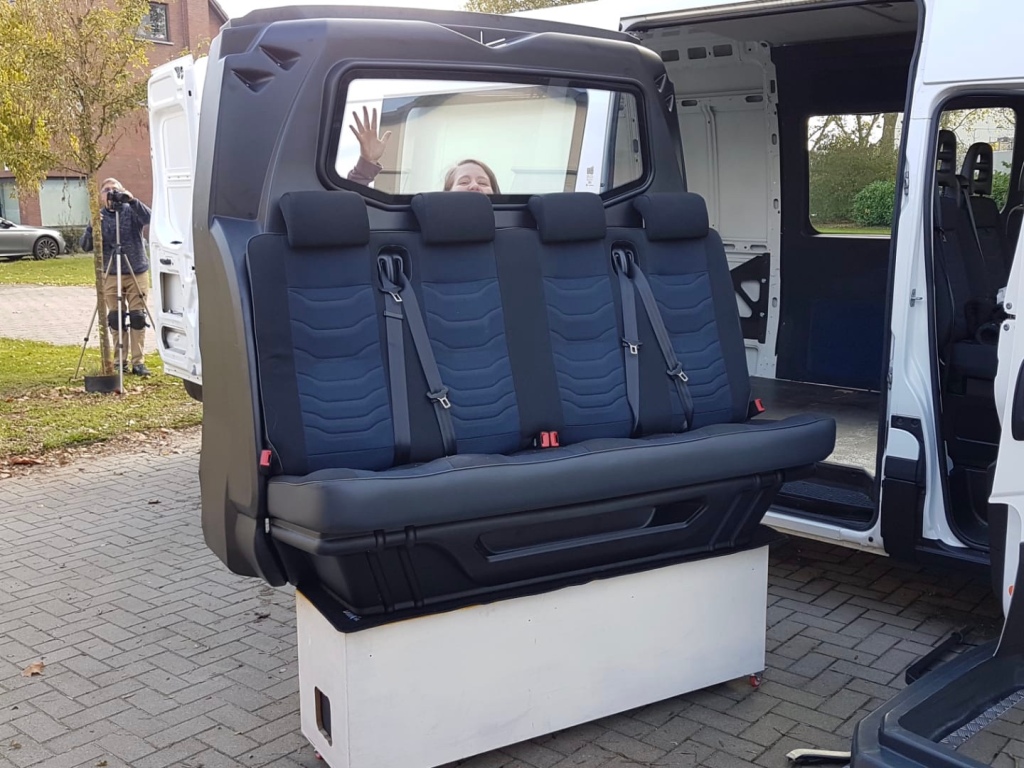
Little did we know… the back seat stands on the floor. So yes the back seat had to be taken out as well…
So now my garage is full of back seat and my car has to sleep outside…