Time for some real action! First part of good news: we ordered the windows and our kitchen appliances (more news will follow on the kitchen build).
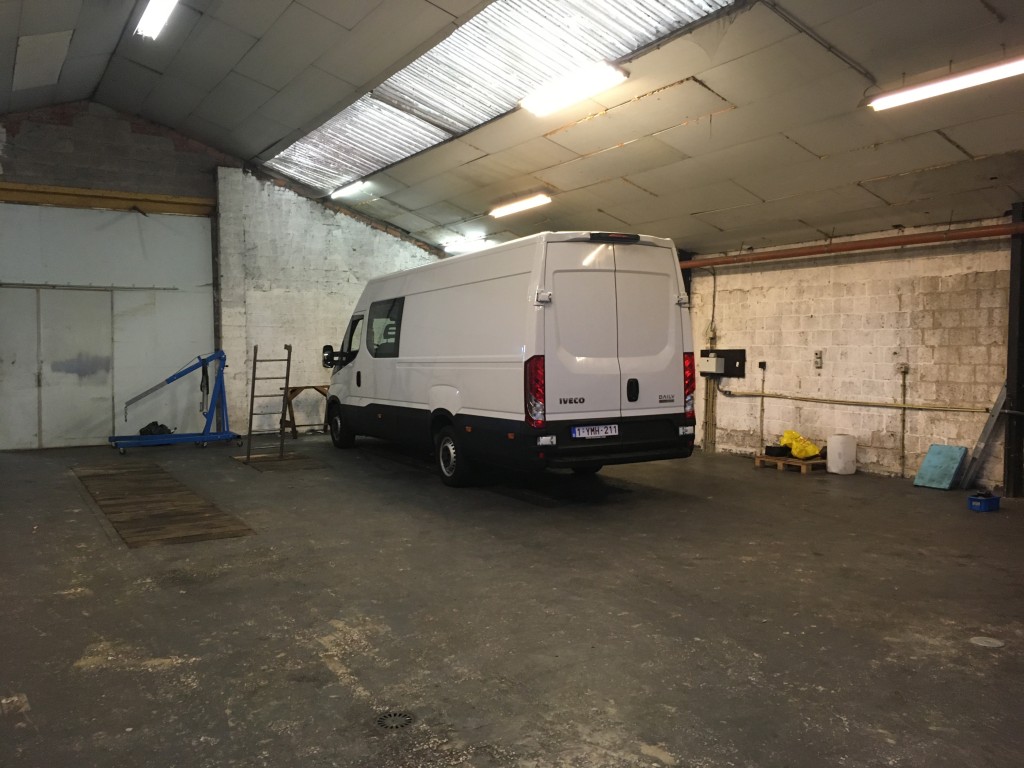
And… we found a workshop at a 20 minutes drive from home. Ronny can stay here while we complete the van build.
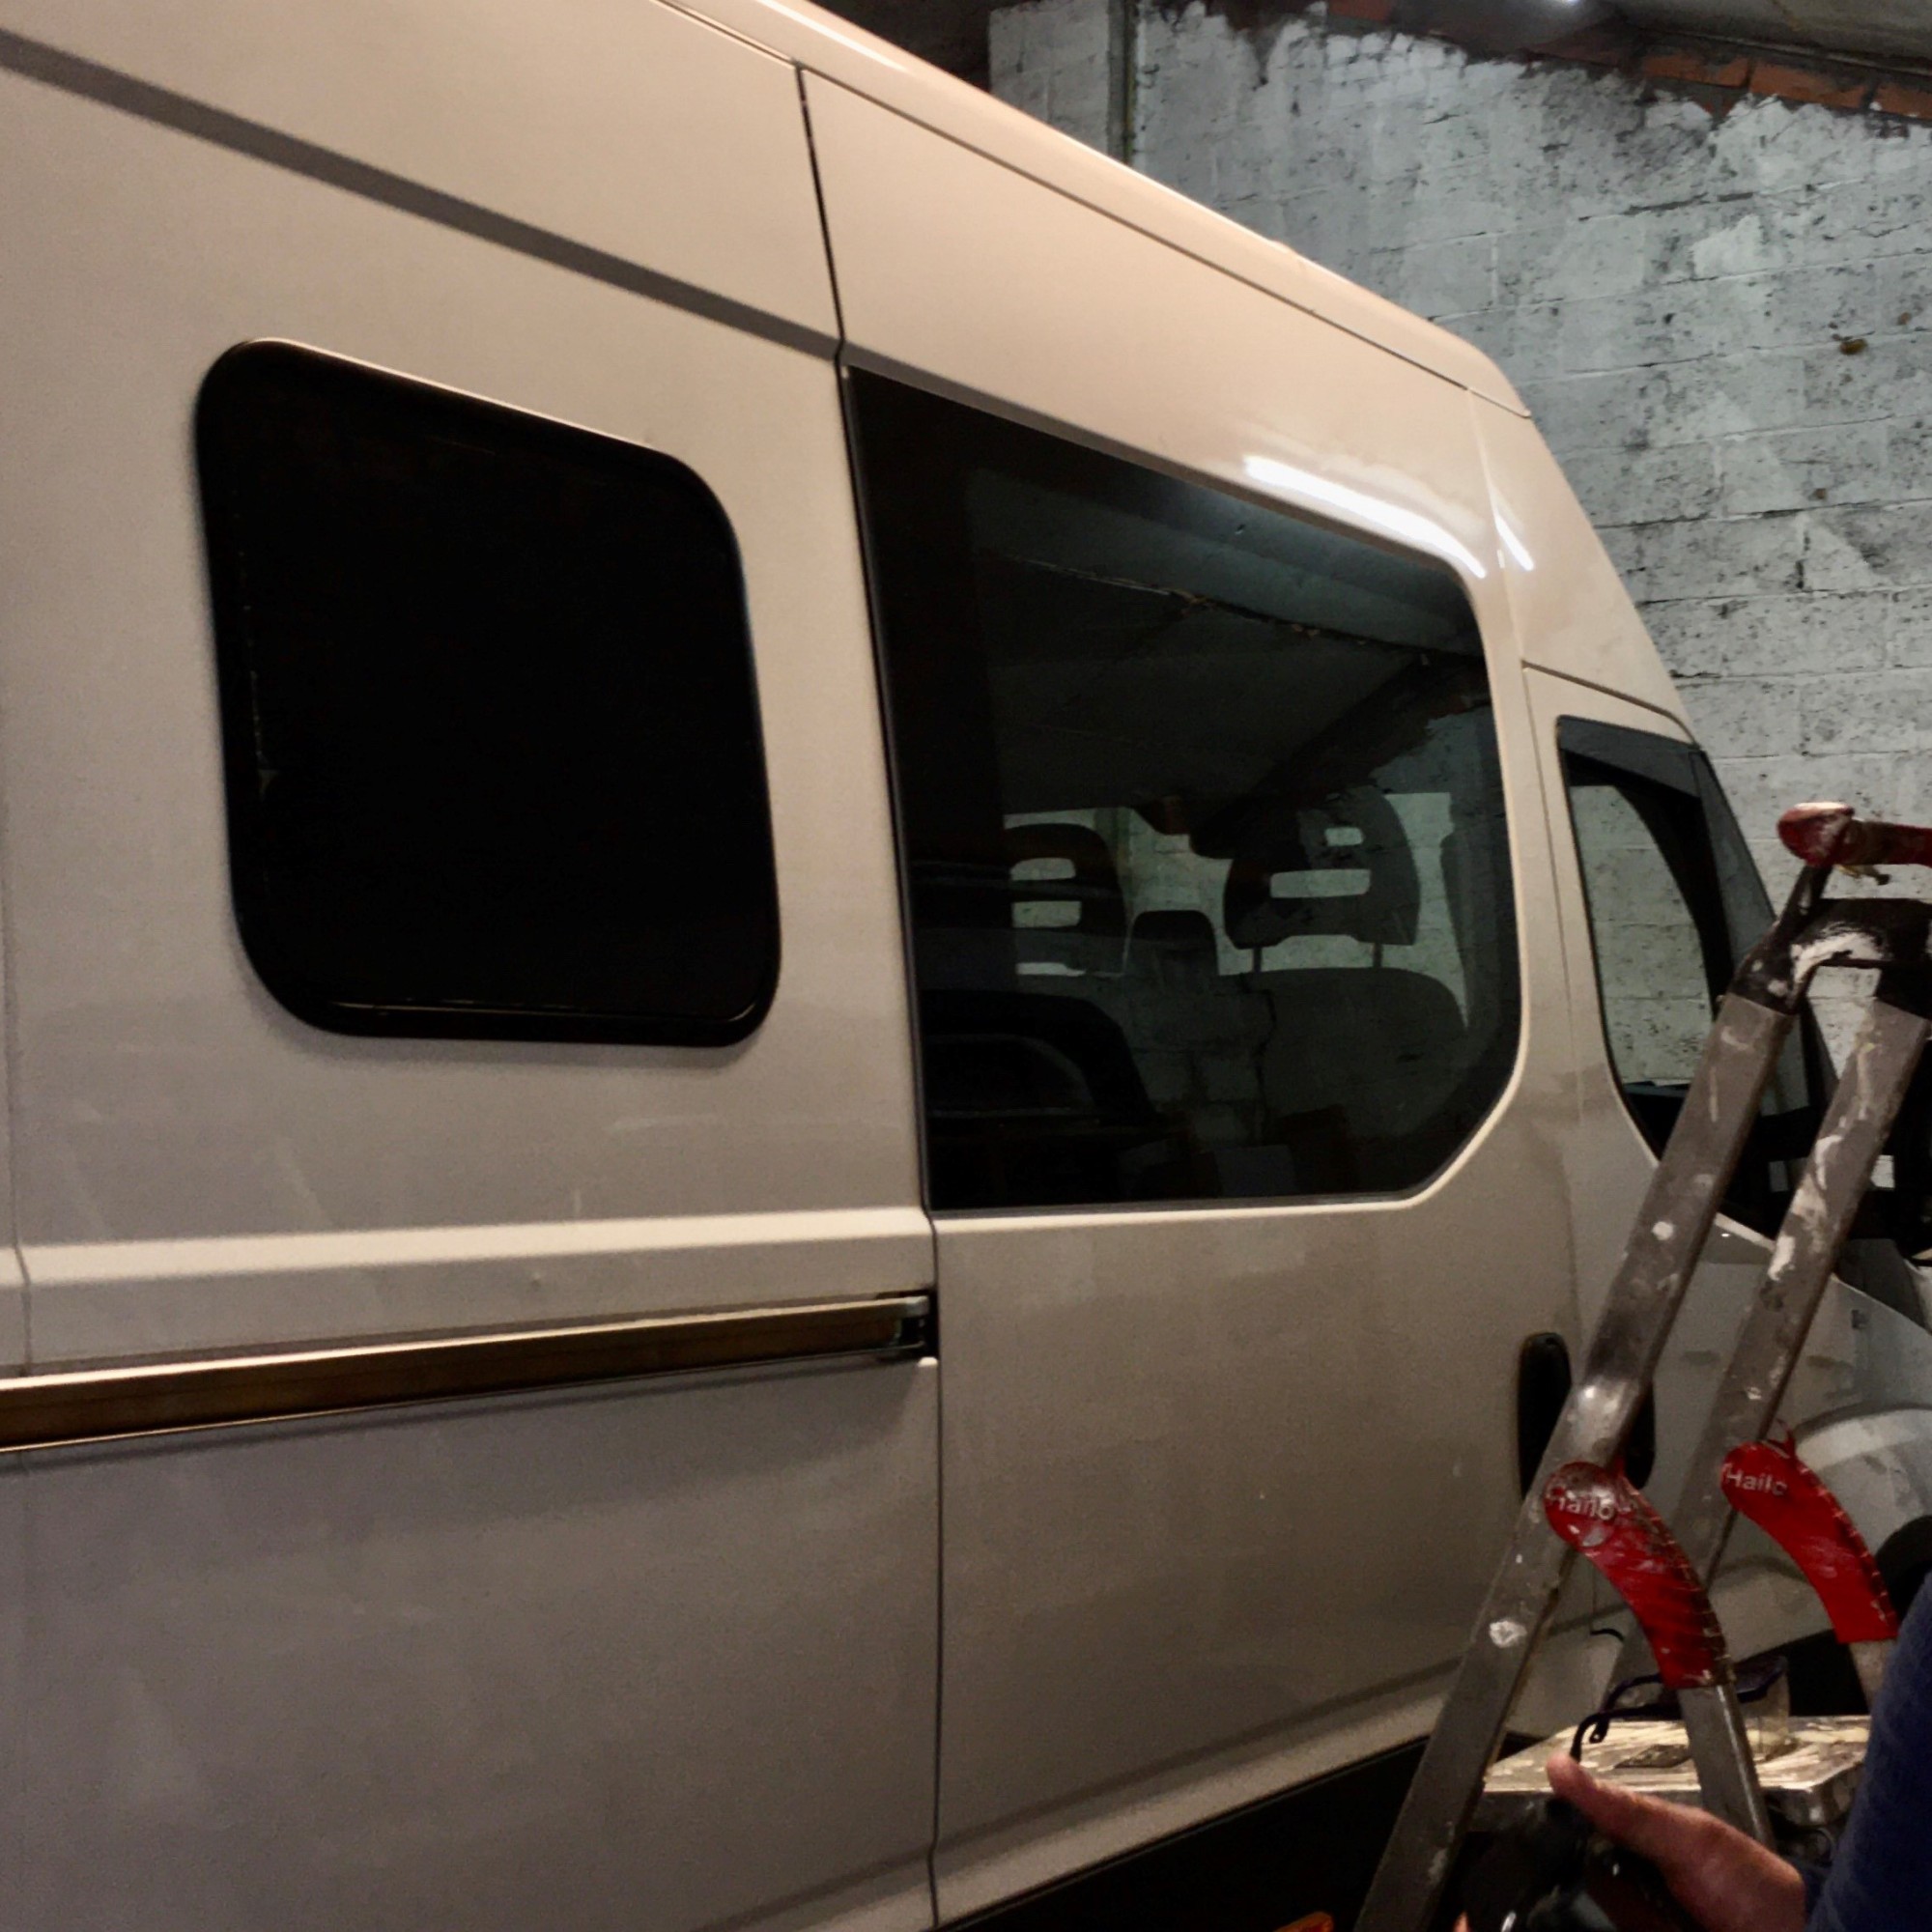
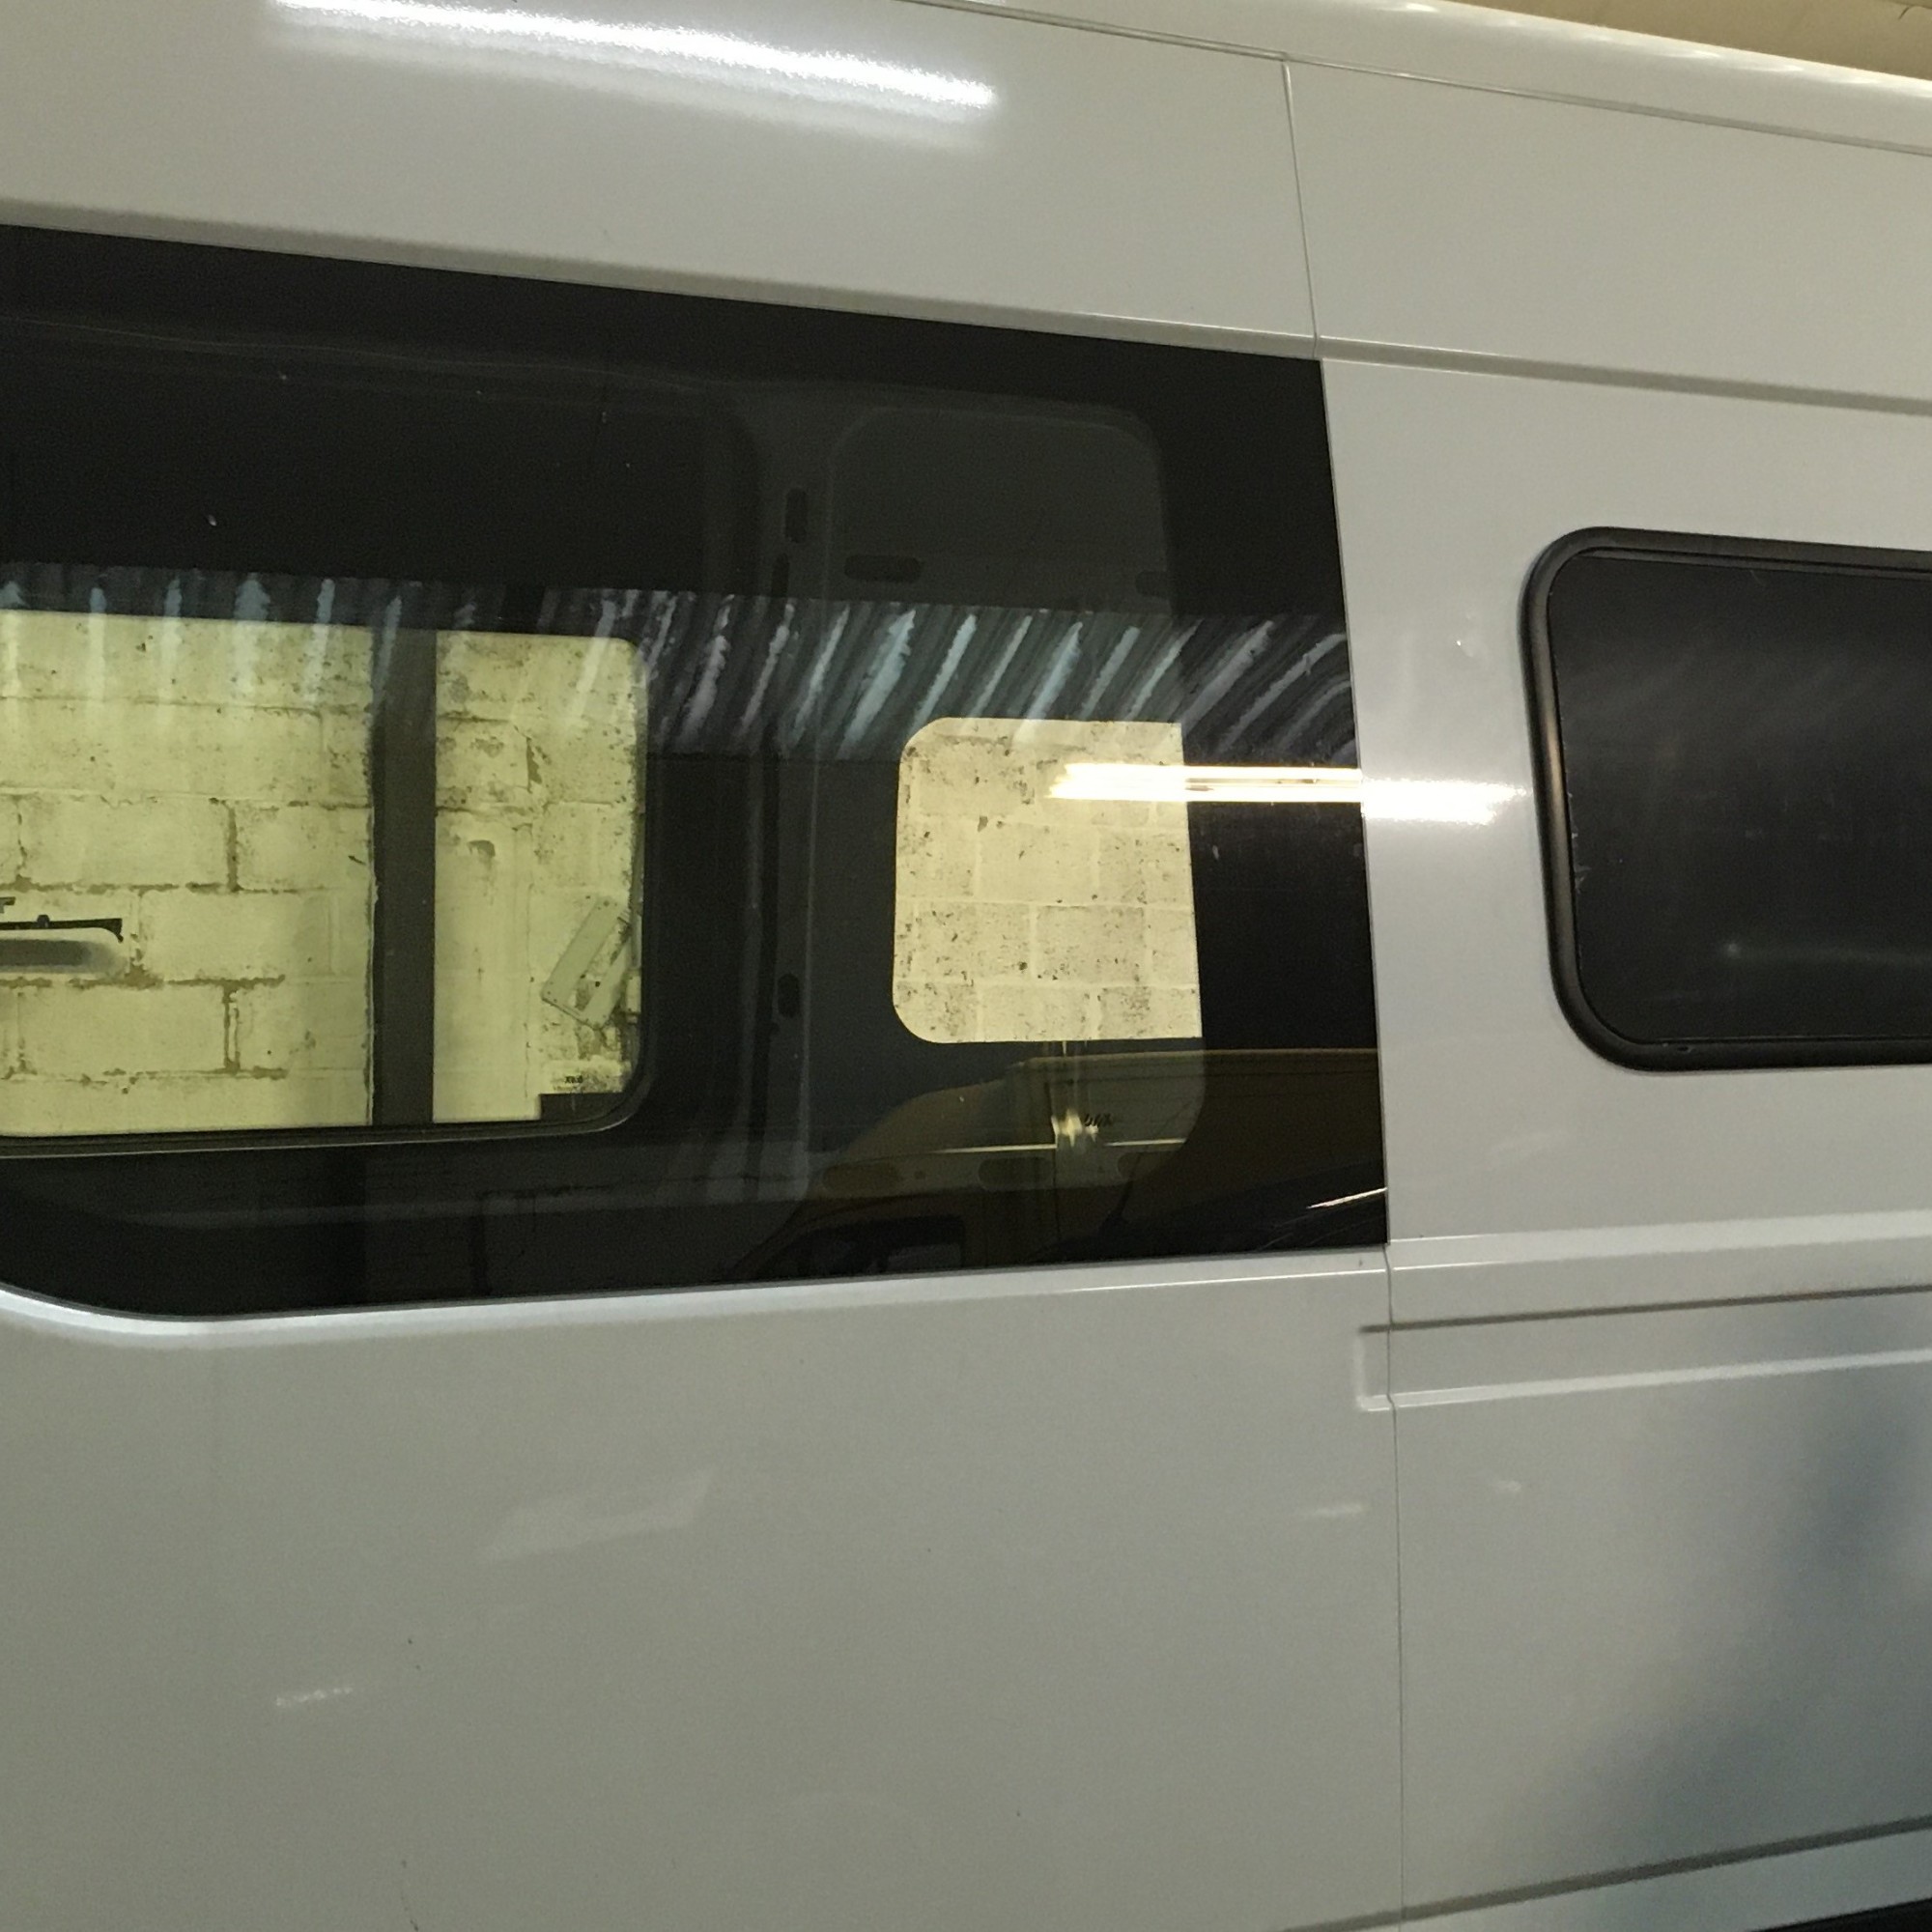
Which meant that we were able to start. For real. First job: install the windows. We chose two Dometic SP7 windows to be installed on both sides of the seating area inside the van.
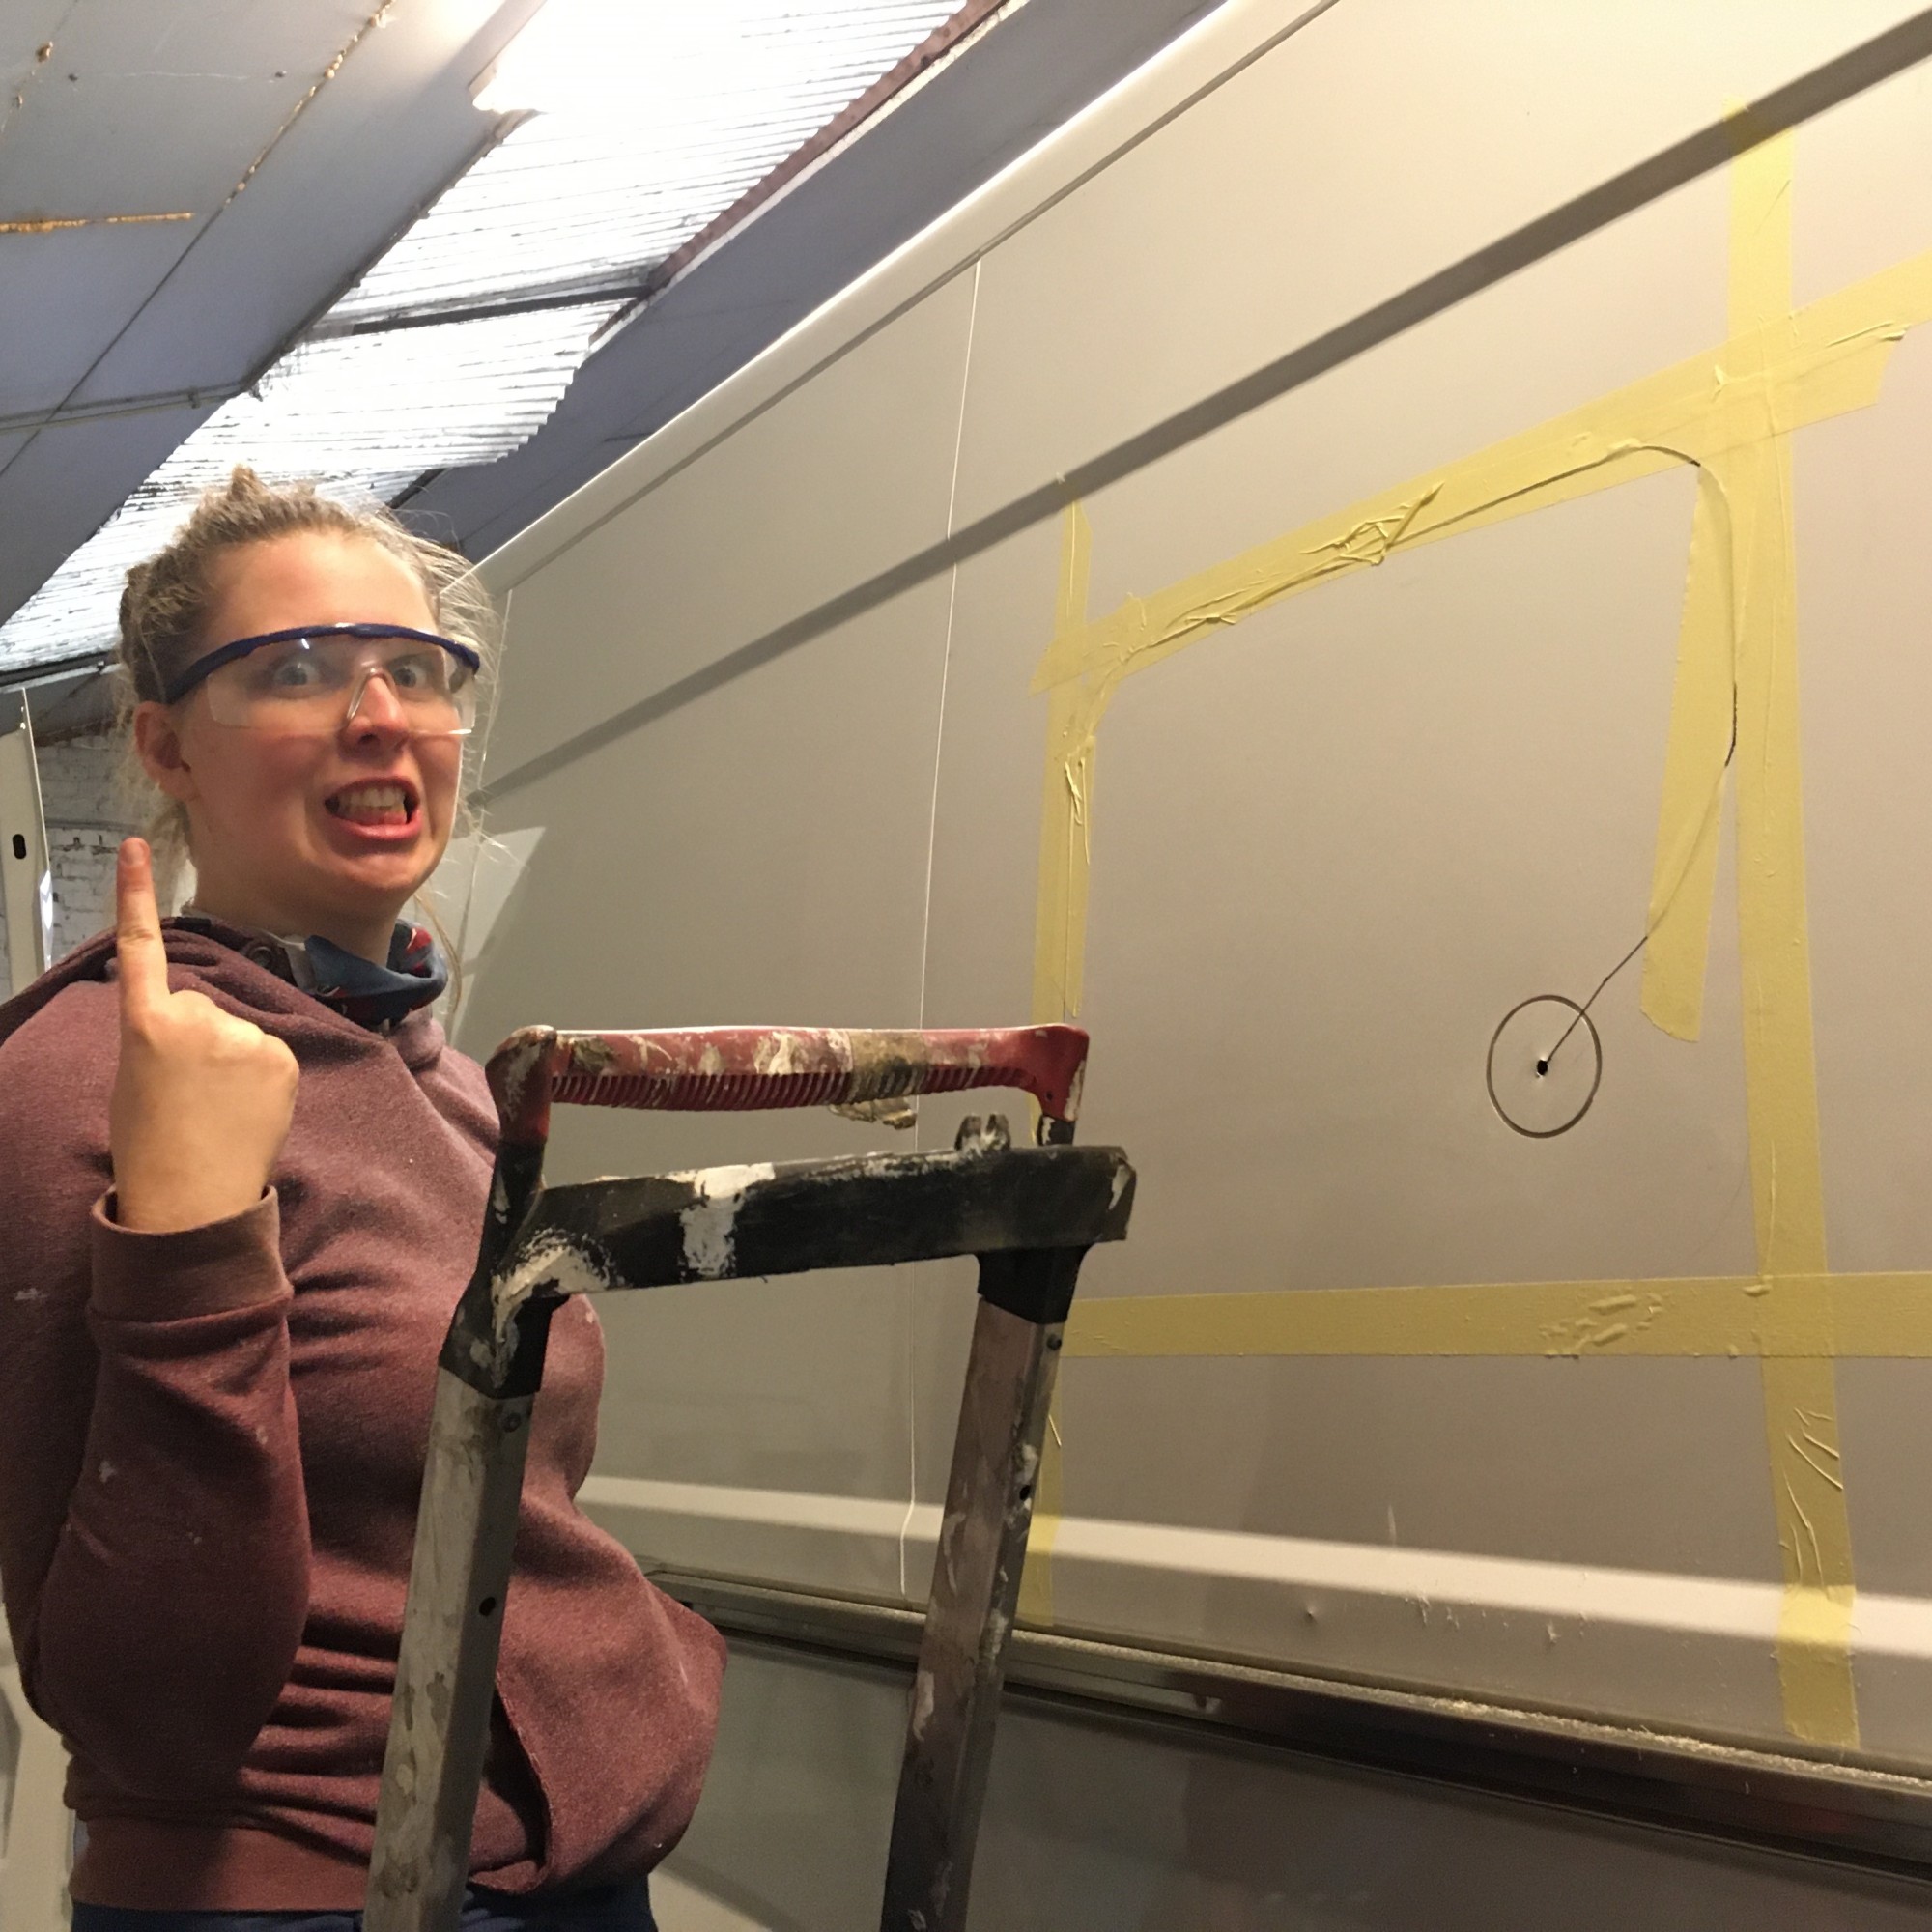
- Calculate, measure, calculate again, apply tape to the desired area.
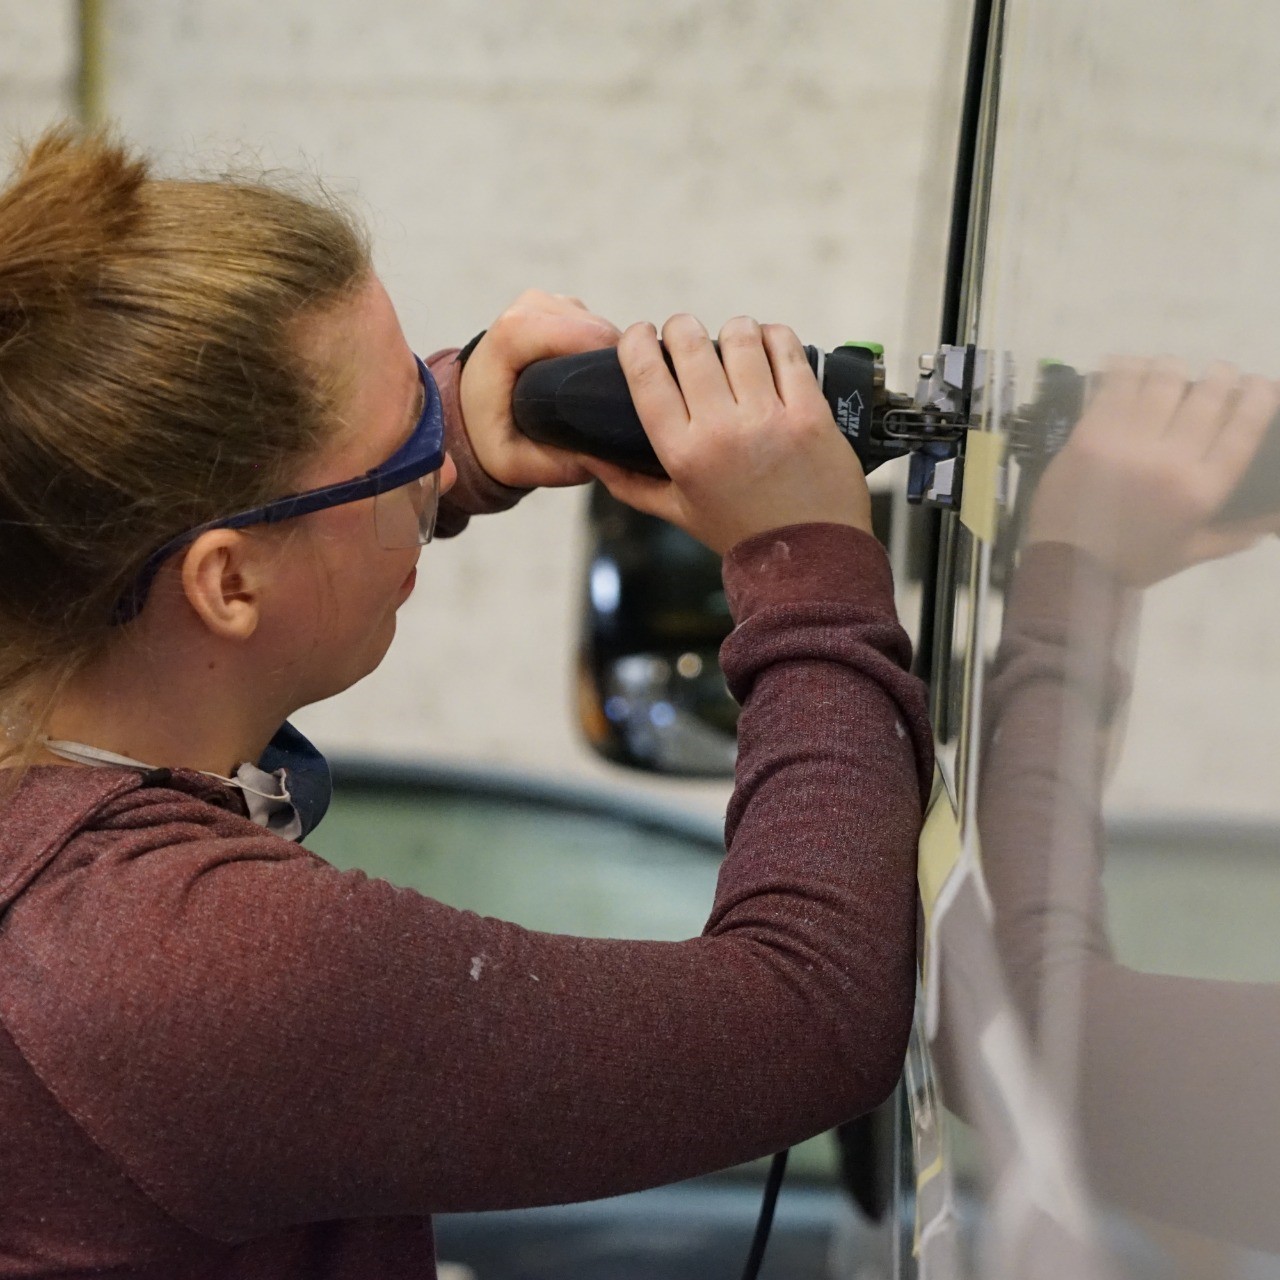
- We used a regular drill to make a starting point and a jigsaw to cut out the windows.
- Make sure to apply tape over the cut out, to avoid unwanted bending.
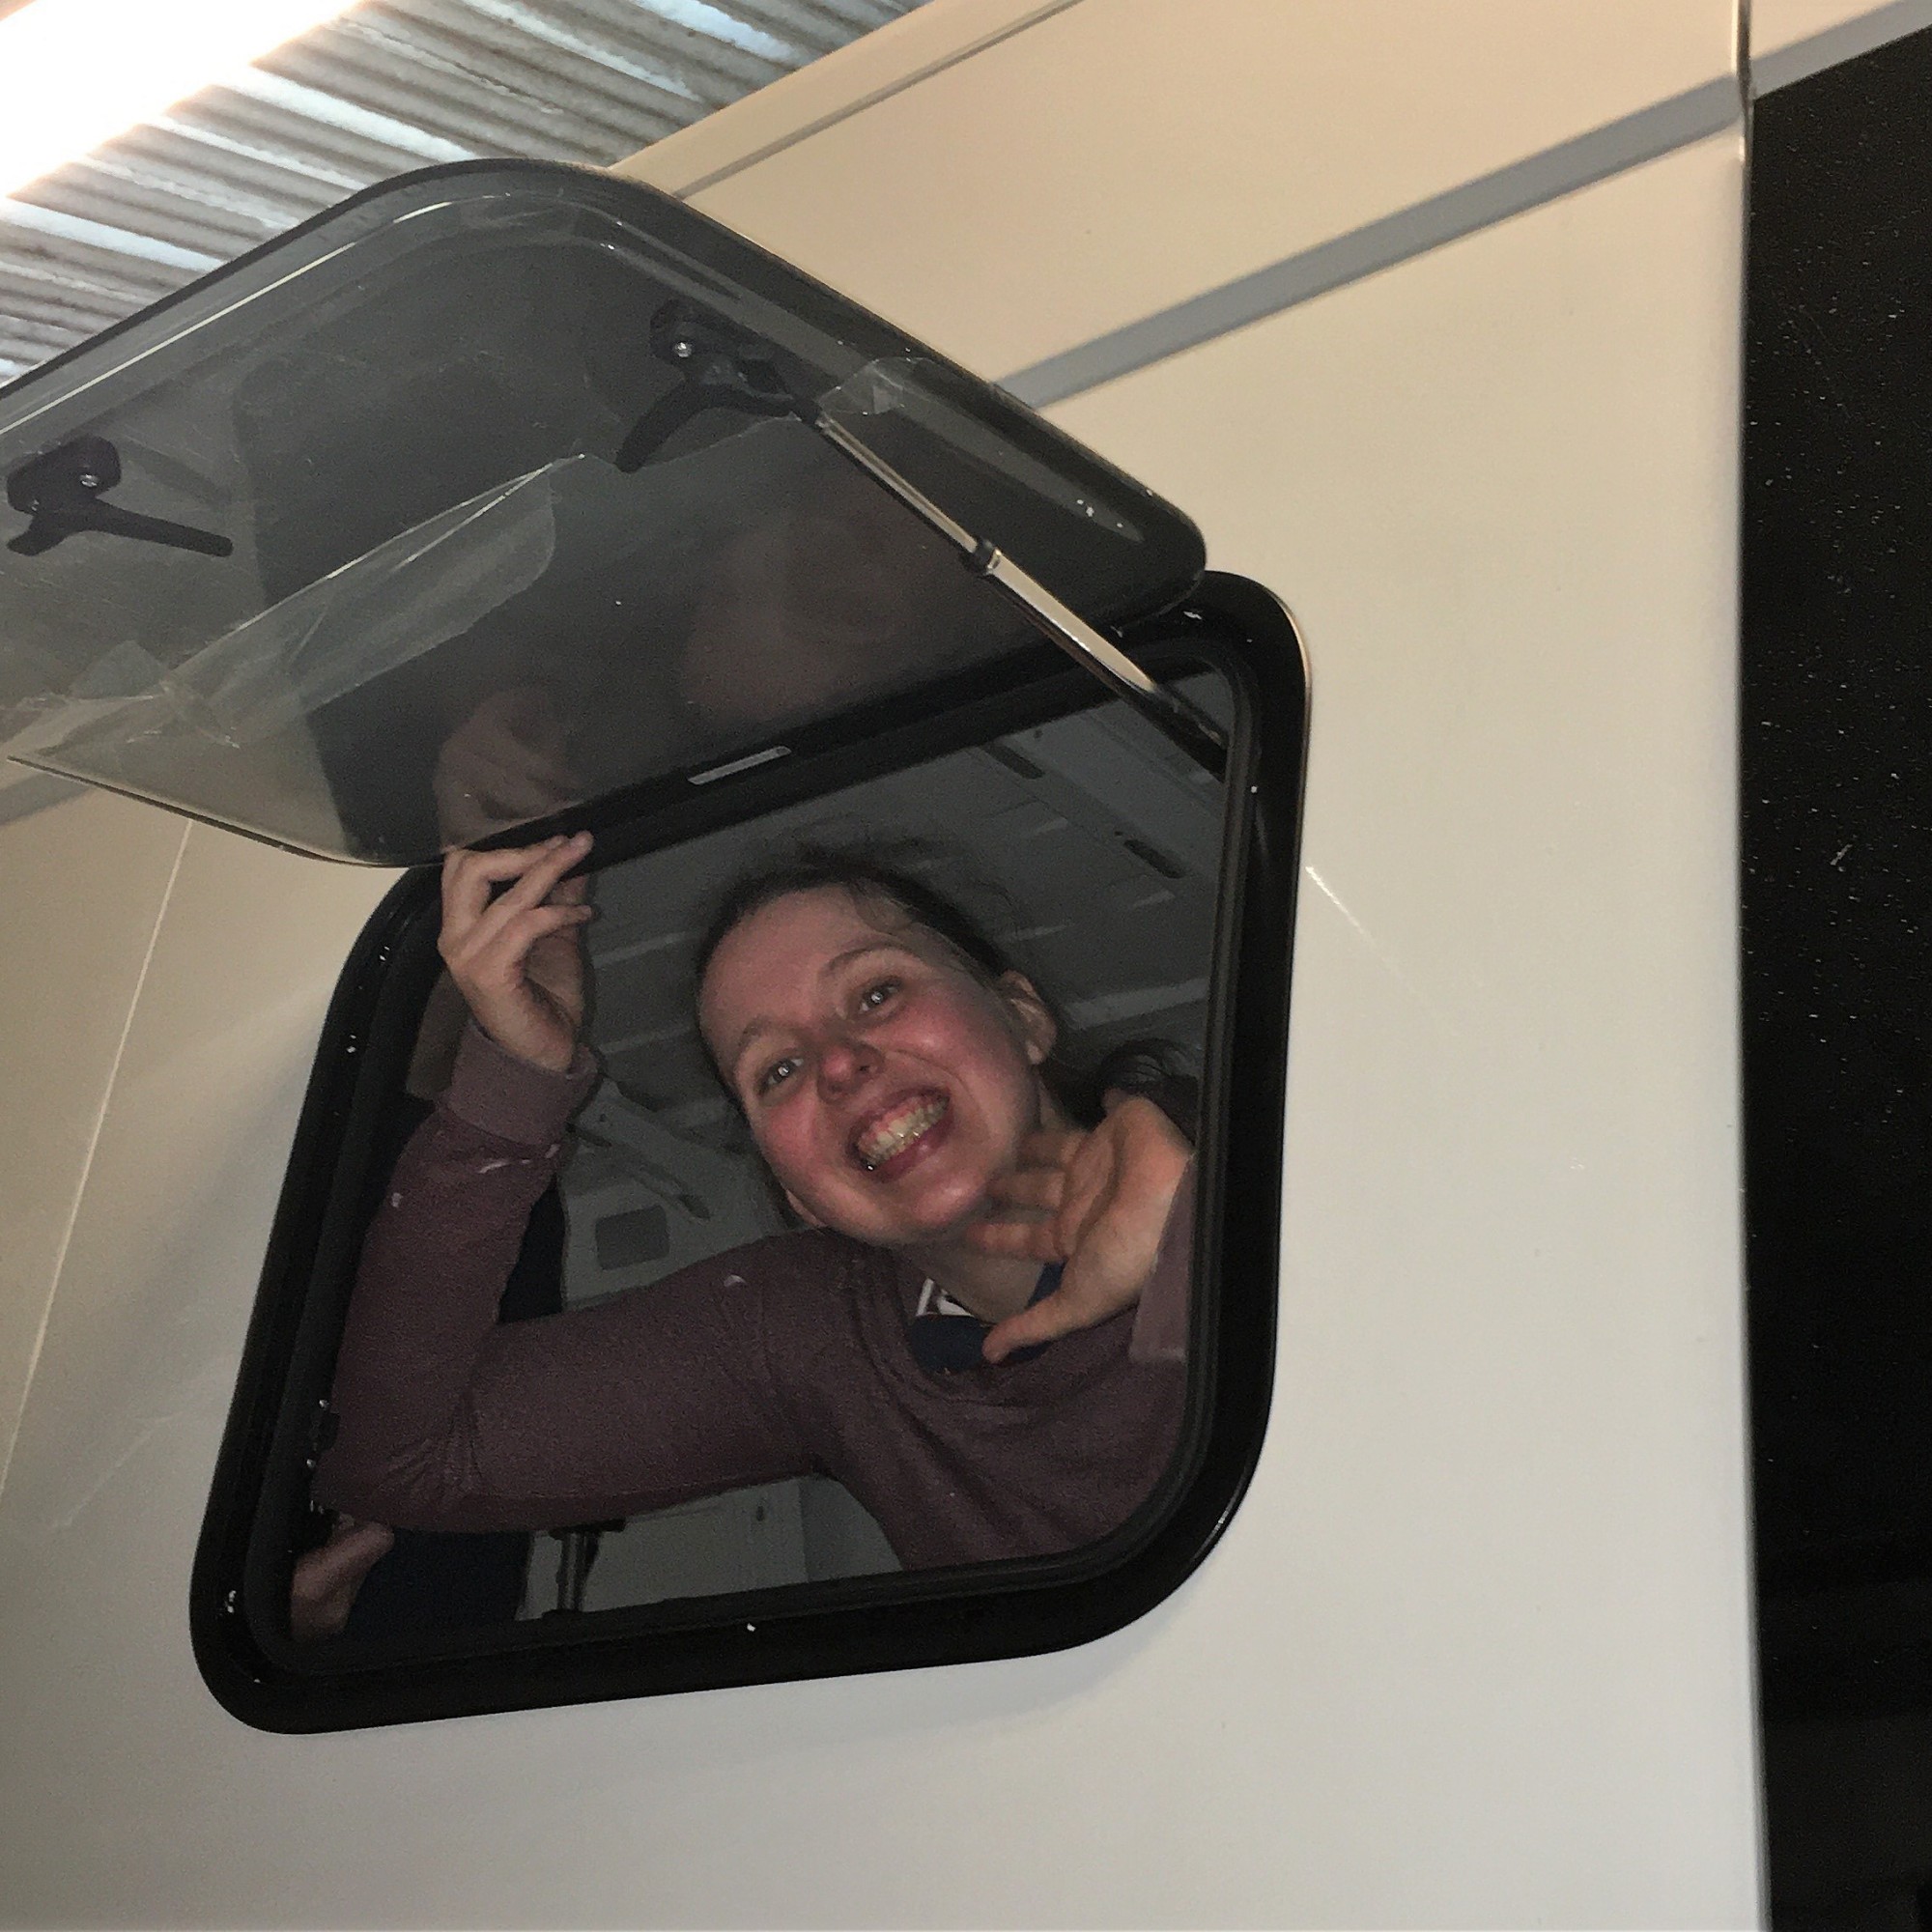
- Fit in the window. Smile.
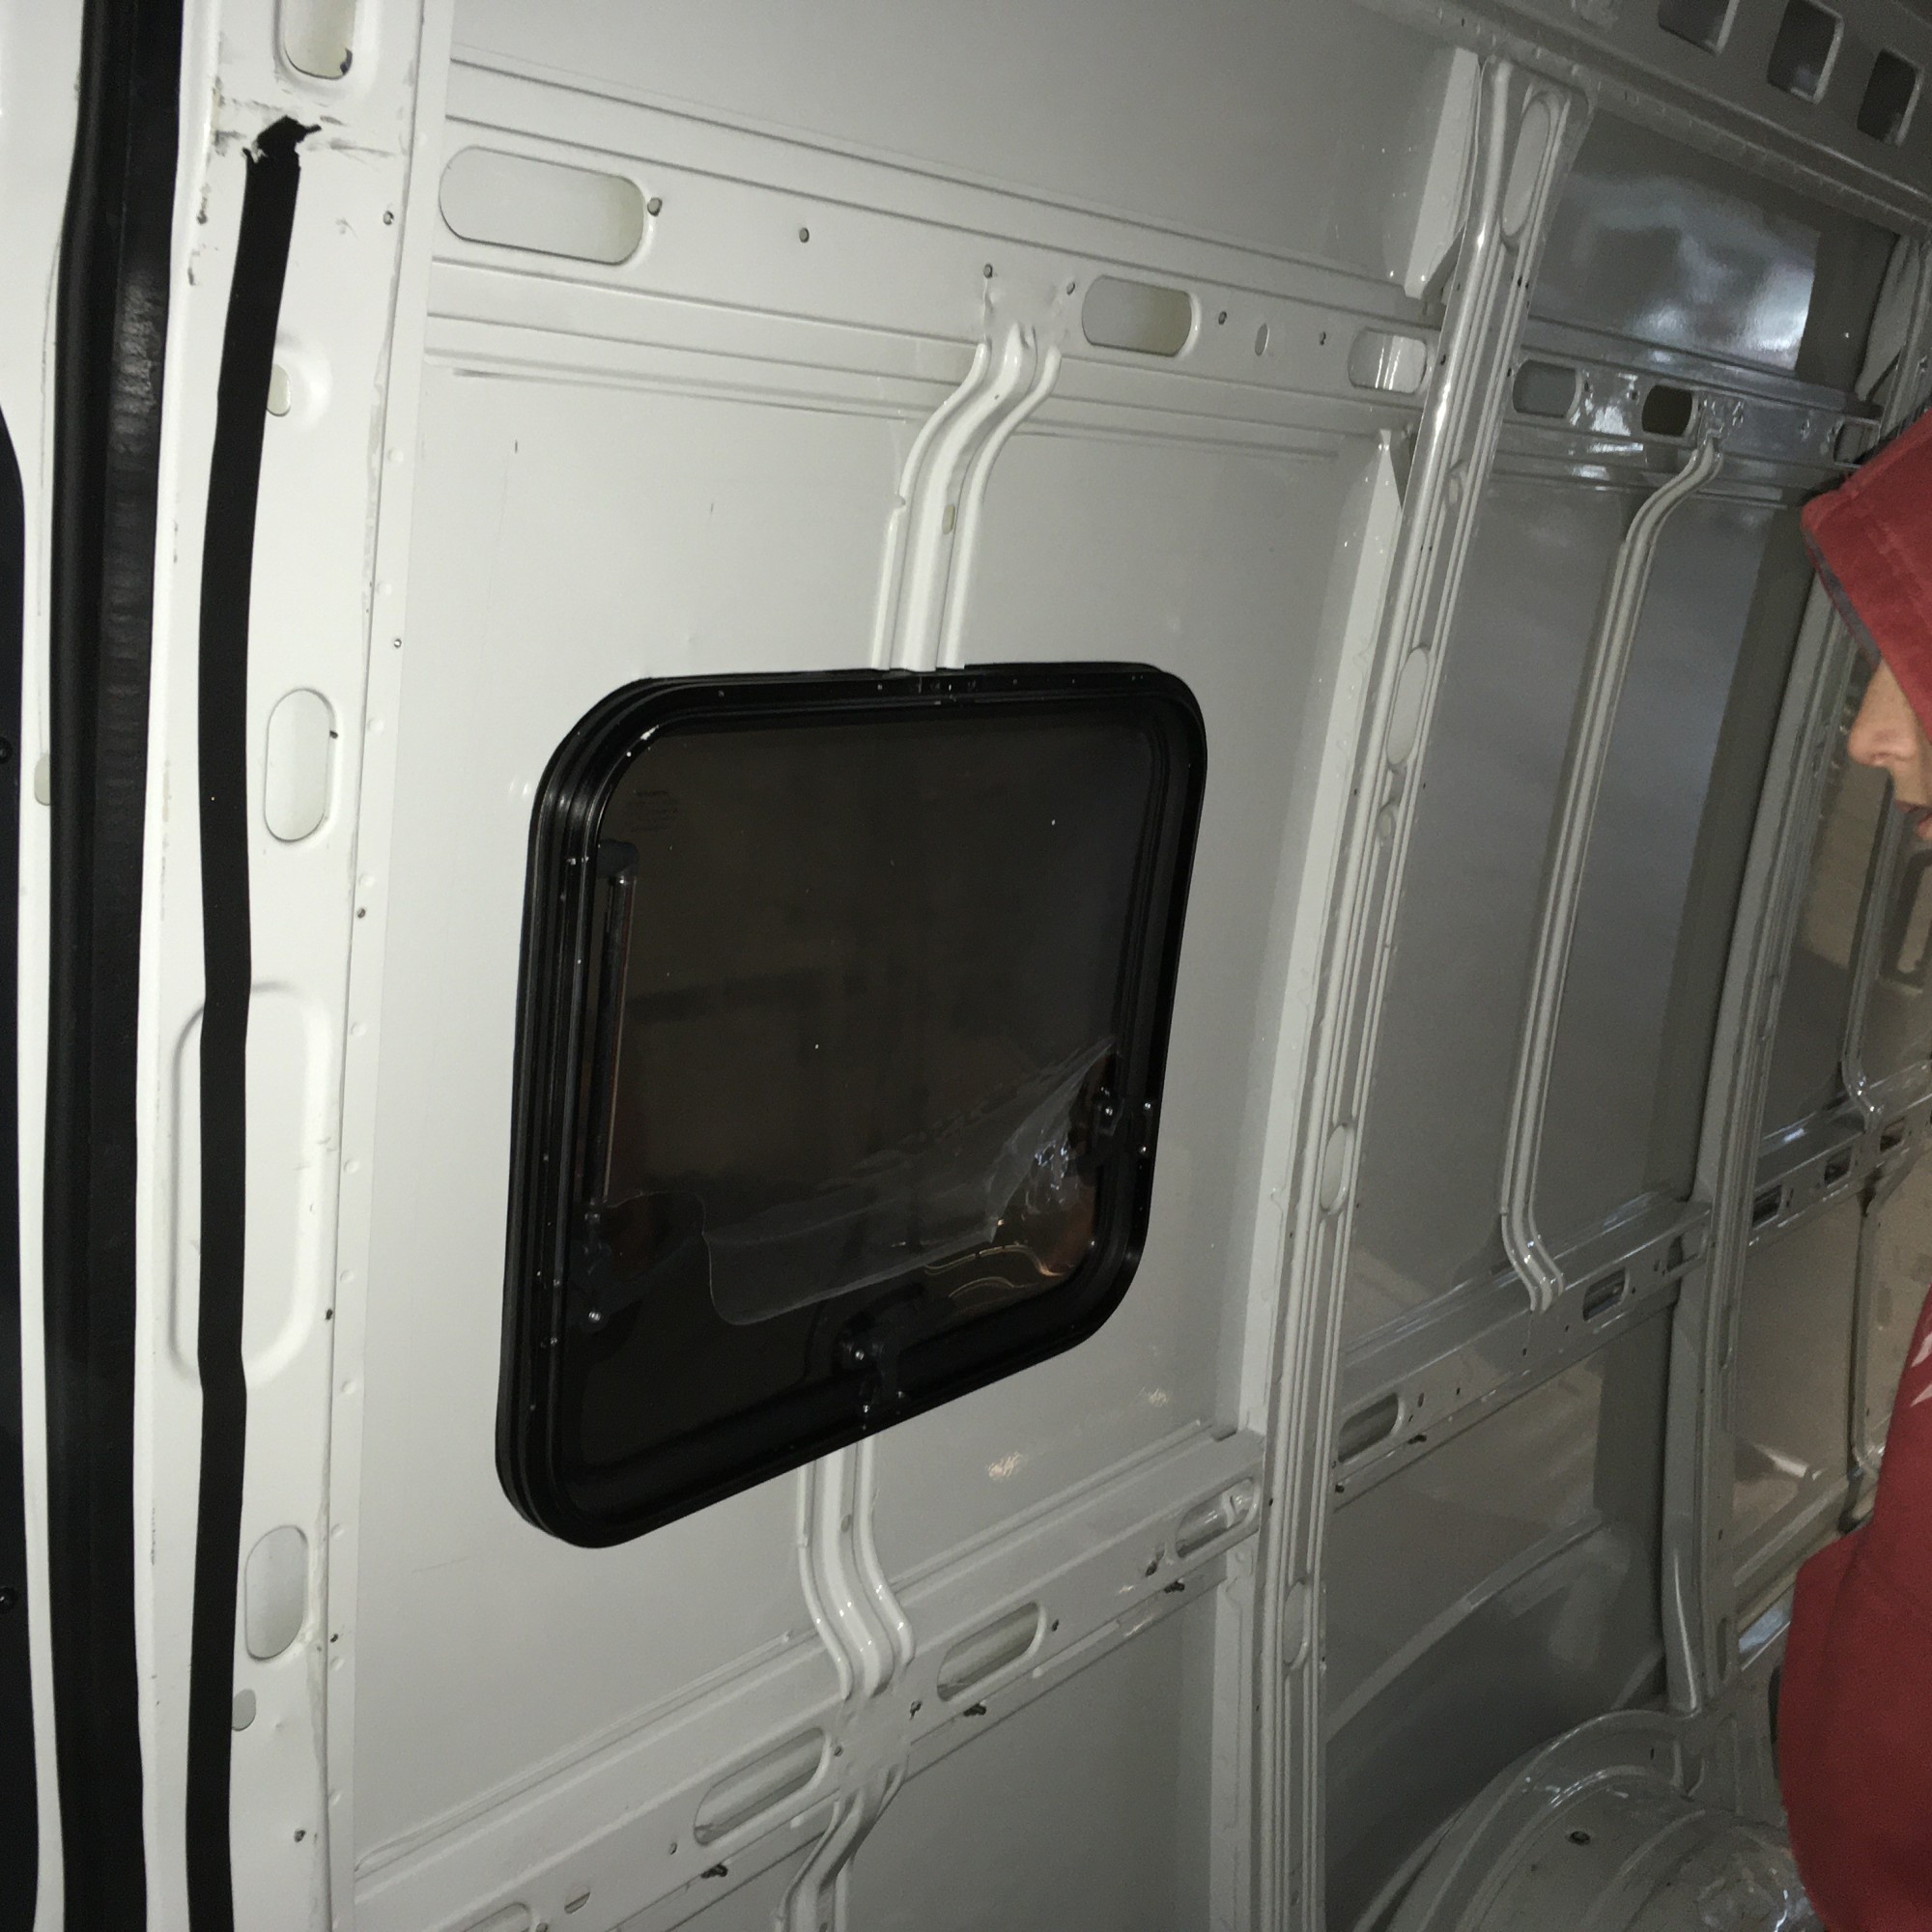
Next step will be cutting out the wooden support for the windows and order the appropriate window fixing kit.
Upcoming: installing our Dometic FanTastic Vent (kitchen) and Dometic GY 11 Roof ventilator (shower).

One thought on “Installing windows part I”