Preparations
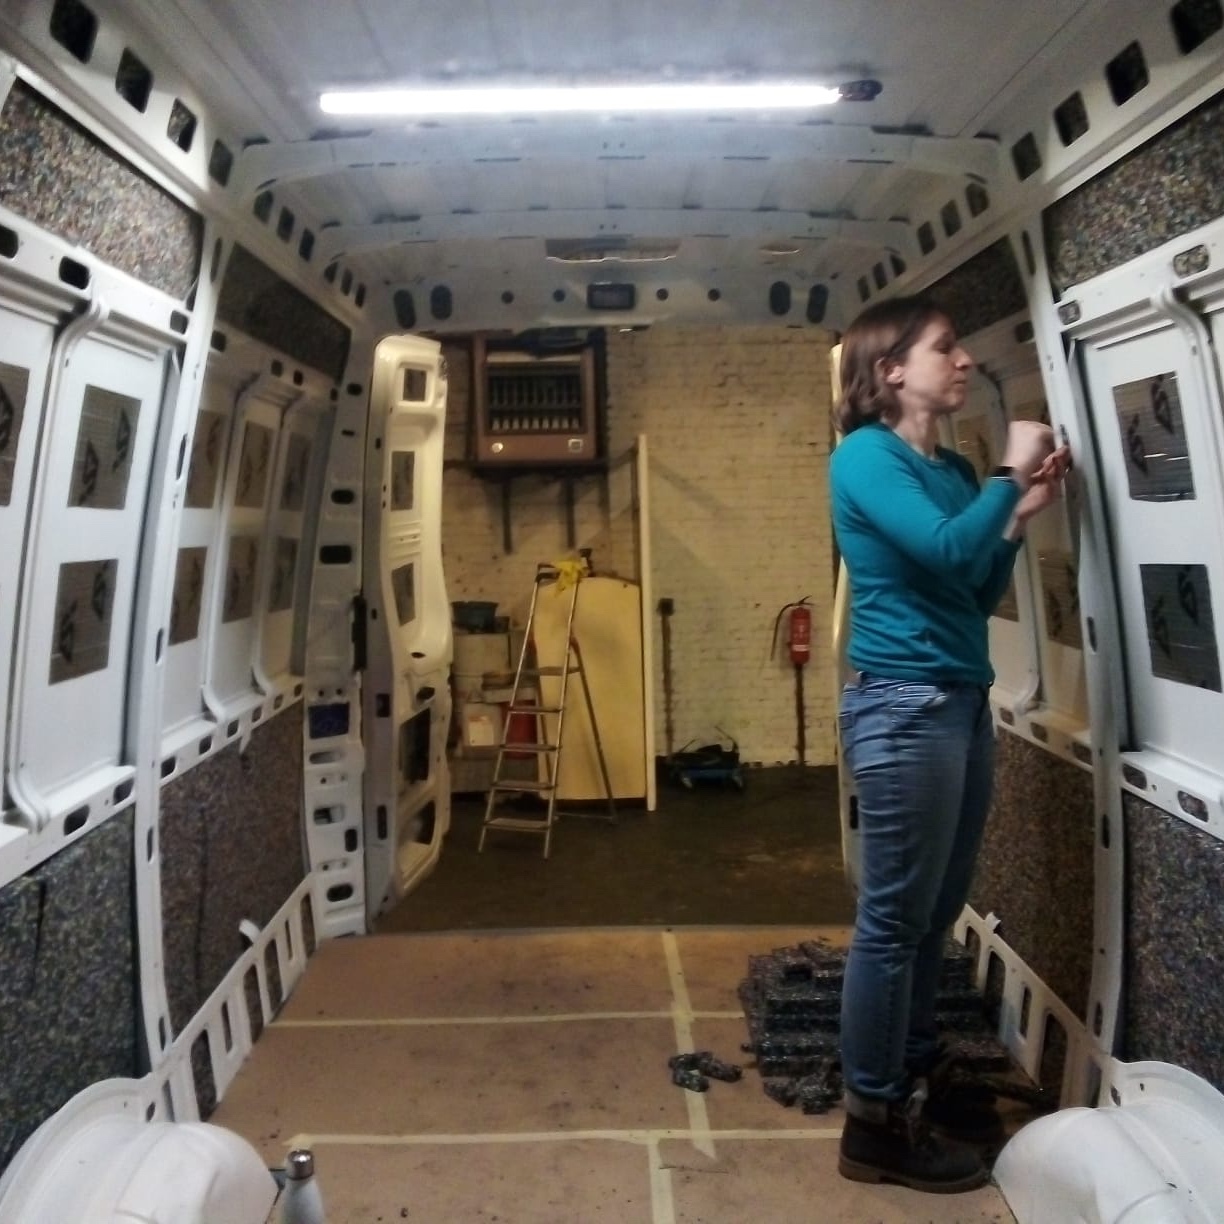
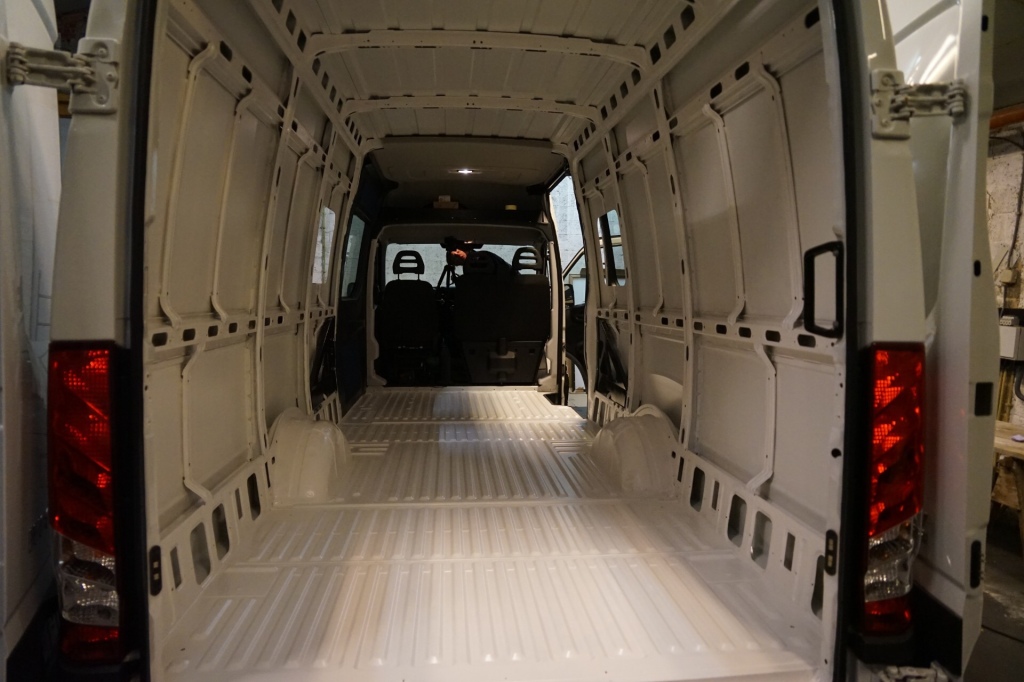
Before we started to insulate, we had to prepare the bodywork. Sofie en I thoroughly cleaned the back of the van and applied Hammerite anti-rust paint to all metal parts.
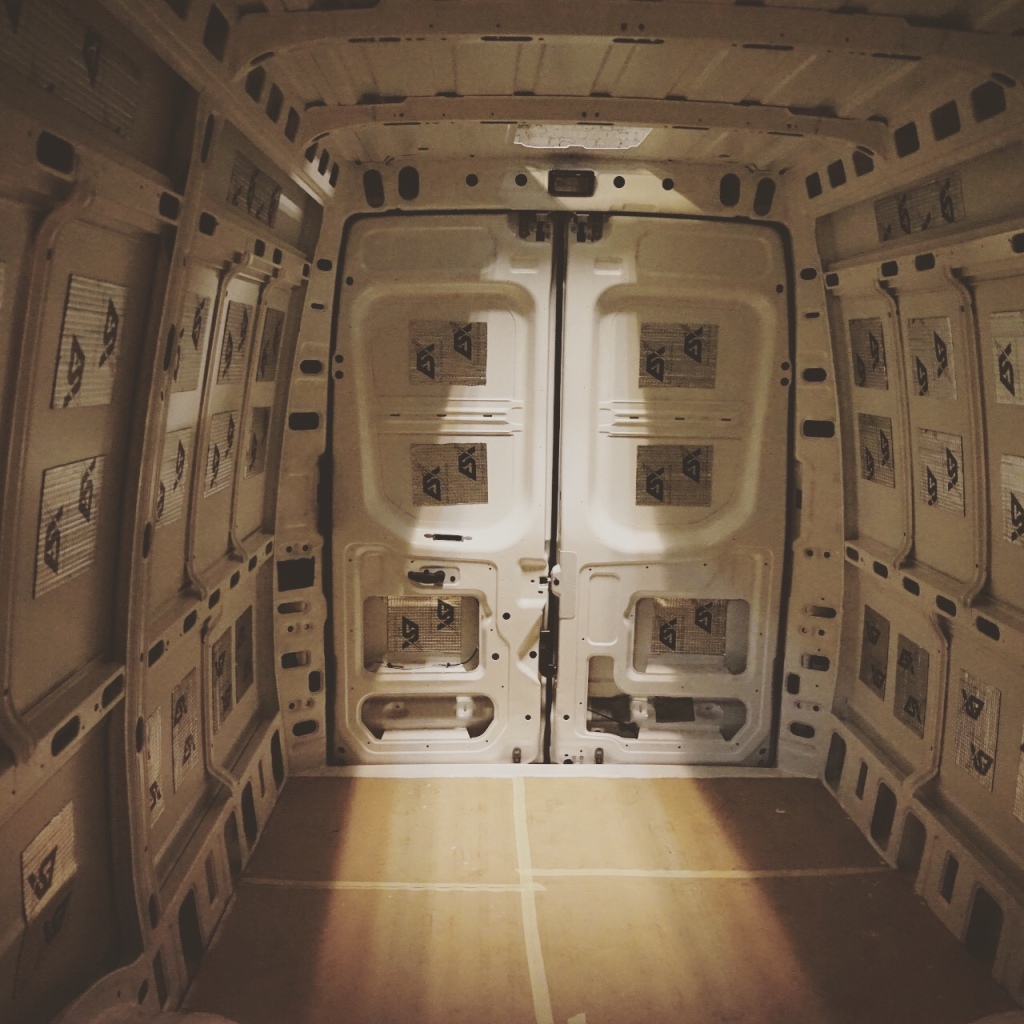
Part one: sound deadening mats
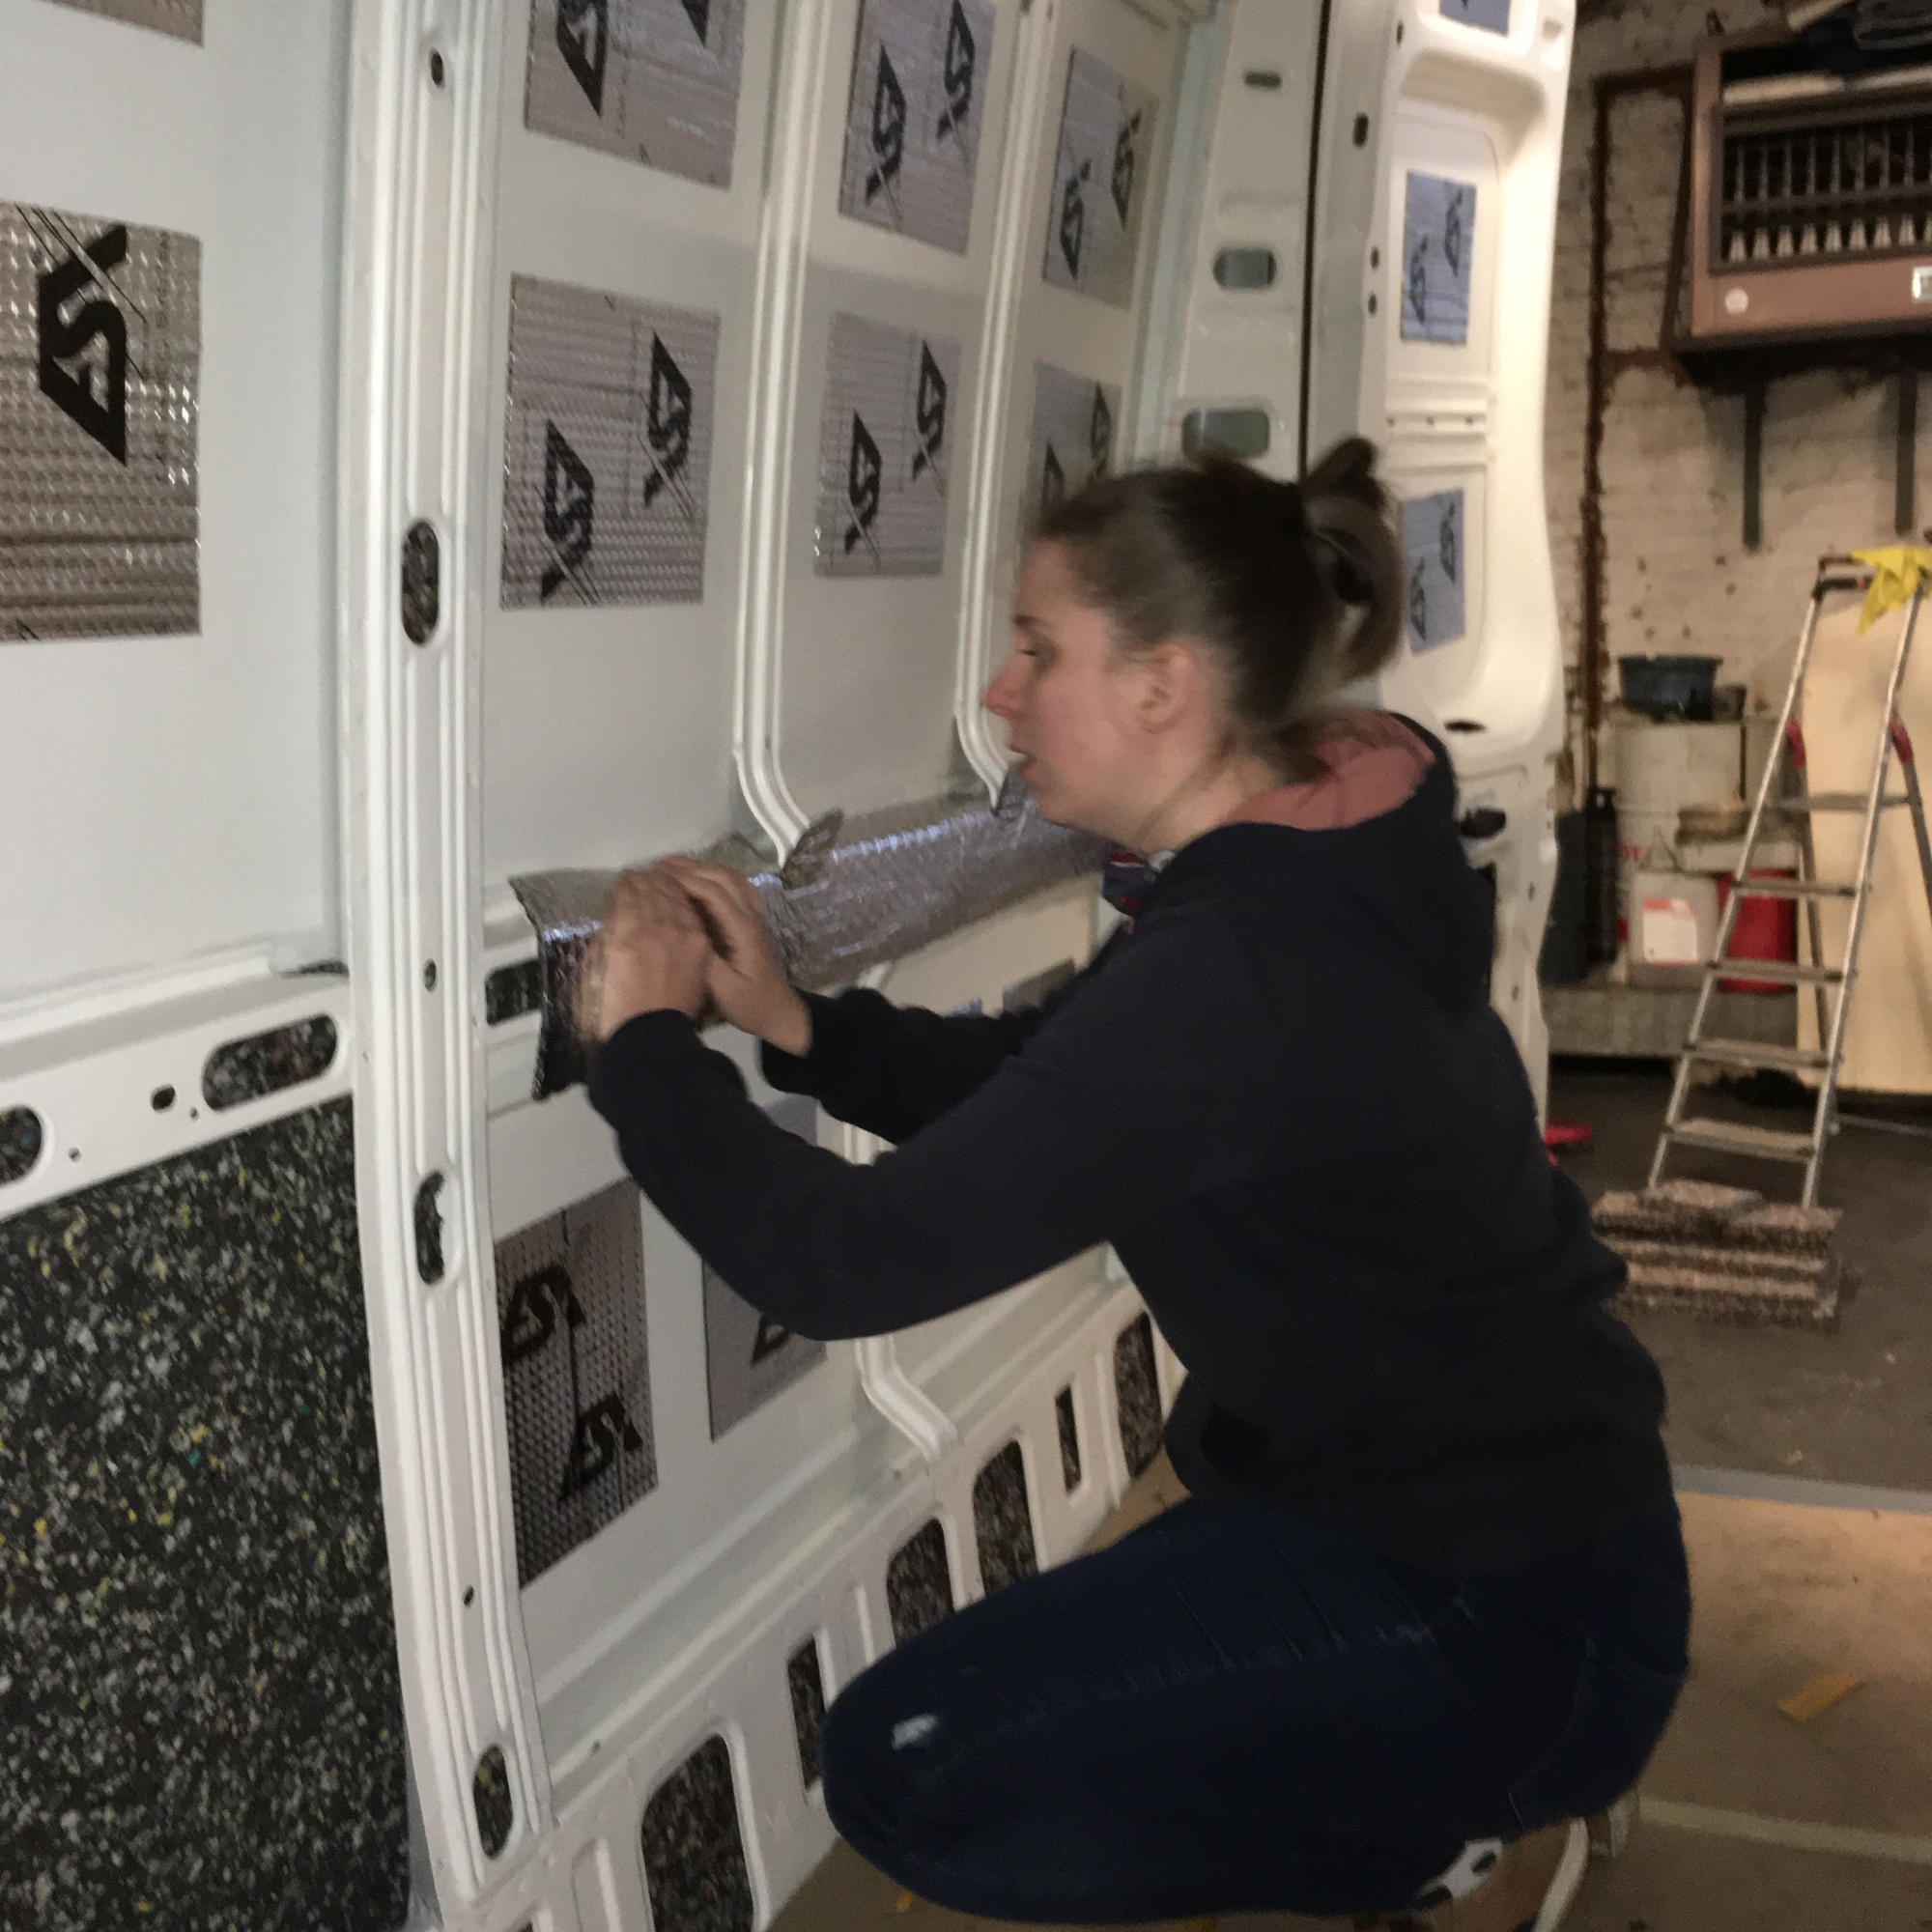
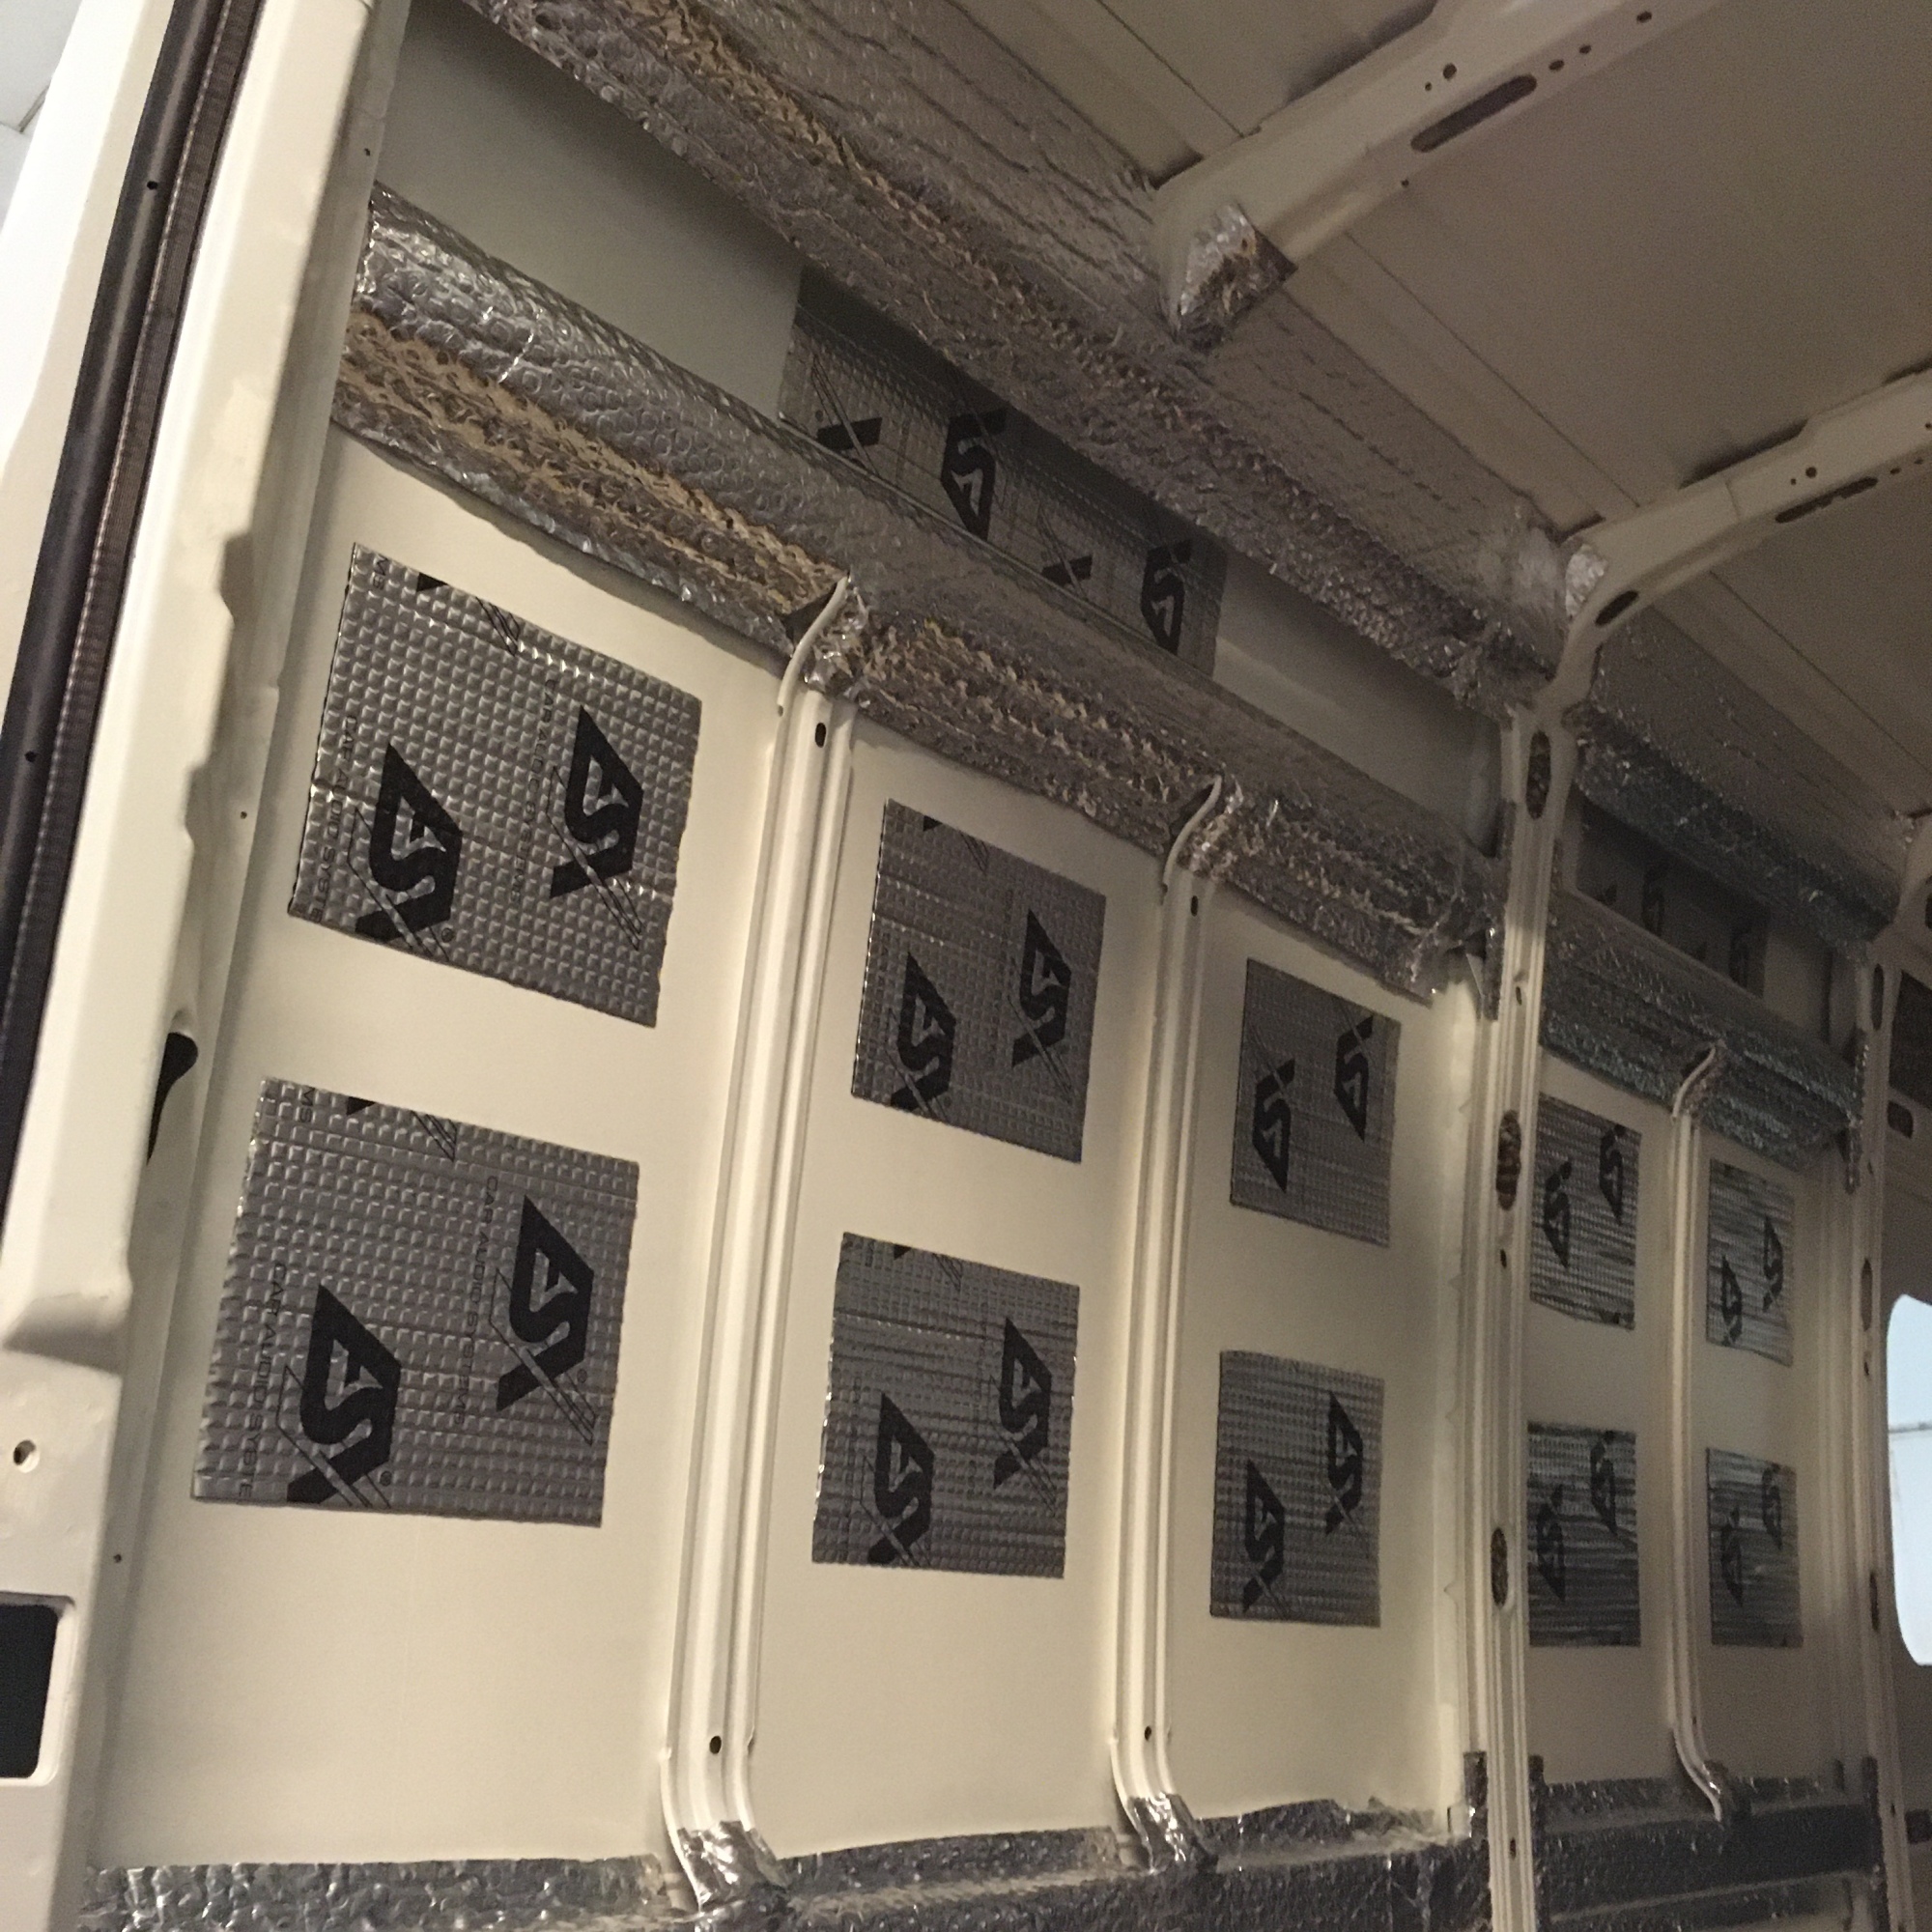
When you convert a regular van into a camper van, you really want to add noise cancellation to minimise the typical van noises such as the slamming of a door, vibrations, outside noises. Just apply sound deadening mats to the walls and doors of the van. You’ll immediately notice the difference when you tap the walls or slam the door. We used ESX dampening mats.
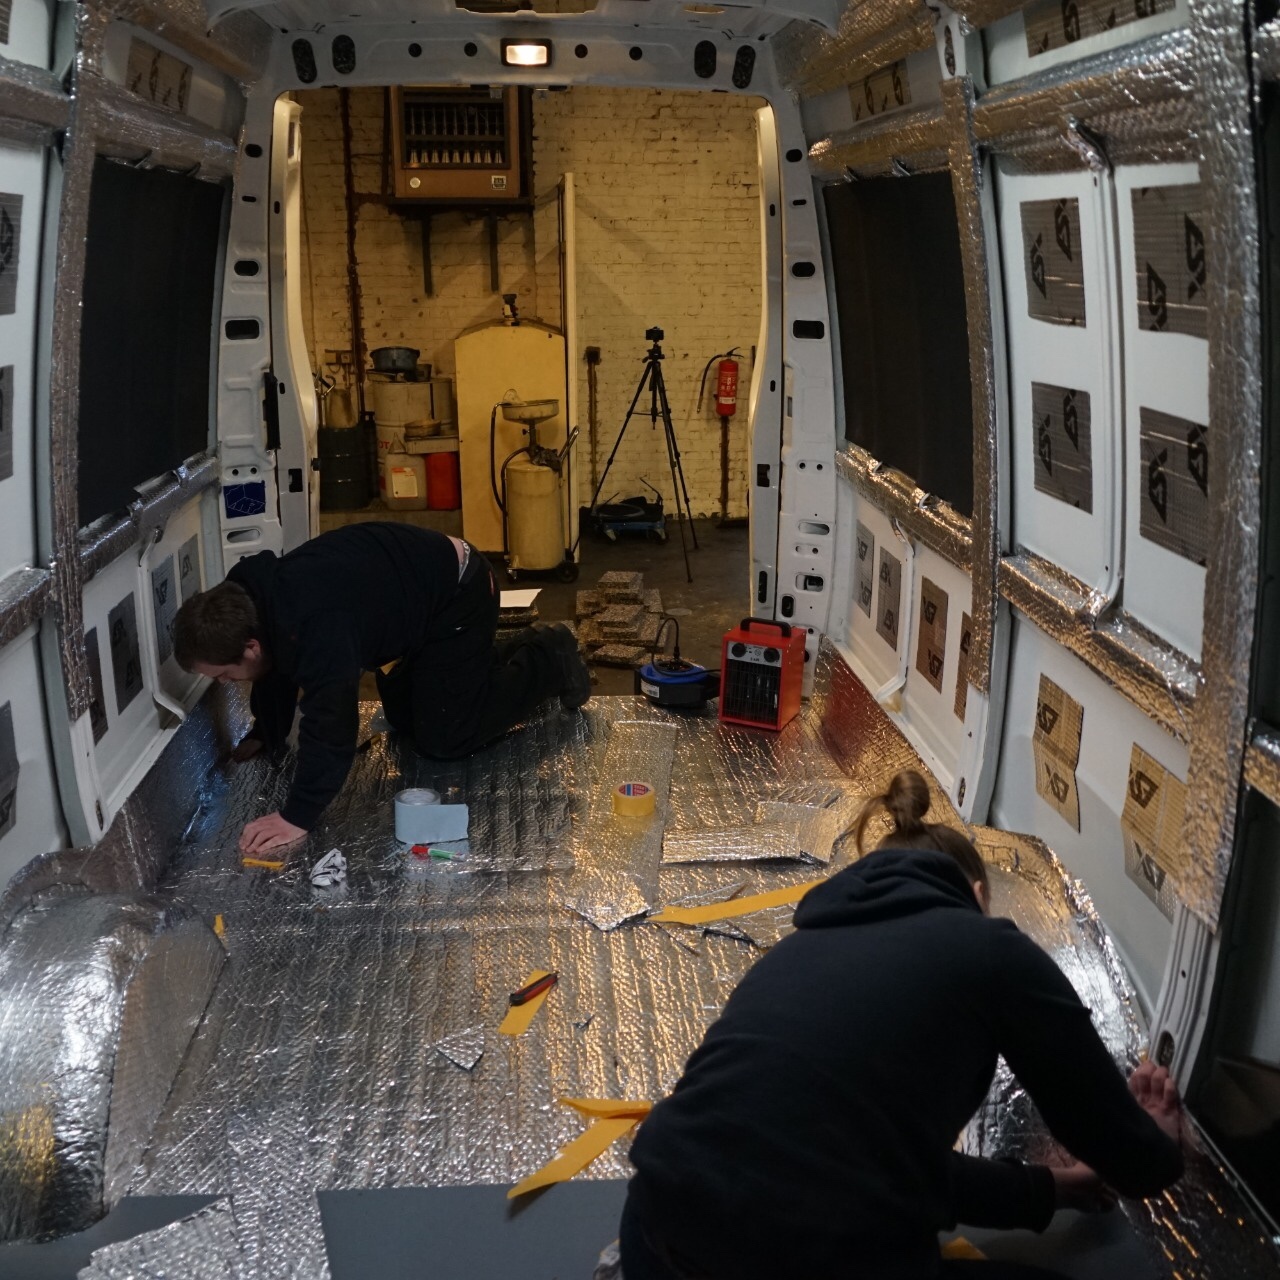
Part two: subflooring and floor
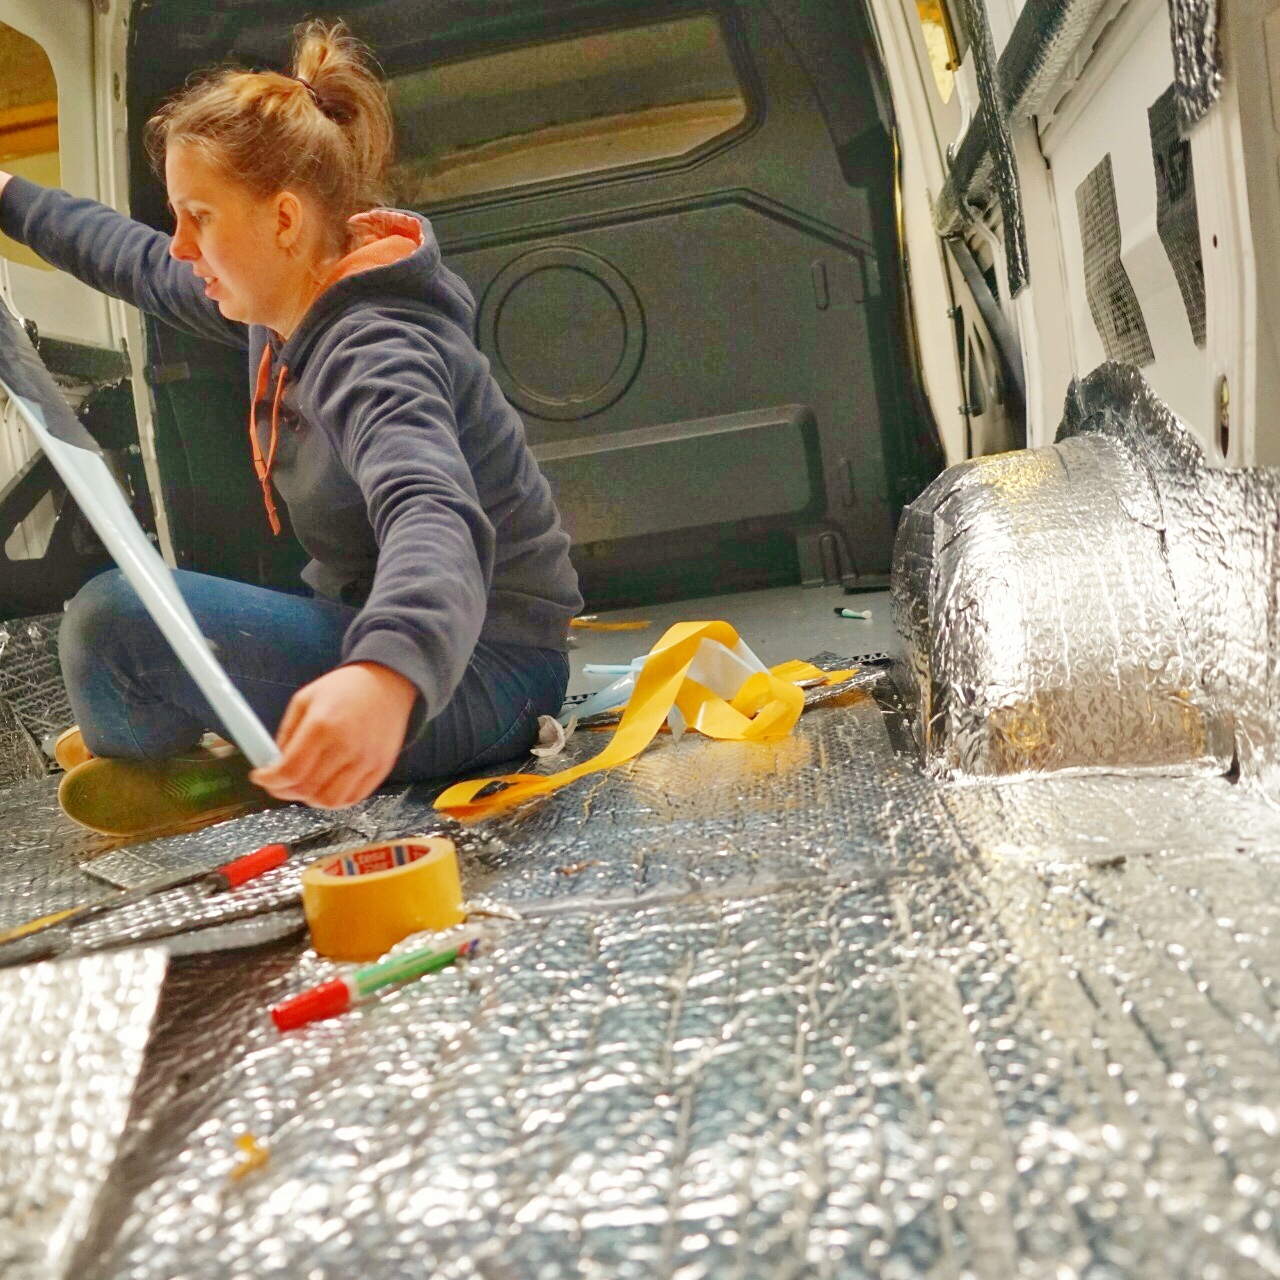
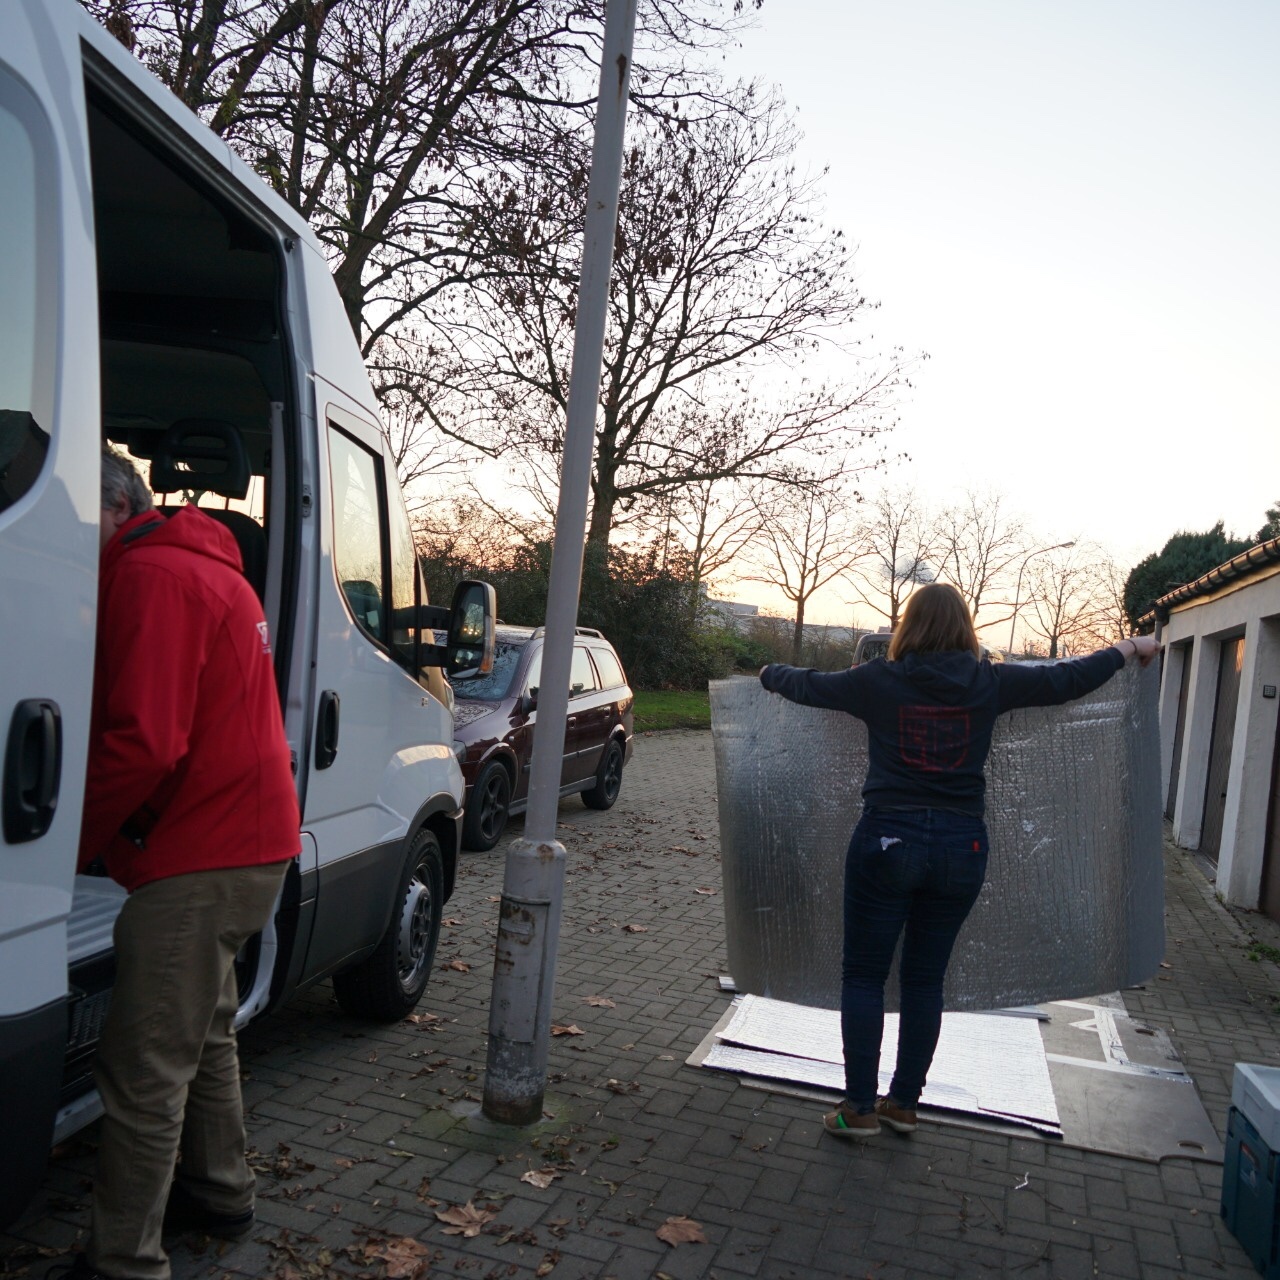
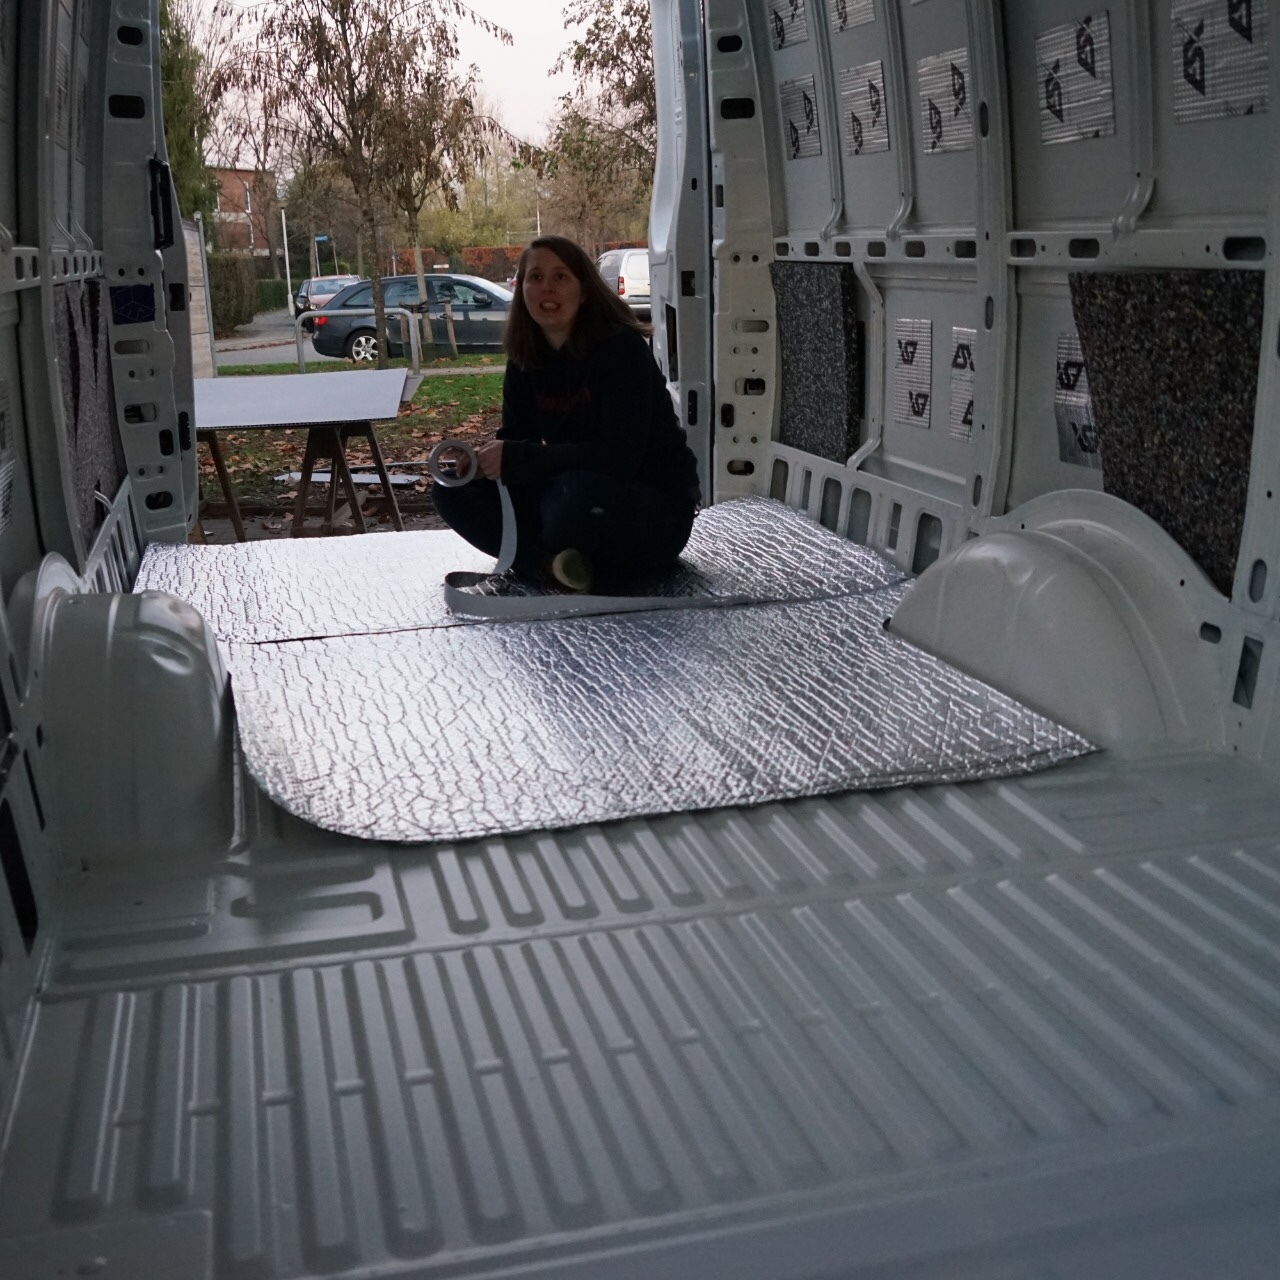
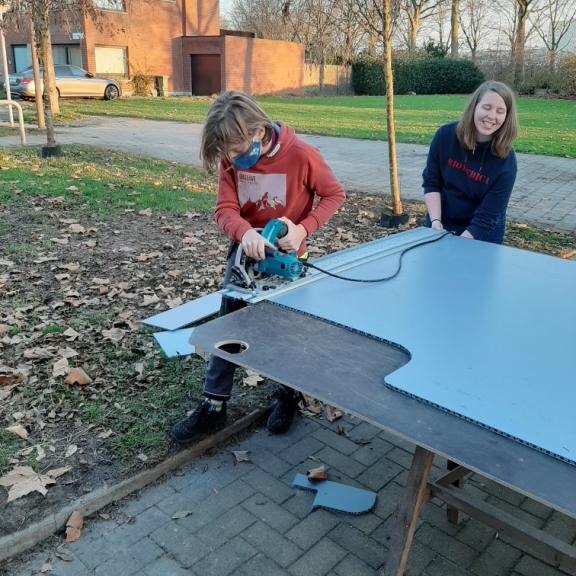
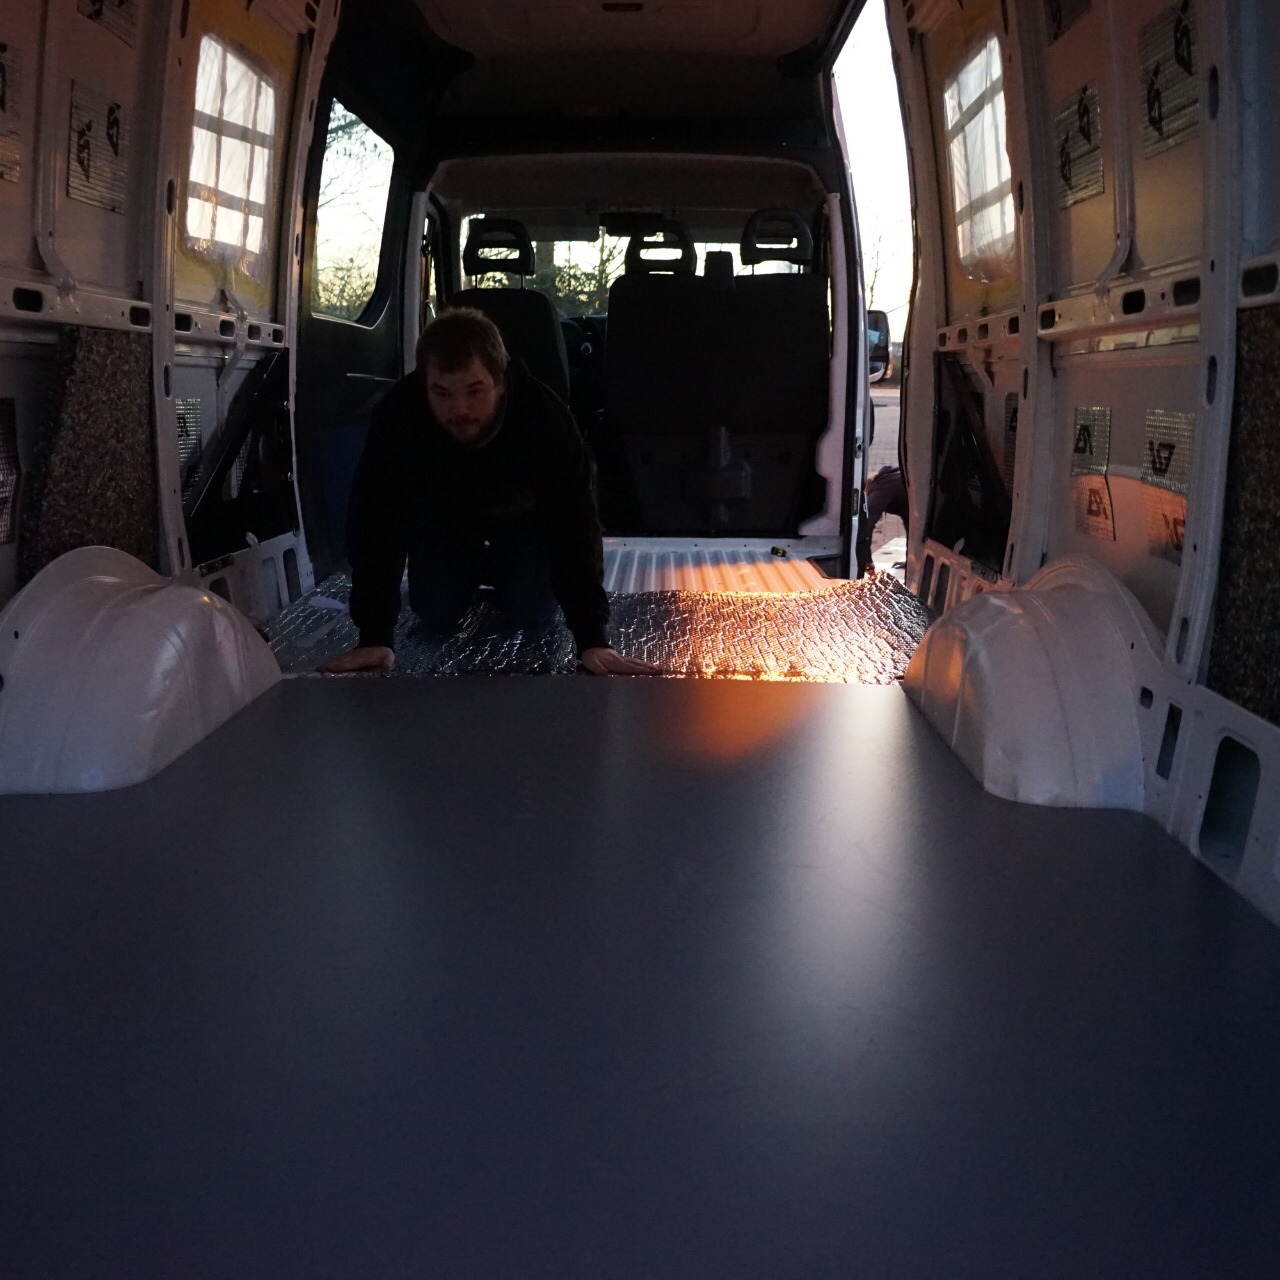
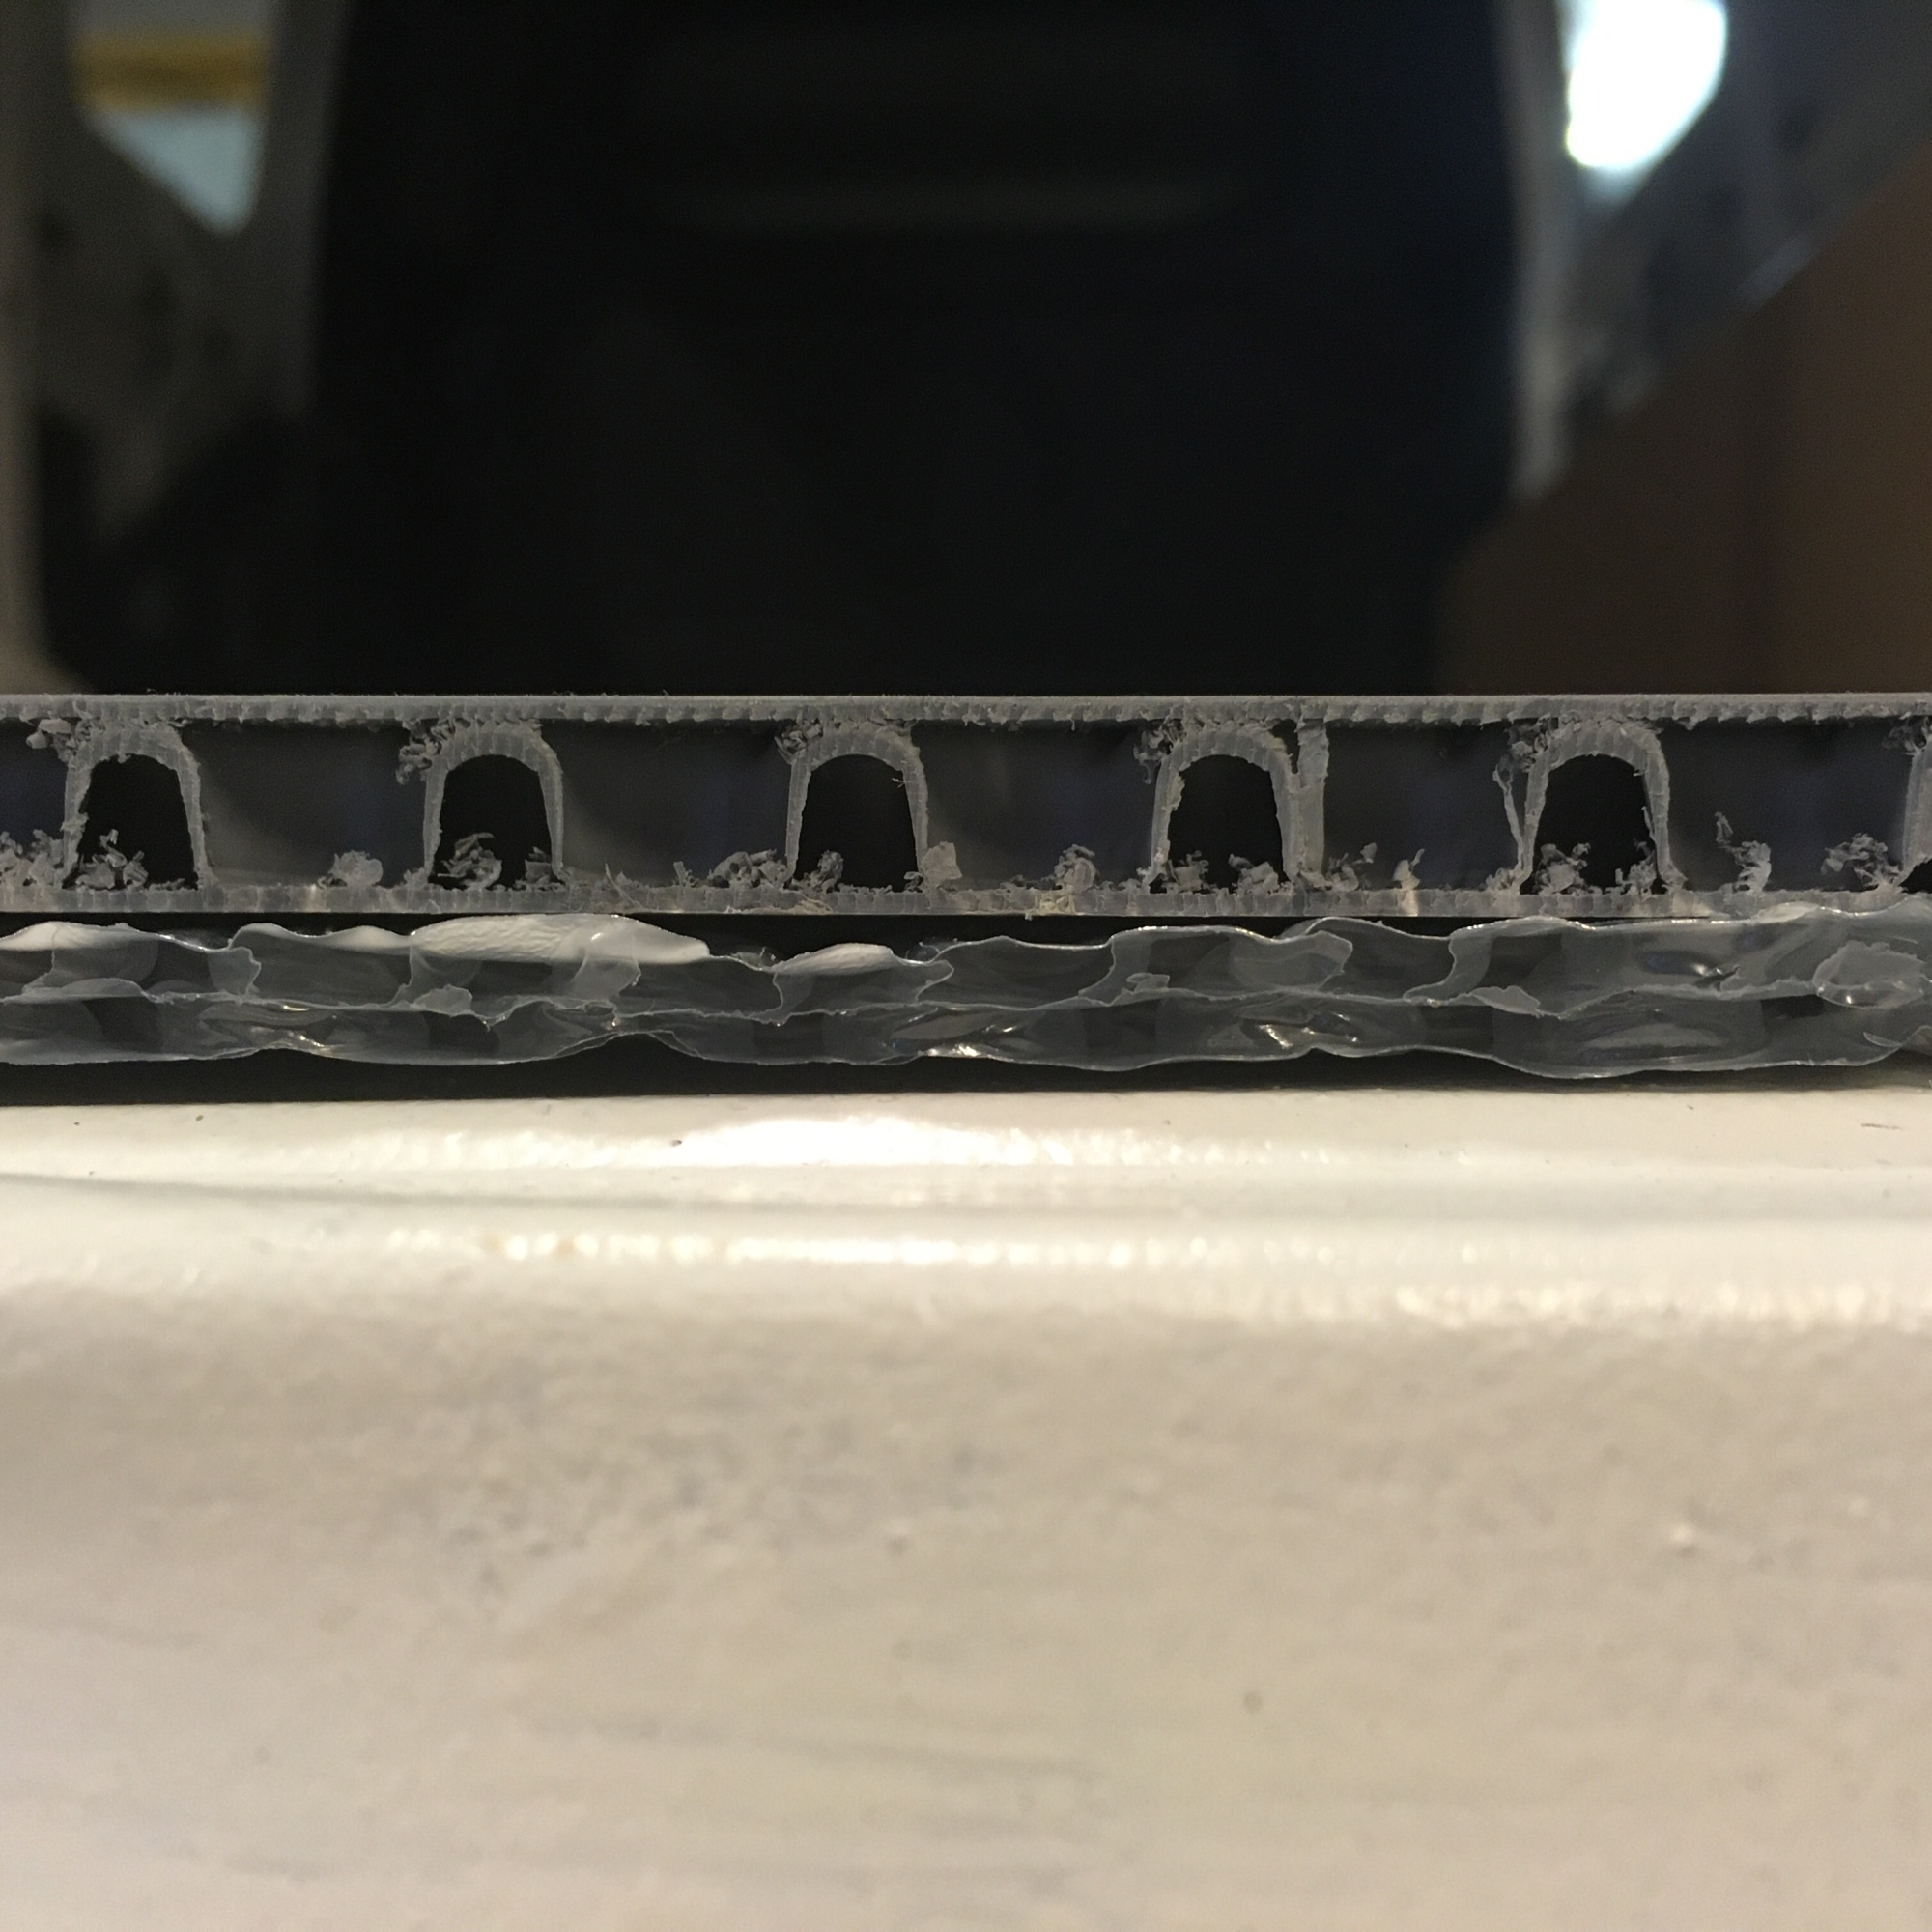
The insulation below the floor is the YBS Airtec Double Bubble two-sided polyethylene coated aluminum foil. It adds up to R=1,5 m²K/W to your insulation quotient. For the floor we opted for VikuBoard: it consists of two polypropylene sheets with a thermal formed studded structure (honeycomb like). Lightweight at only 3 kg/m². Close up picture at the end of the slide show.

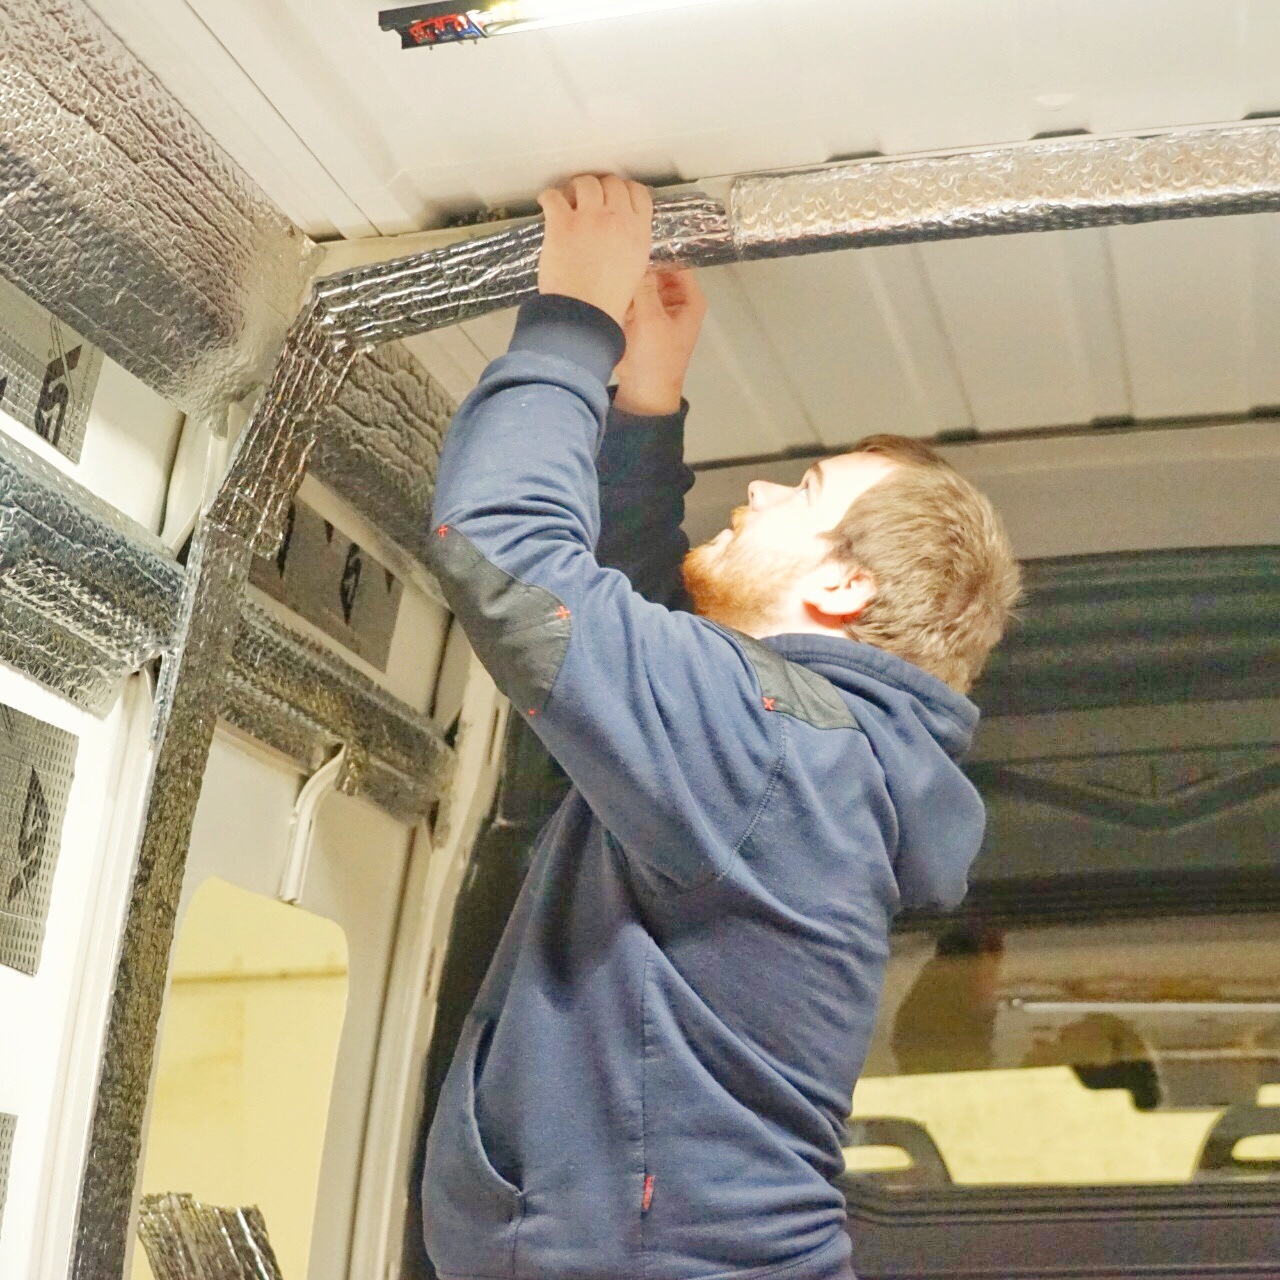
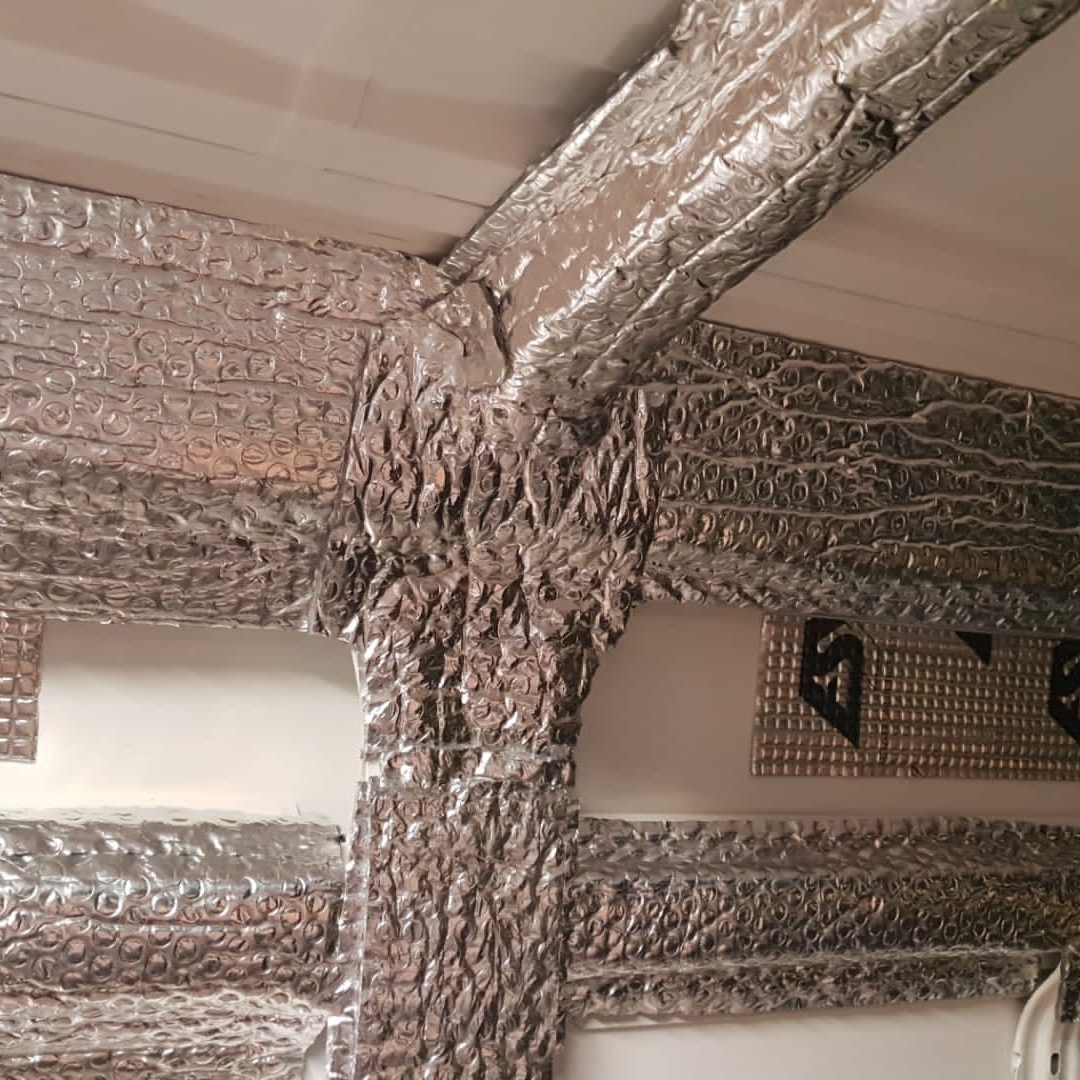
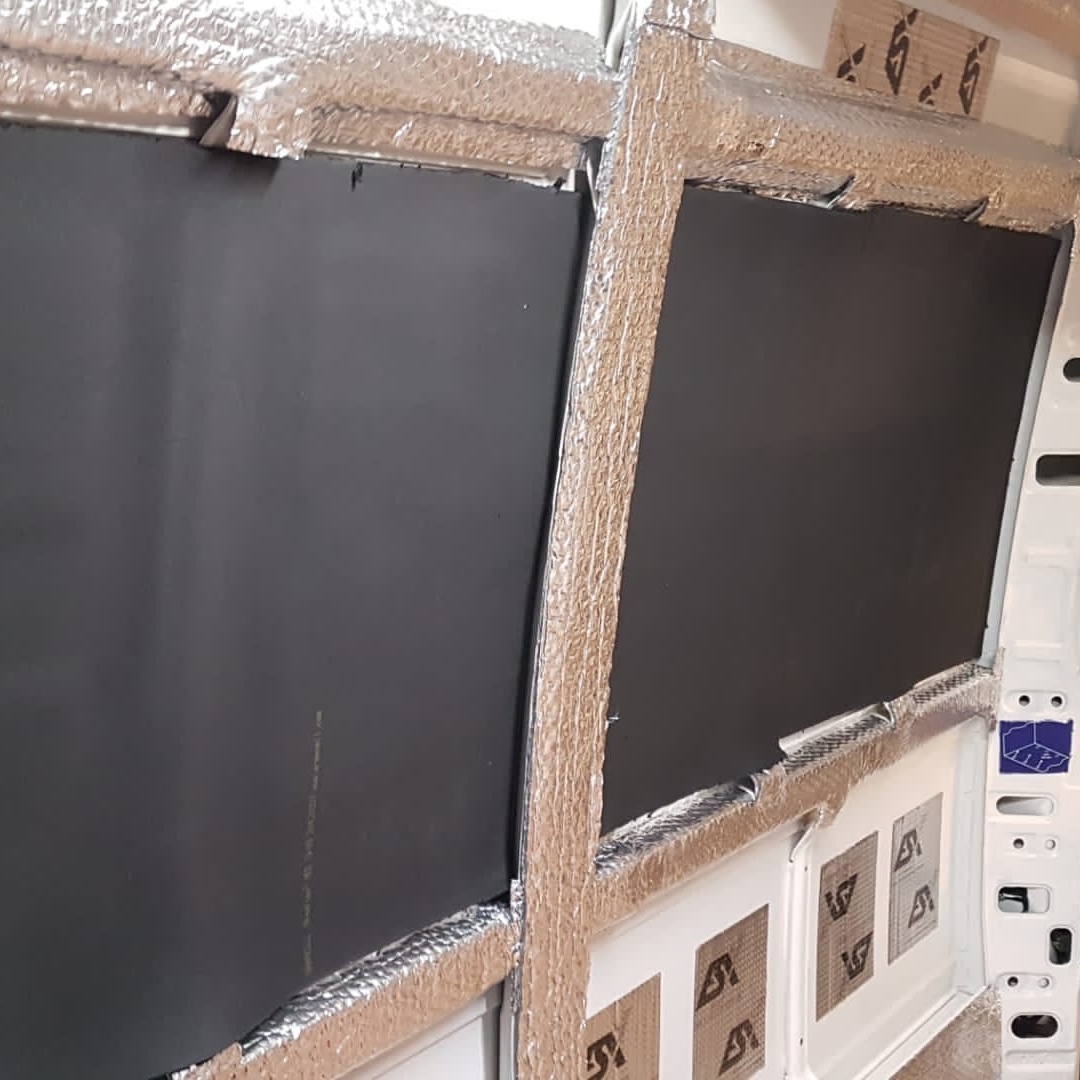
Part three: Acoustic and thermal insulation
The prone (hollow) parts of the bodywork get stuffed with acoustic insulation, then, it is covered with the Double Bubble two-sided polyethylene coated aluminum foil, which is kept in place with double-sided adhesive tape.
For the recess (non-hollow) parts of the interior, we worked the other way around: thermal insulation (armaflex 13mm) goes first, the acoustic insulation goes on top.