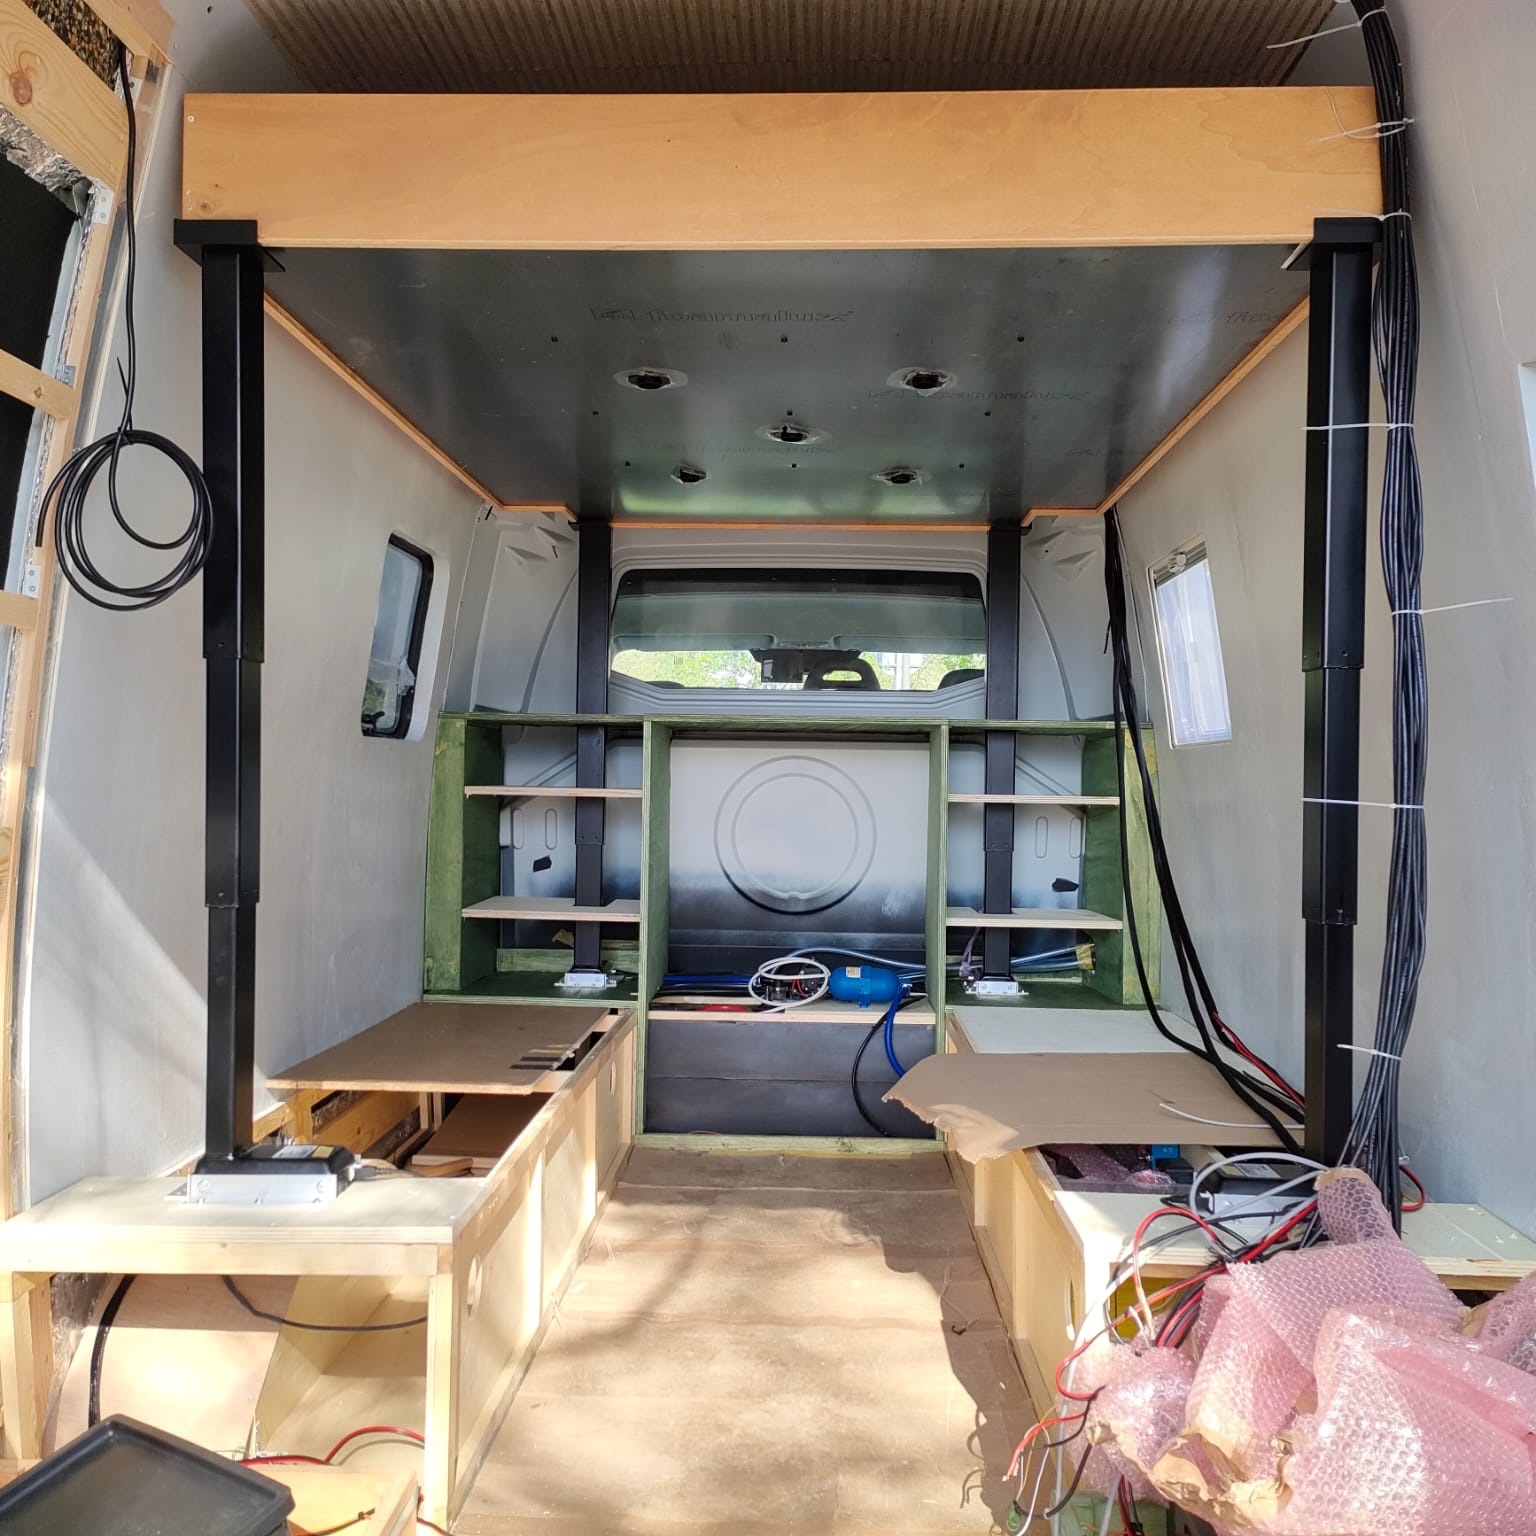
Work in progress! Currently installed:
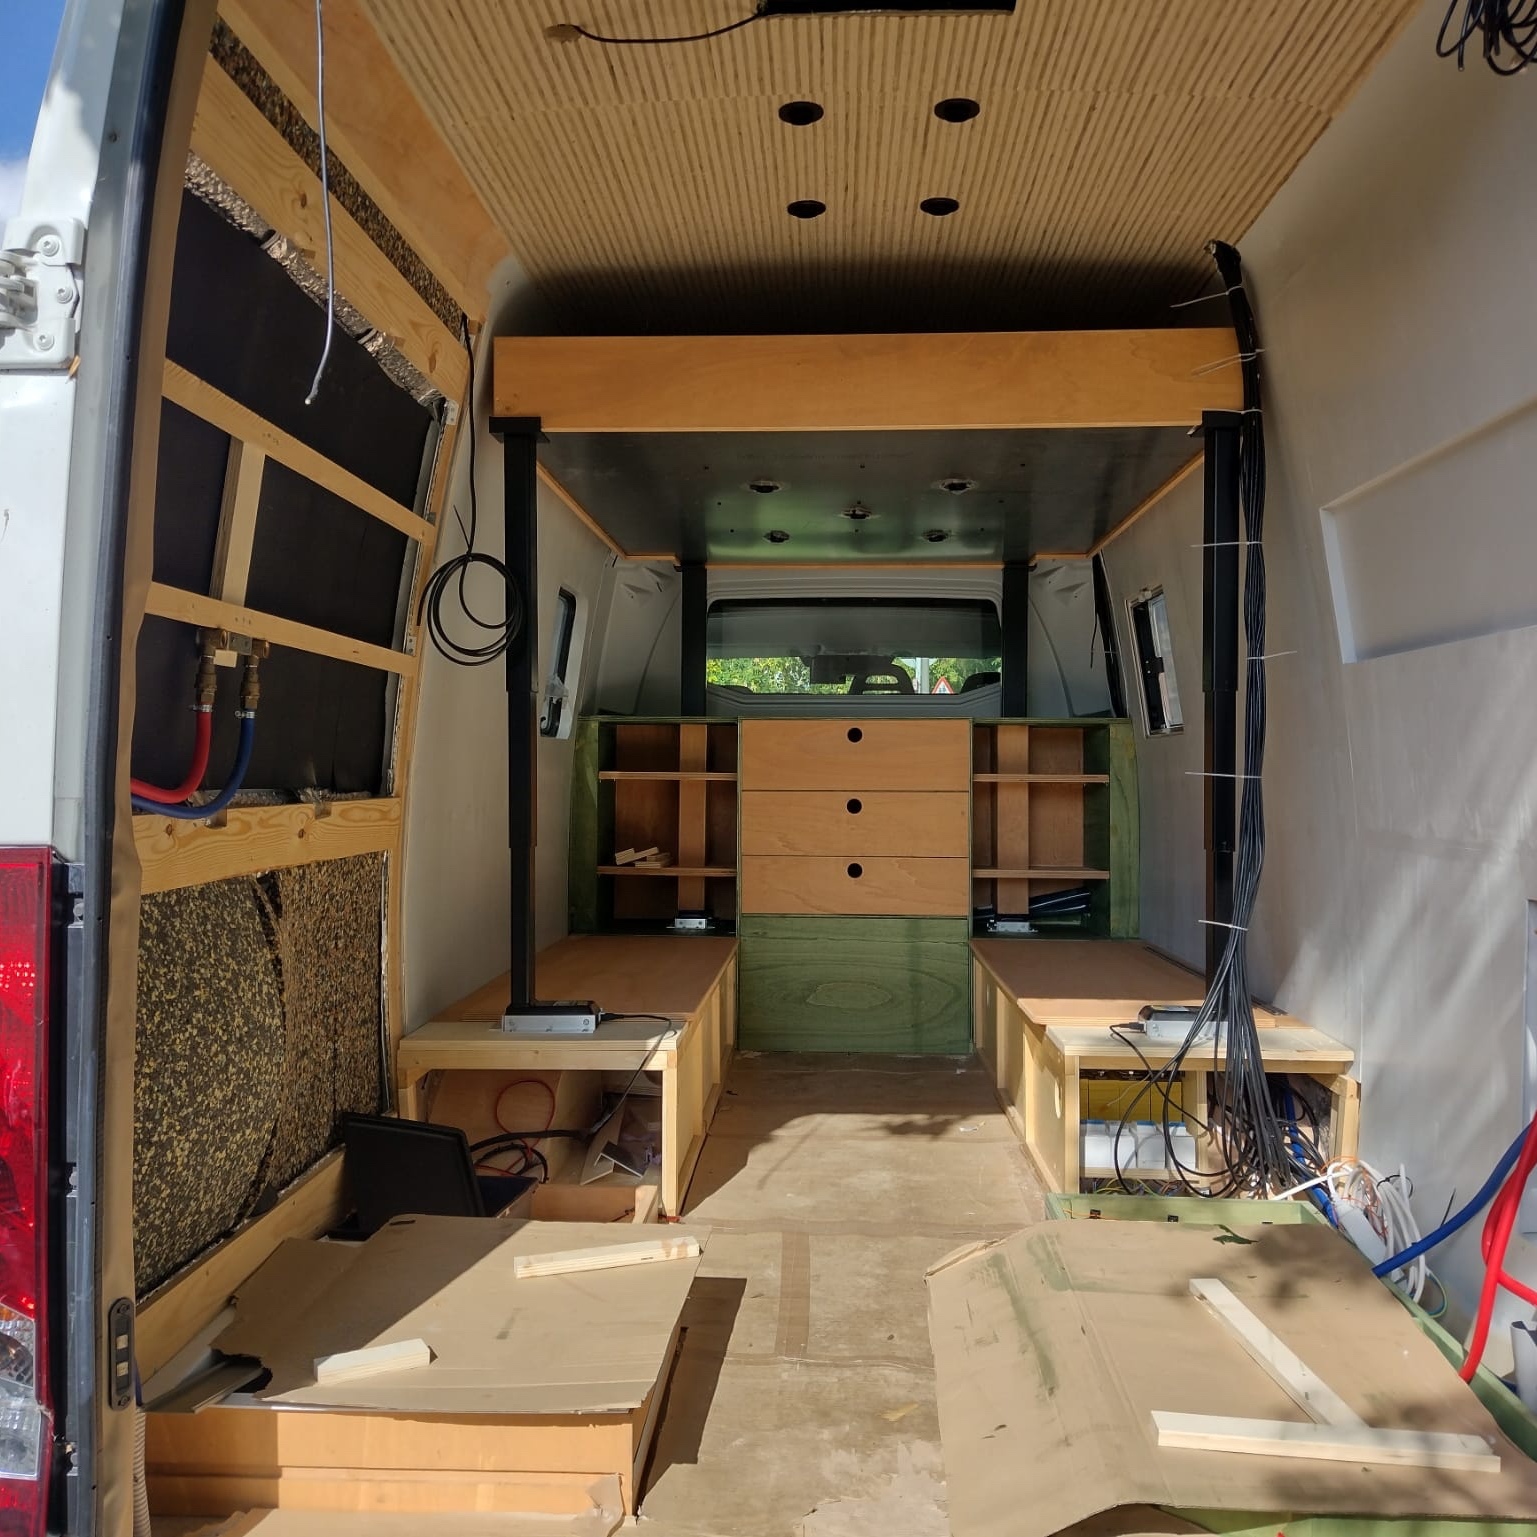
- Diner benches
- Bed
- Sideboard
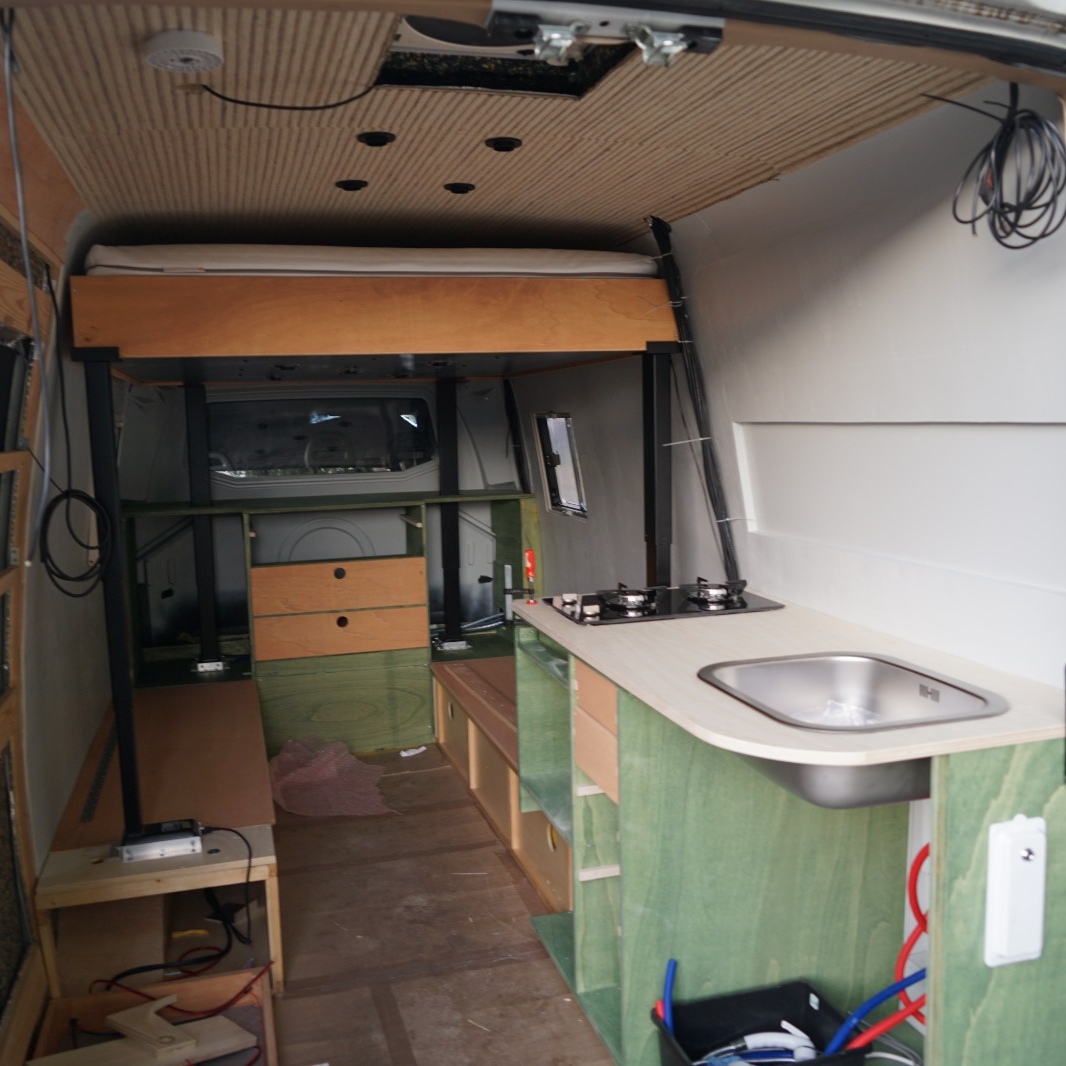
- Kitchen

Work in progress! Currently installed:


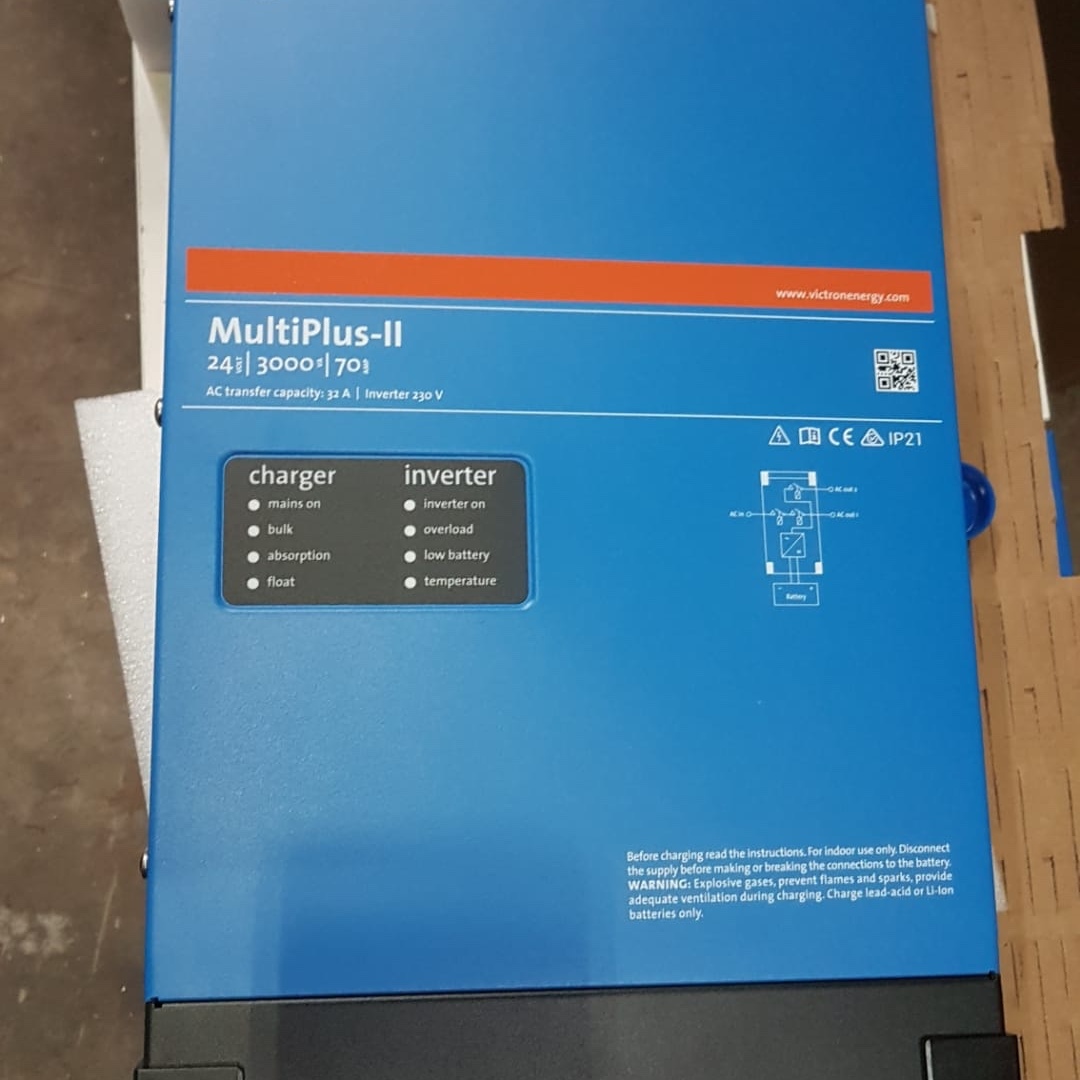
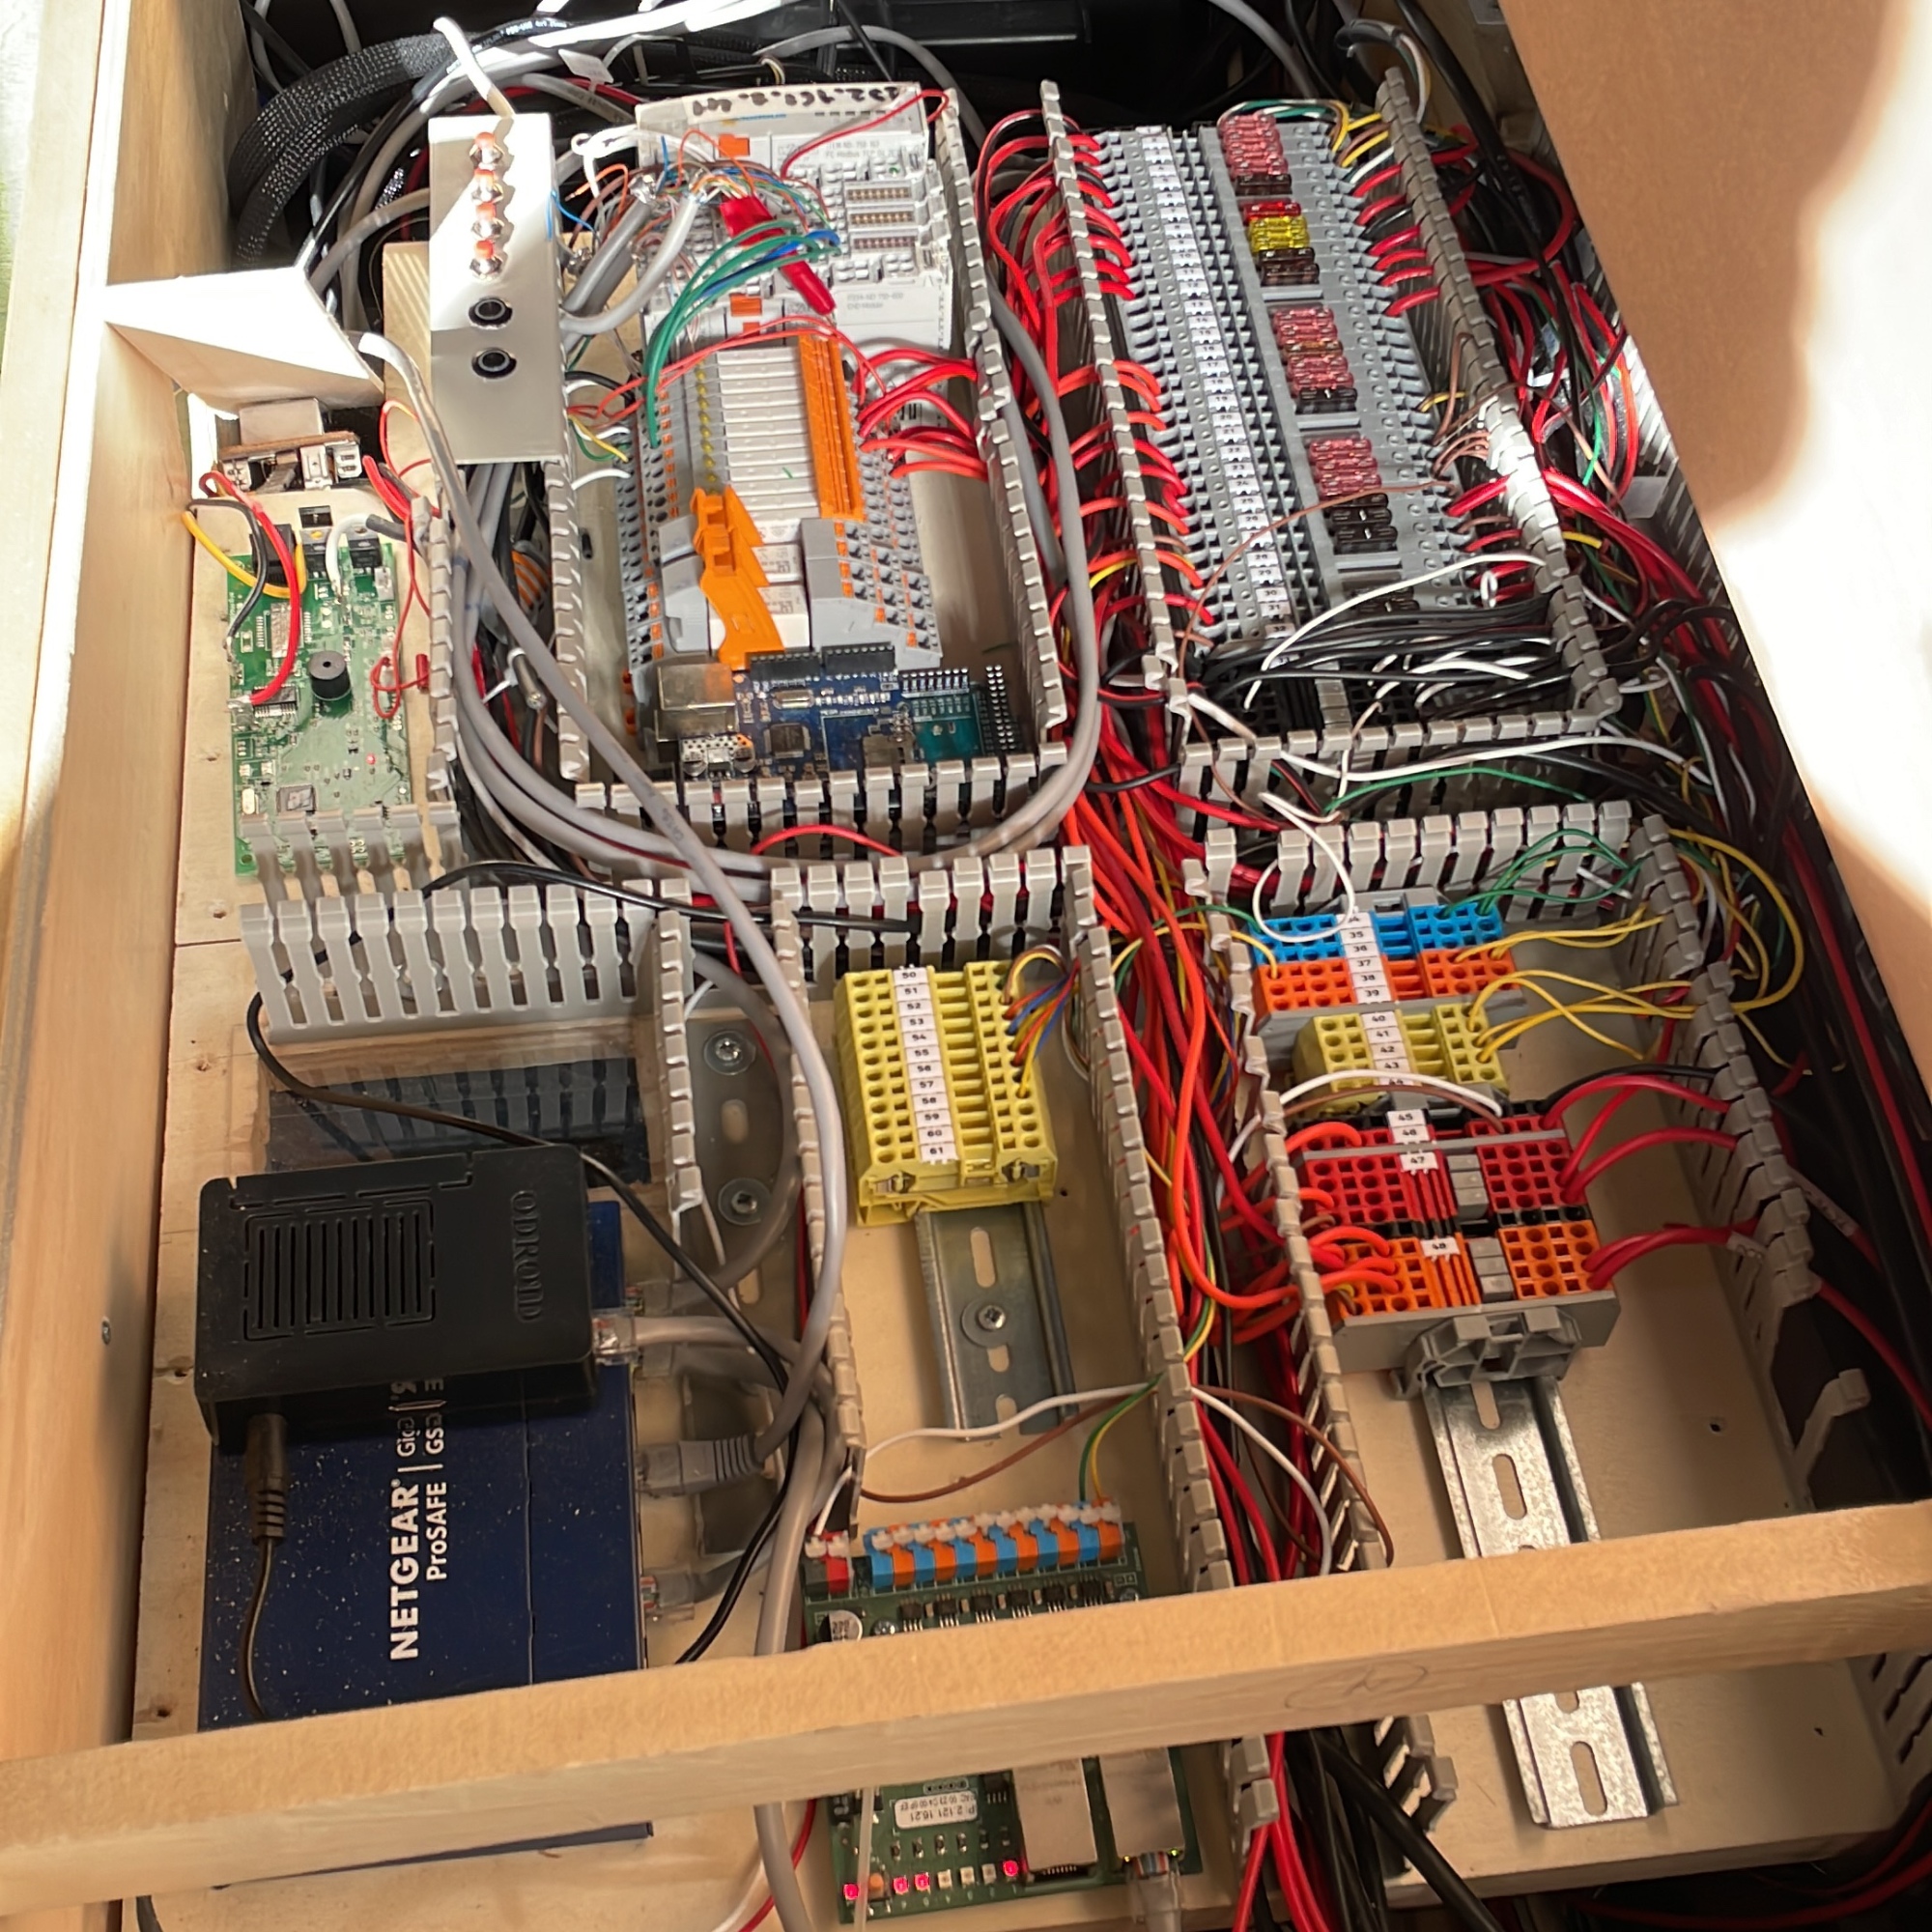
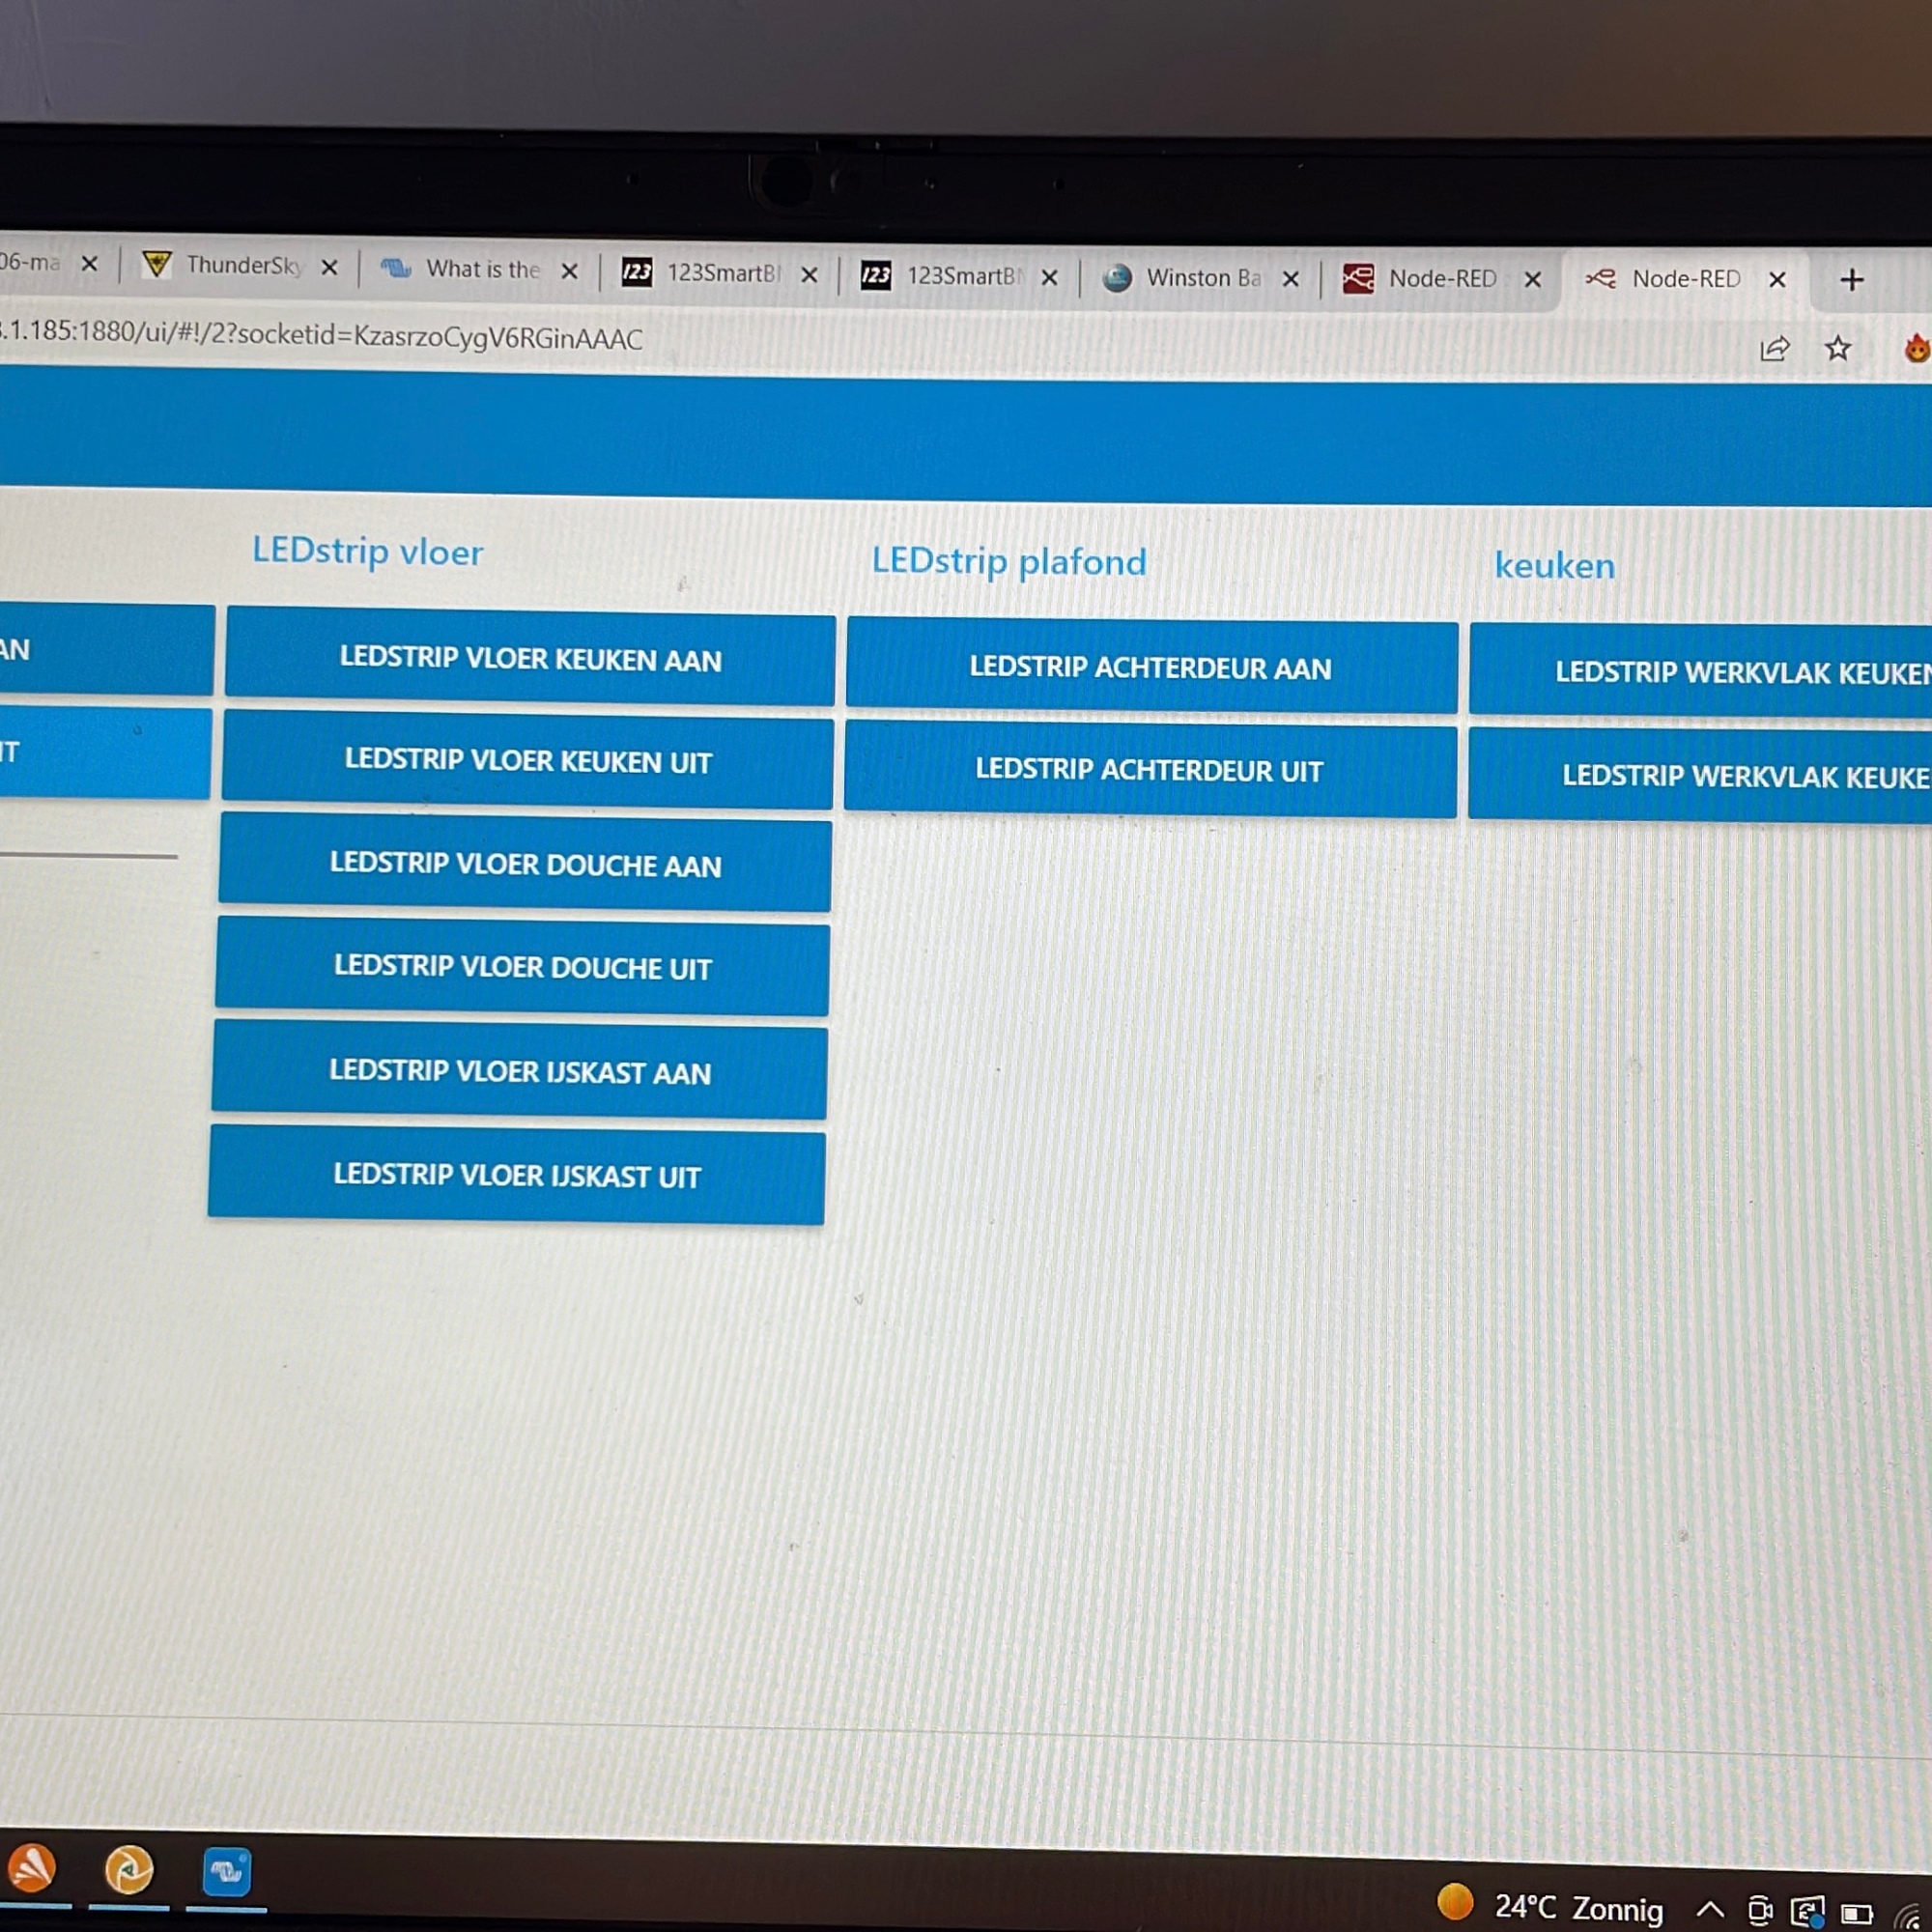
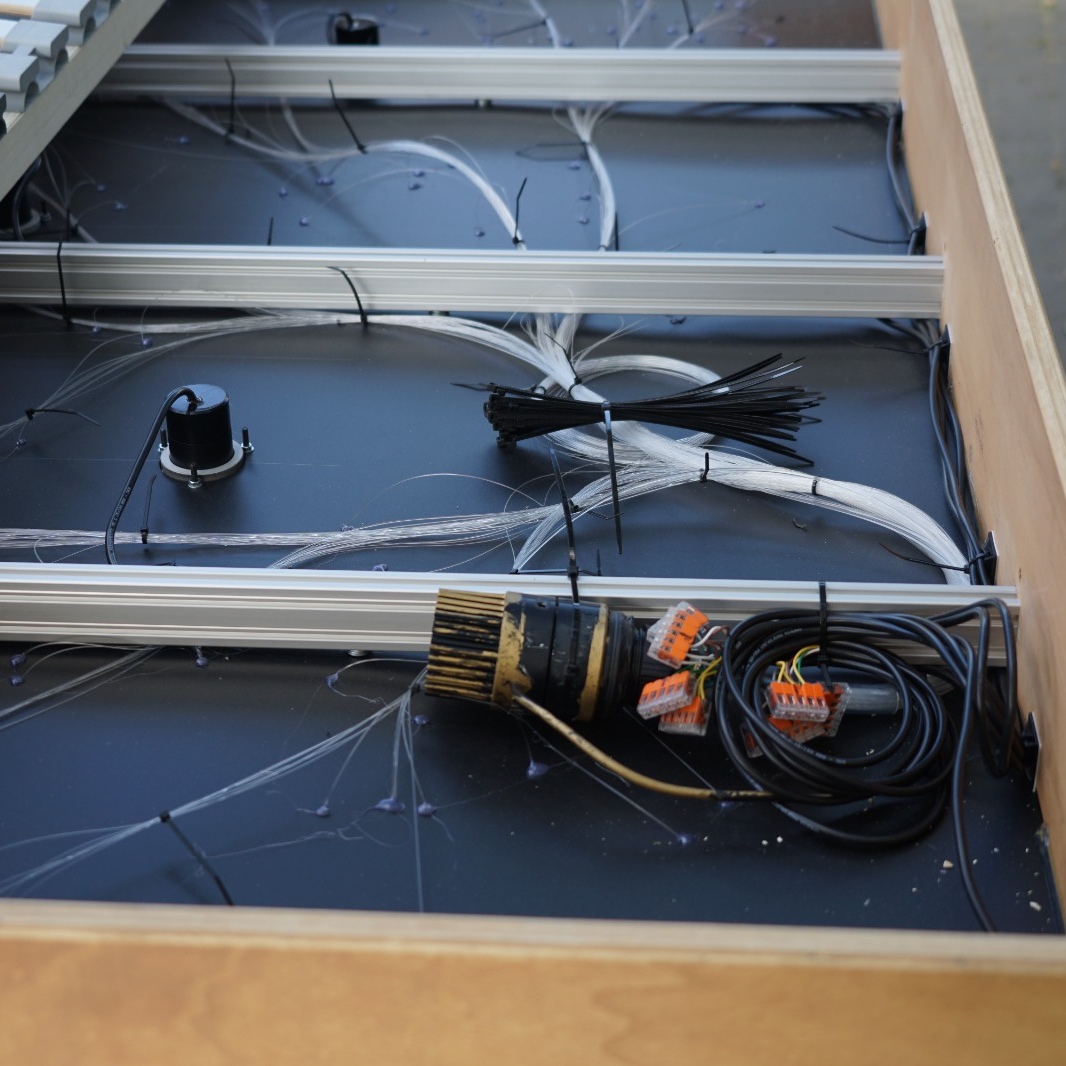
Details about how Ronny has been wired will follow here soon. Below you’ll find a sneak preview of some of the different features that are already installed.
Two solar panels provide off grid autonomy to a custom battery (which can also charge when plugged in on mains power). Programming of all the different features is done with a Rasperry Pi.
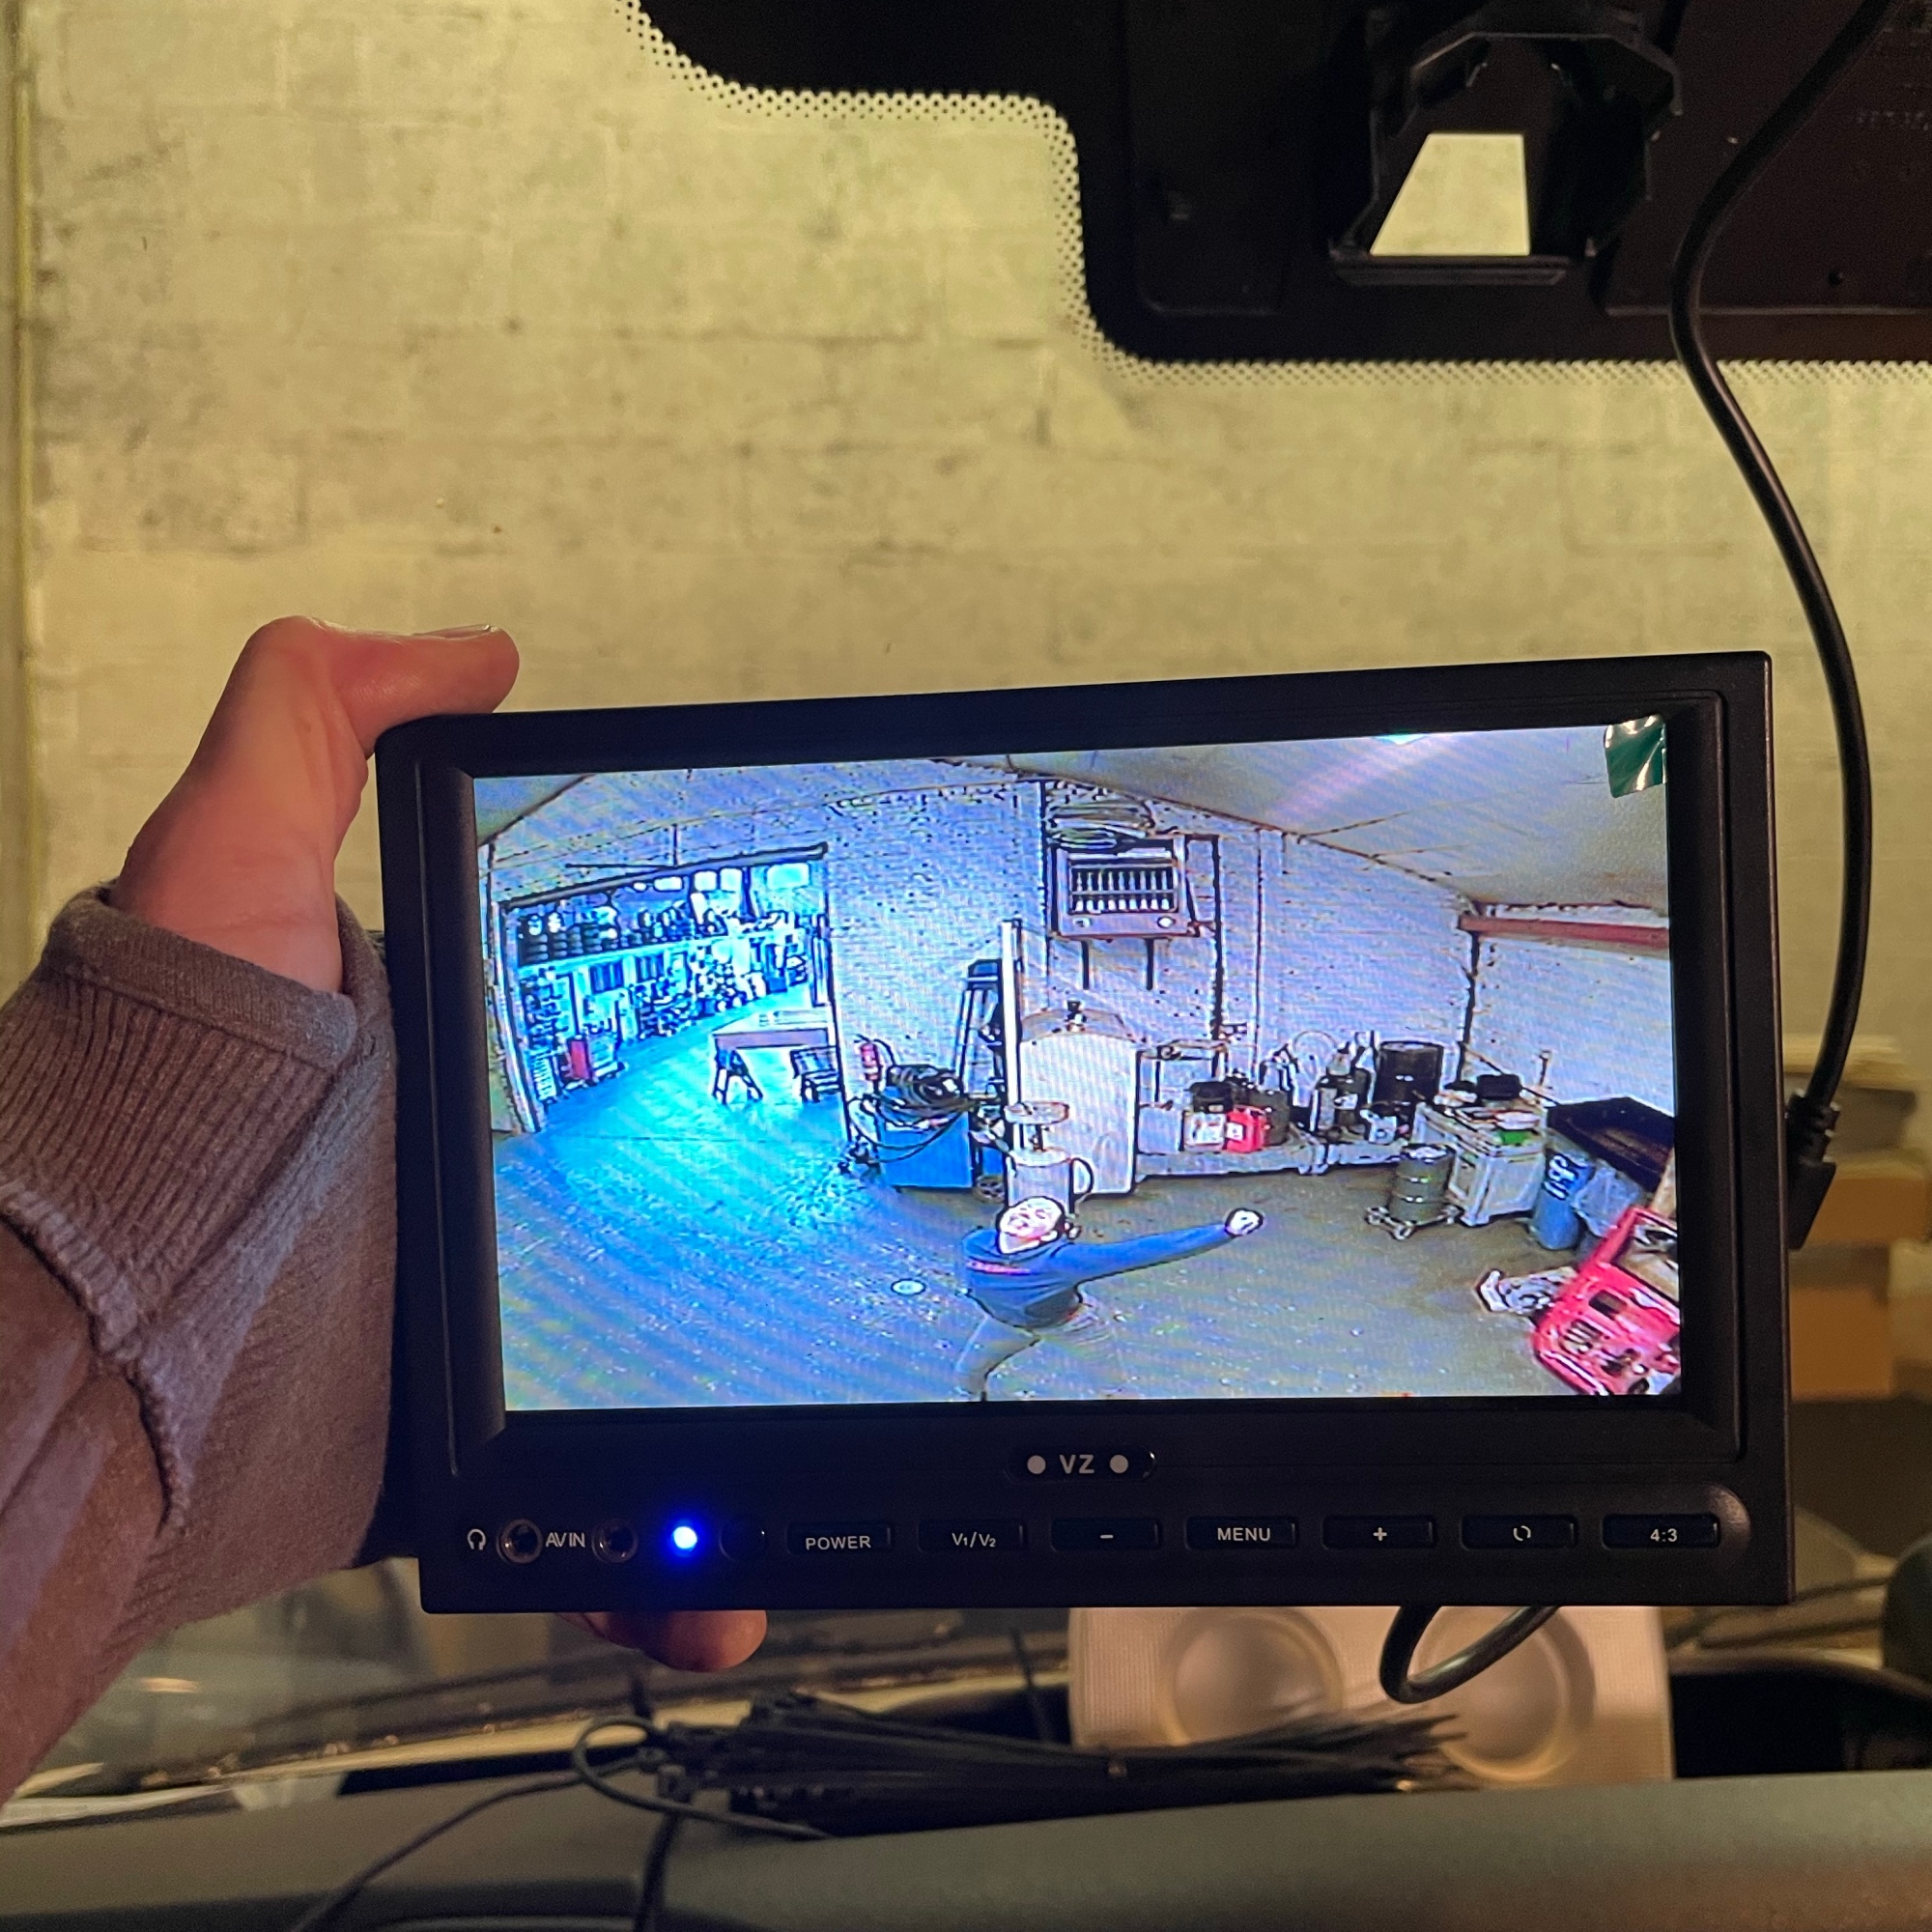
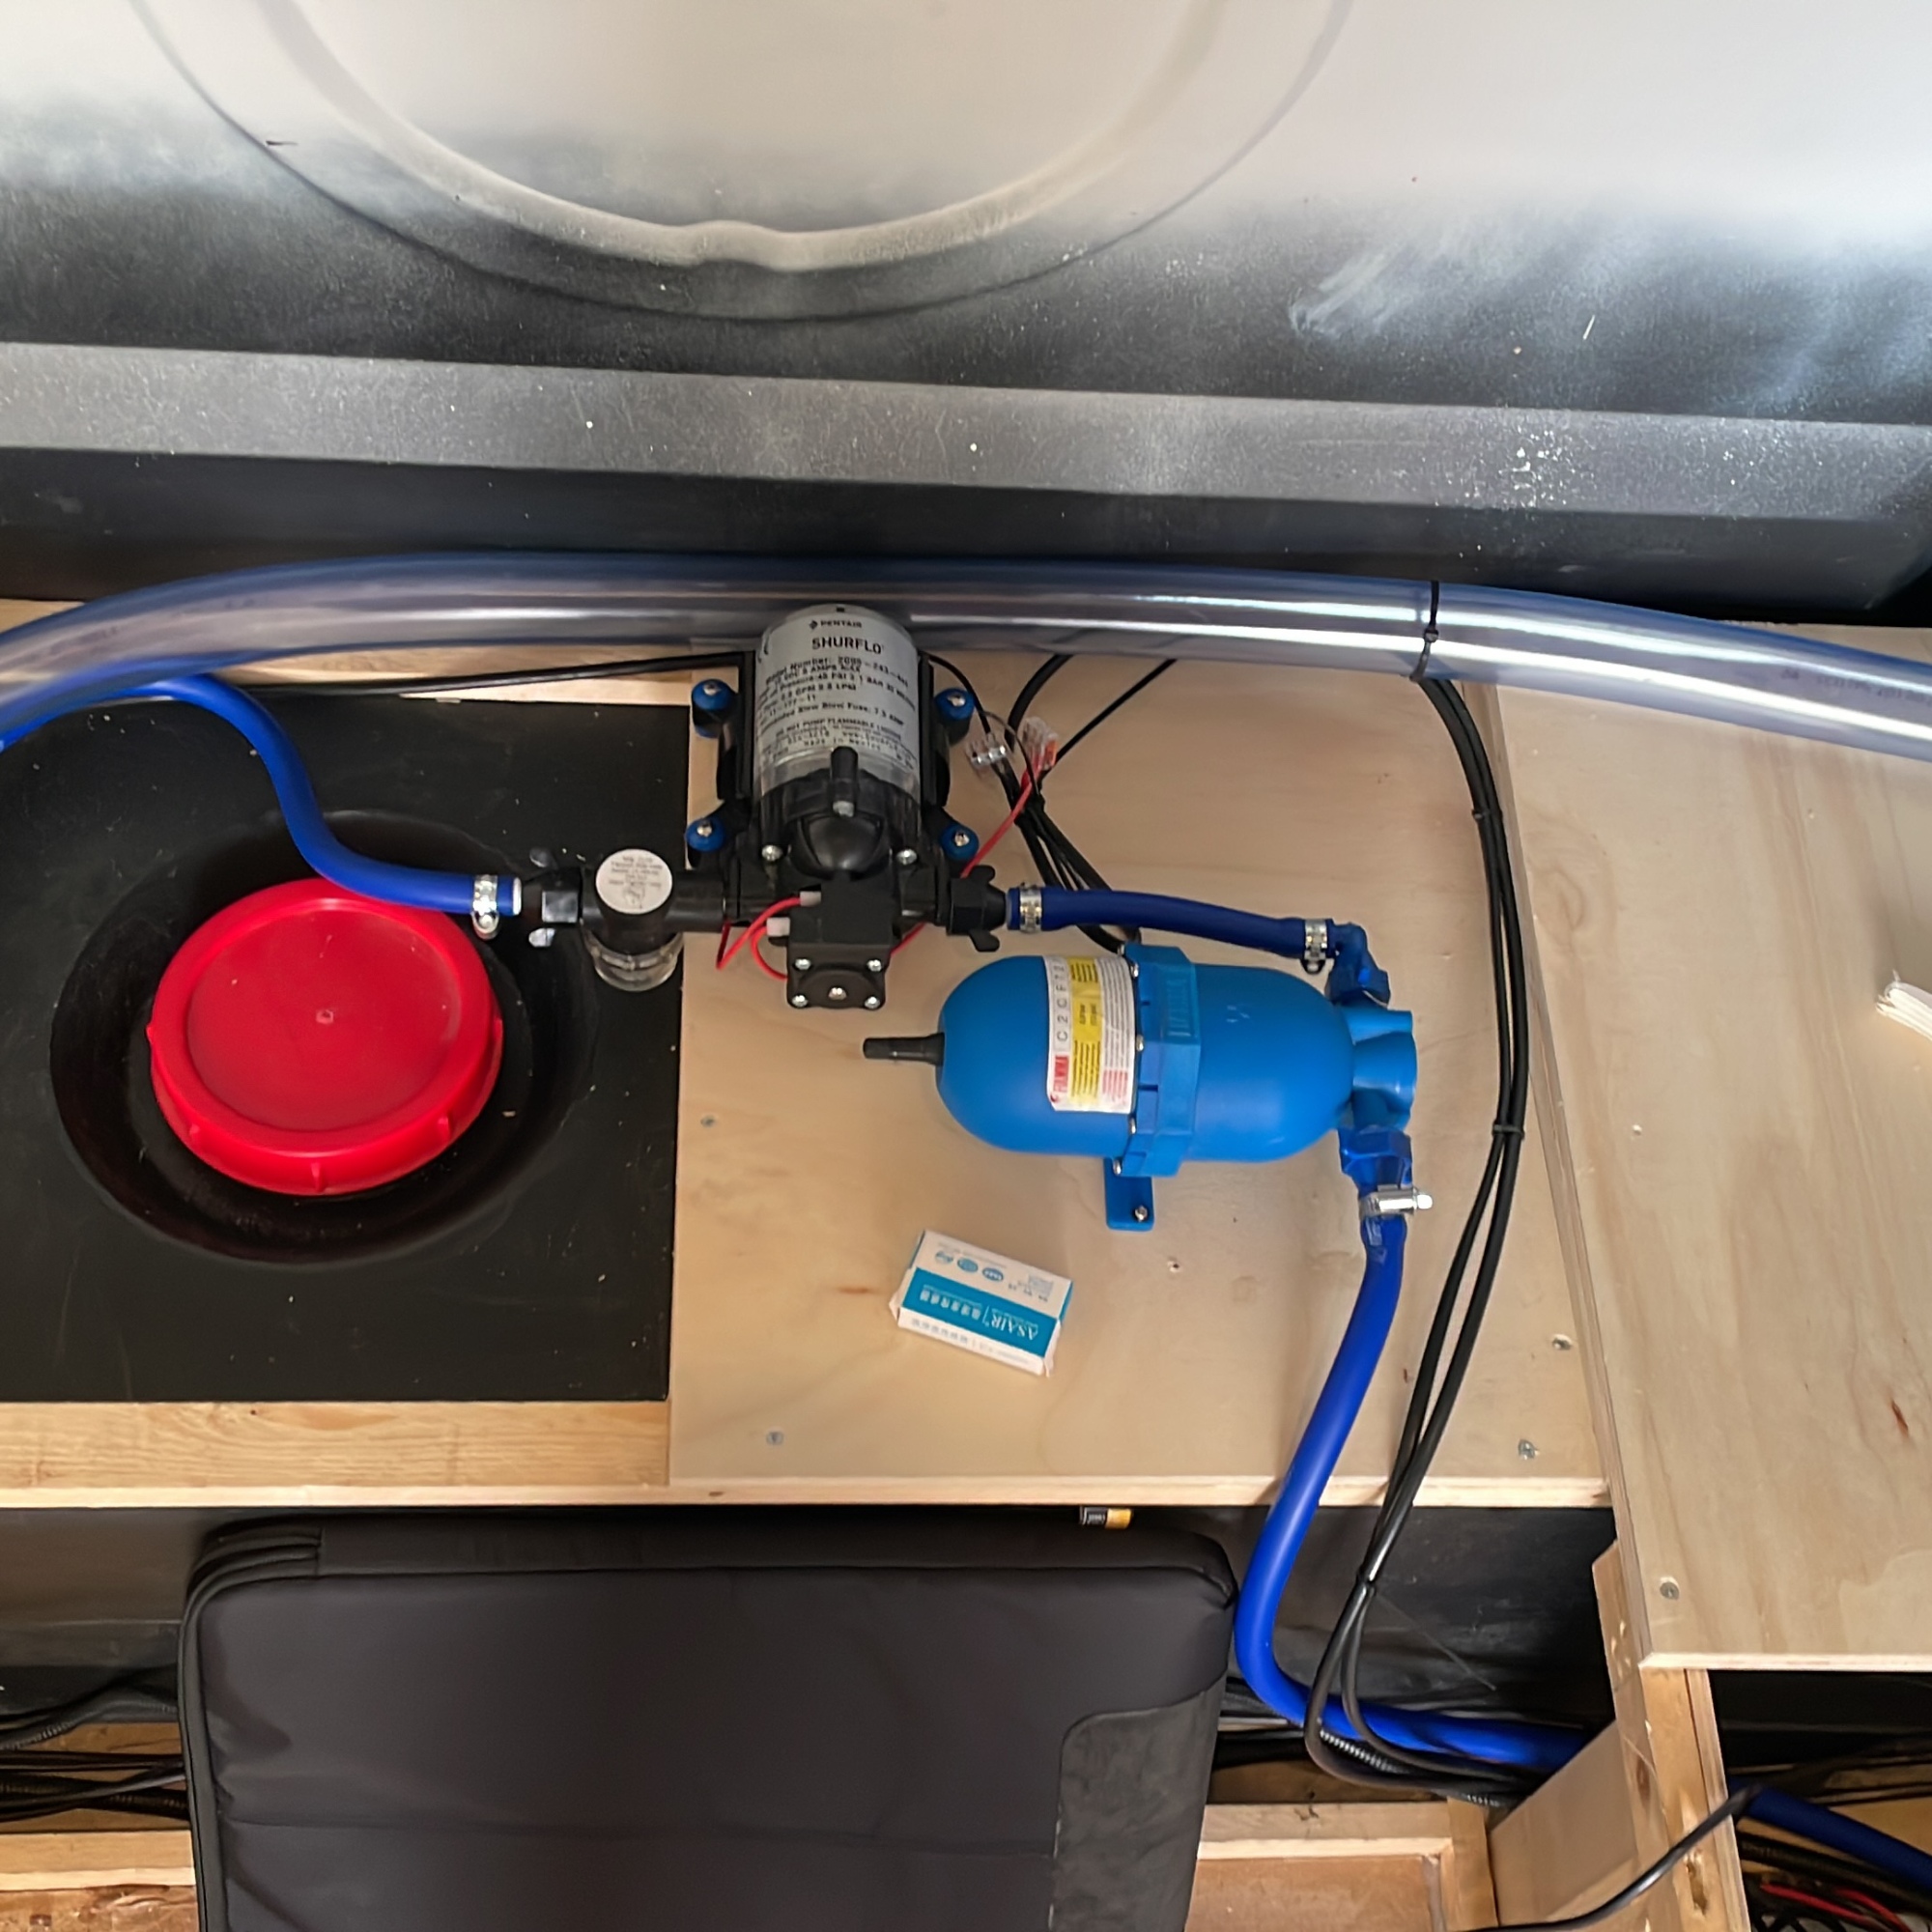
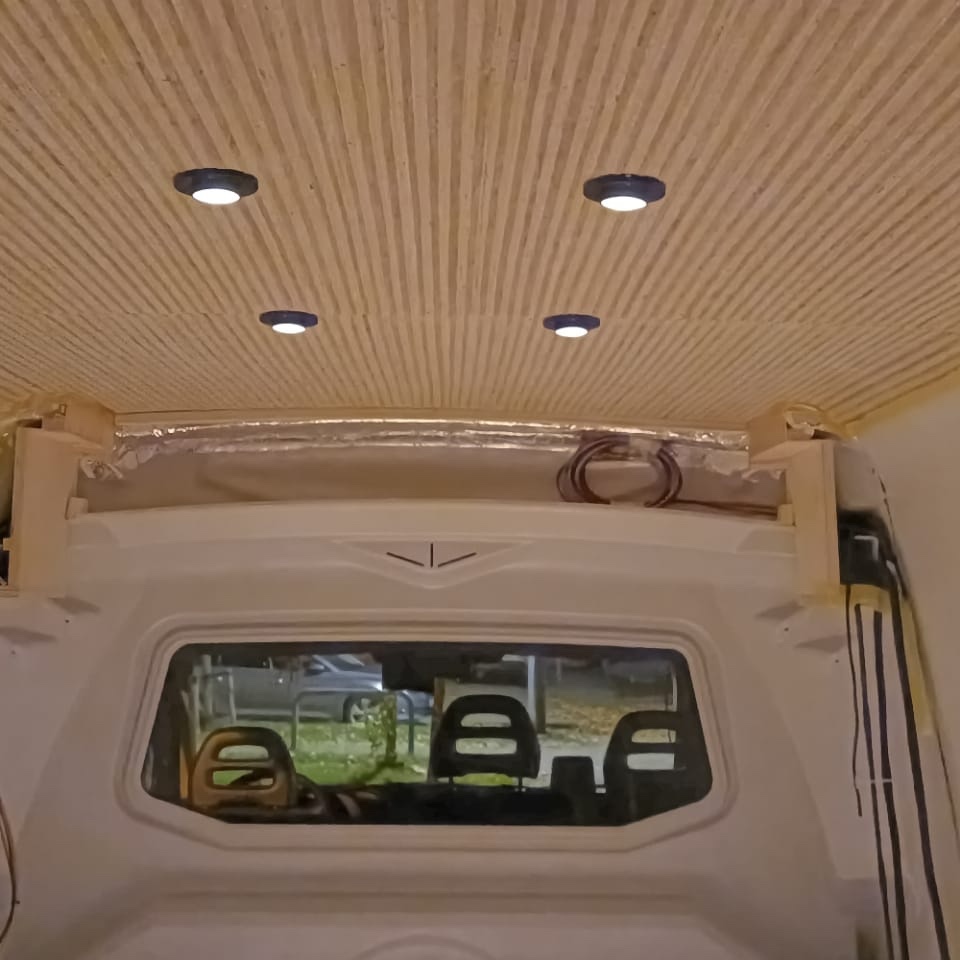
Features already installed include the actuators for the bed, a reversing camera, water pump, starry sky and lights and a car radio (because the basics also count).

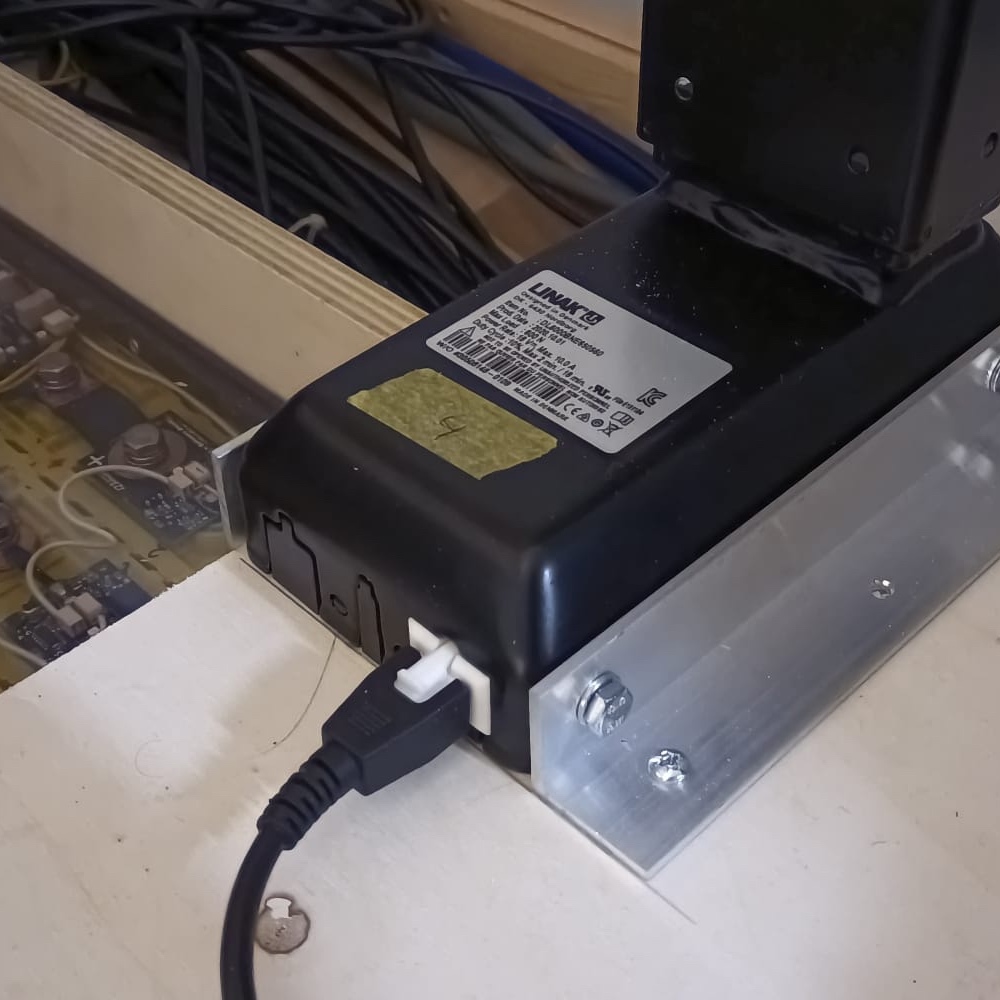
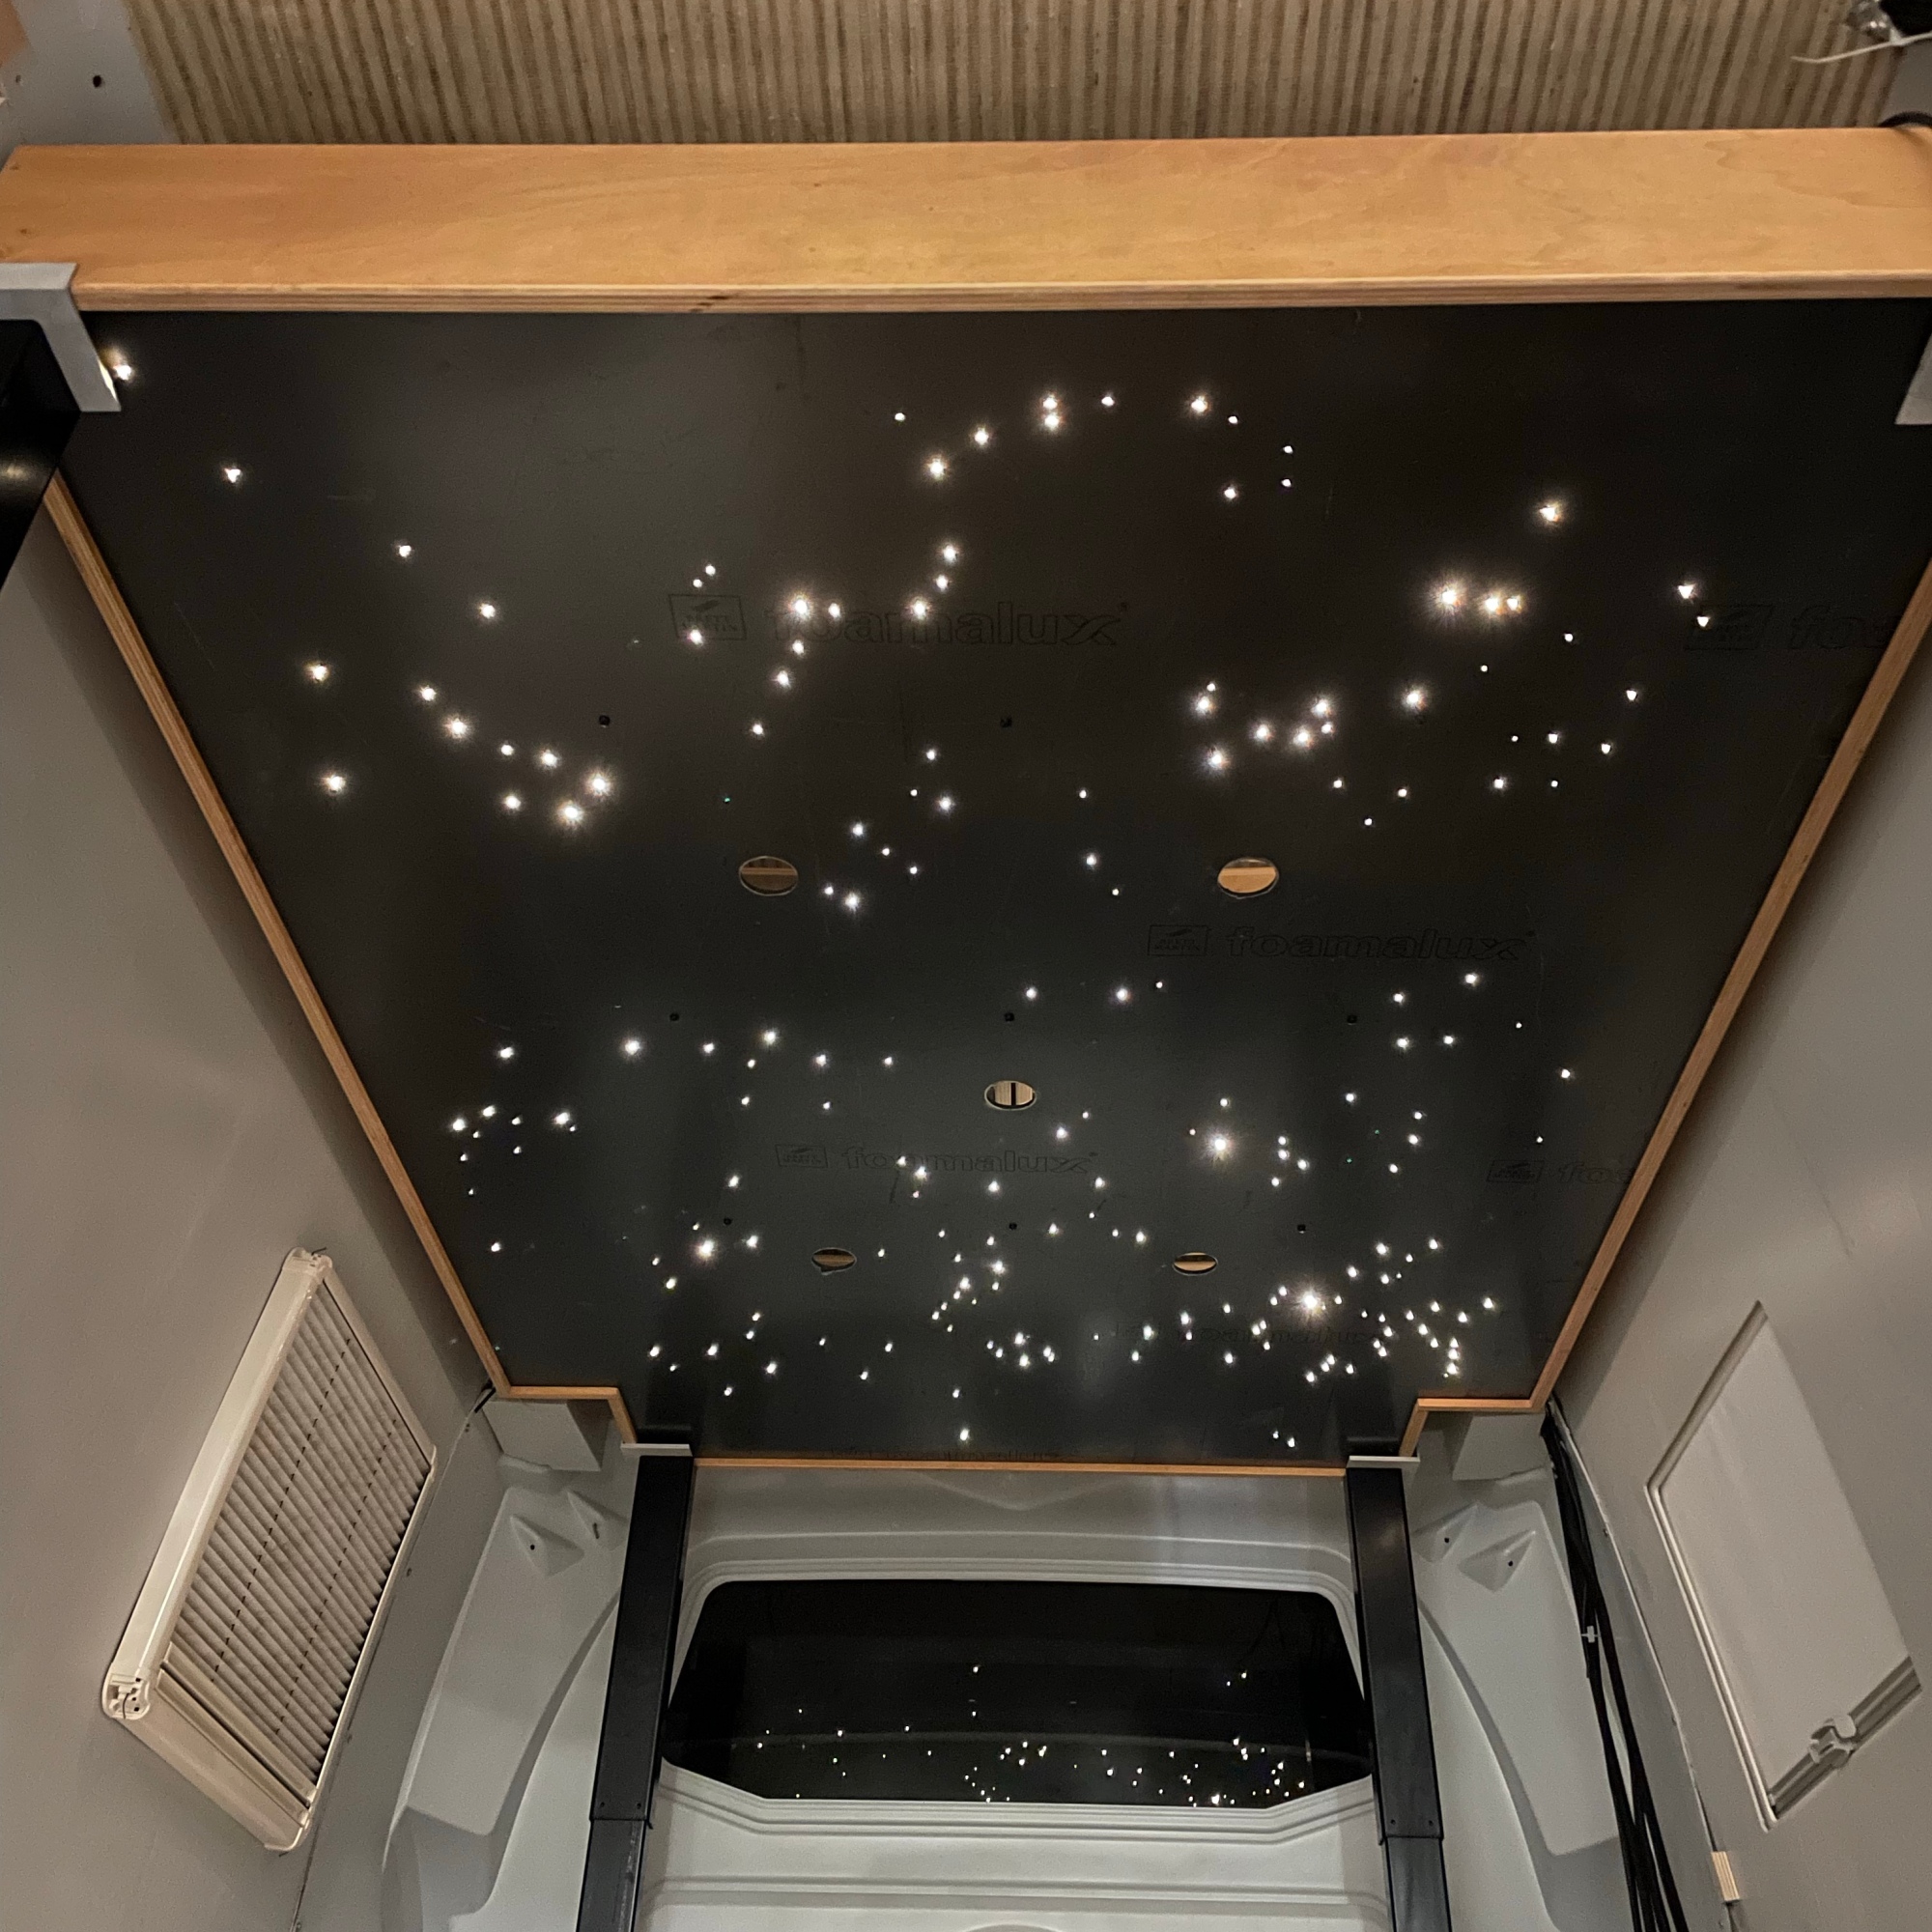


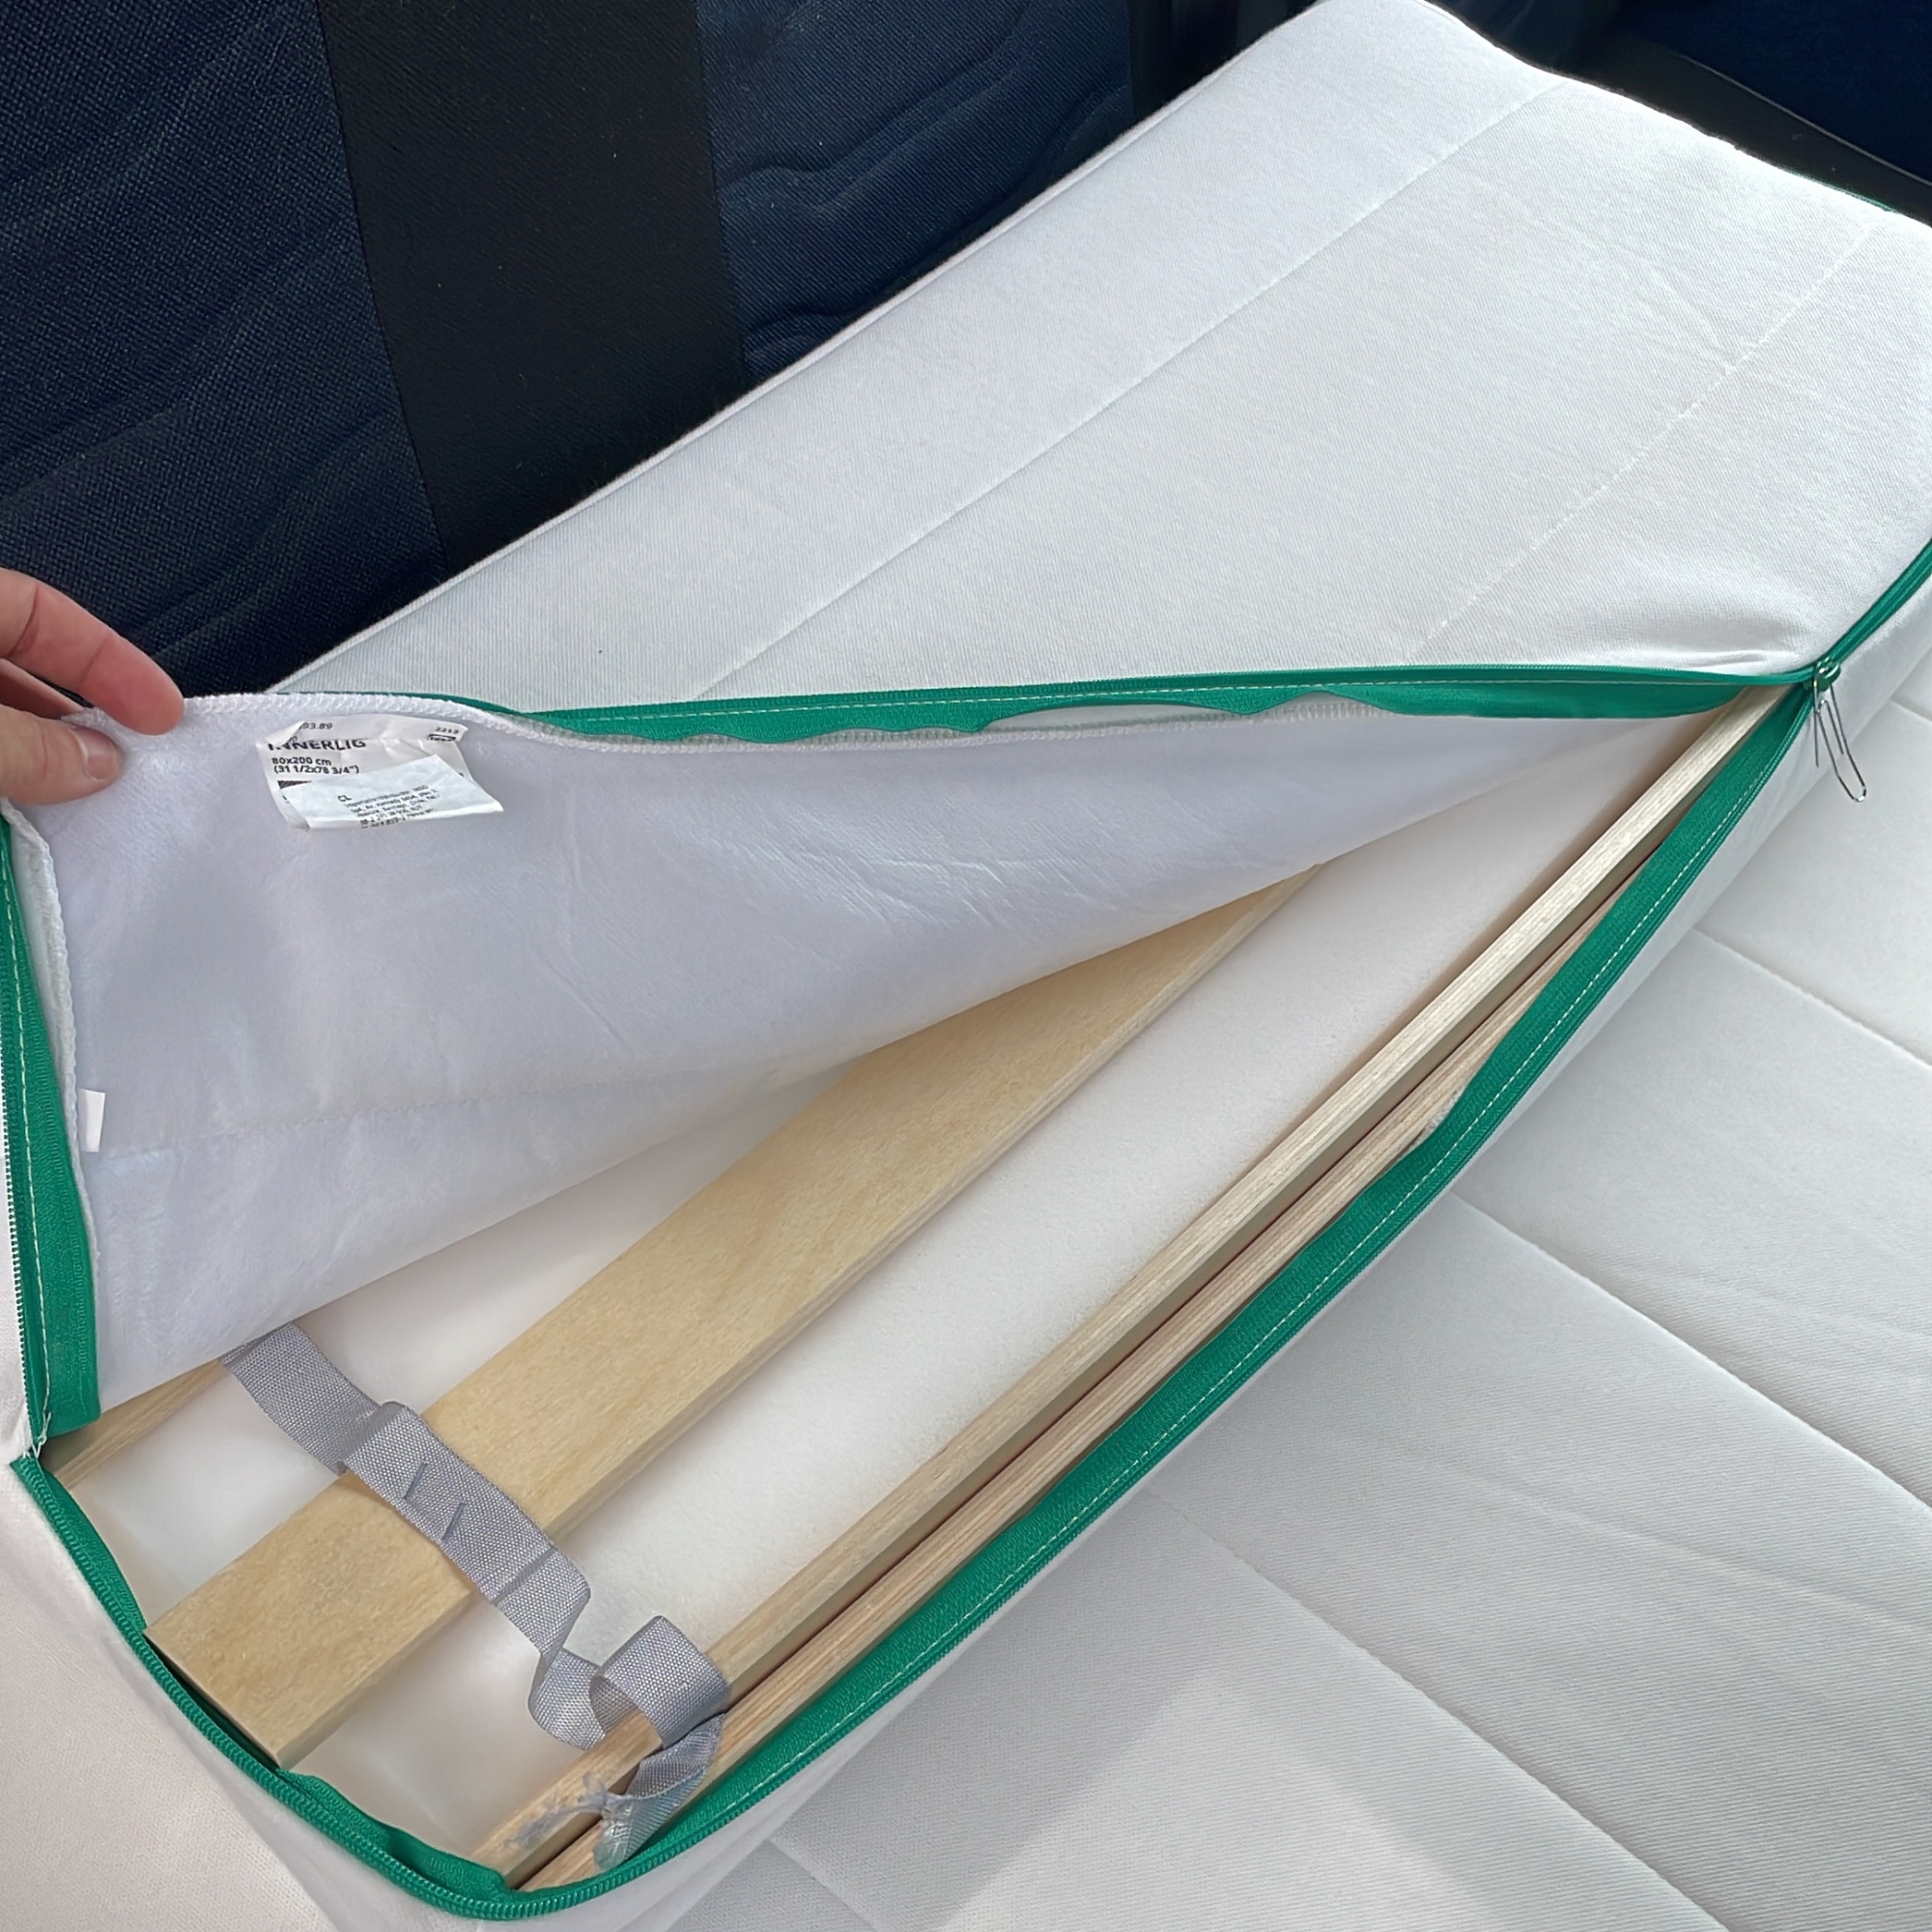
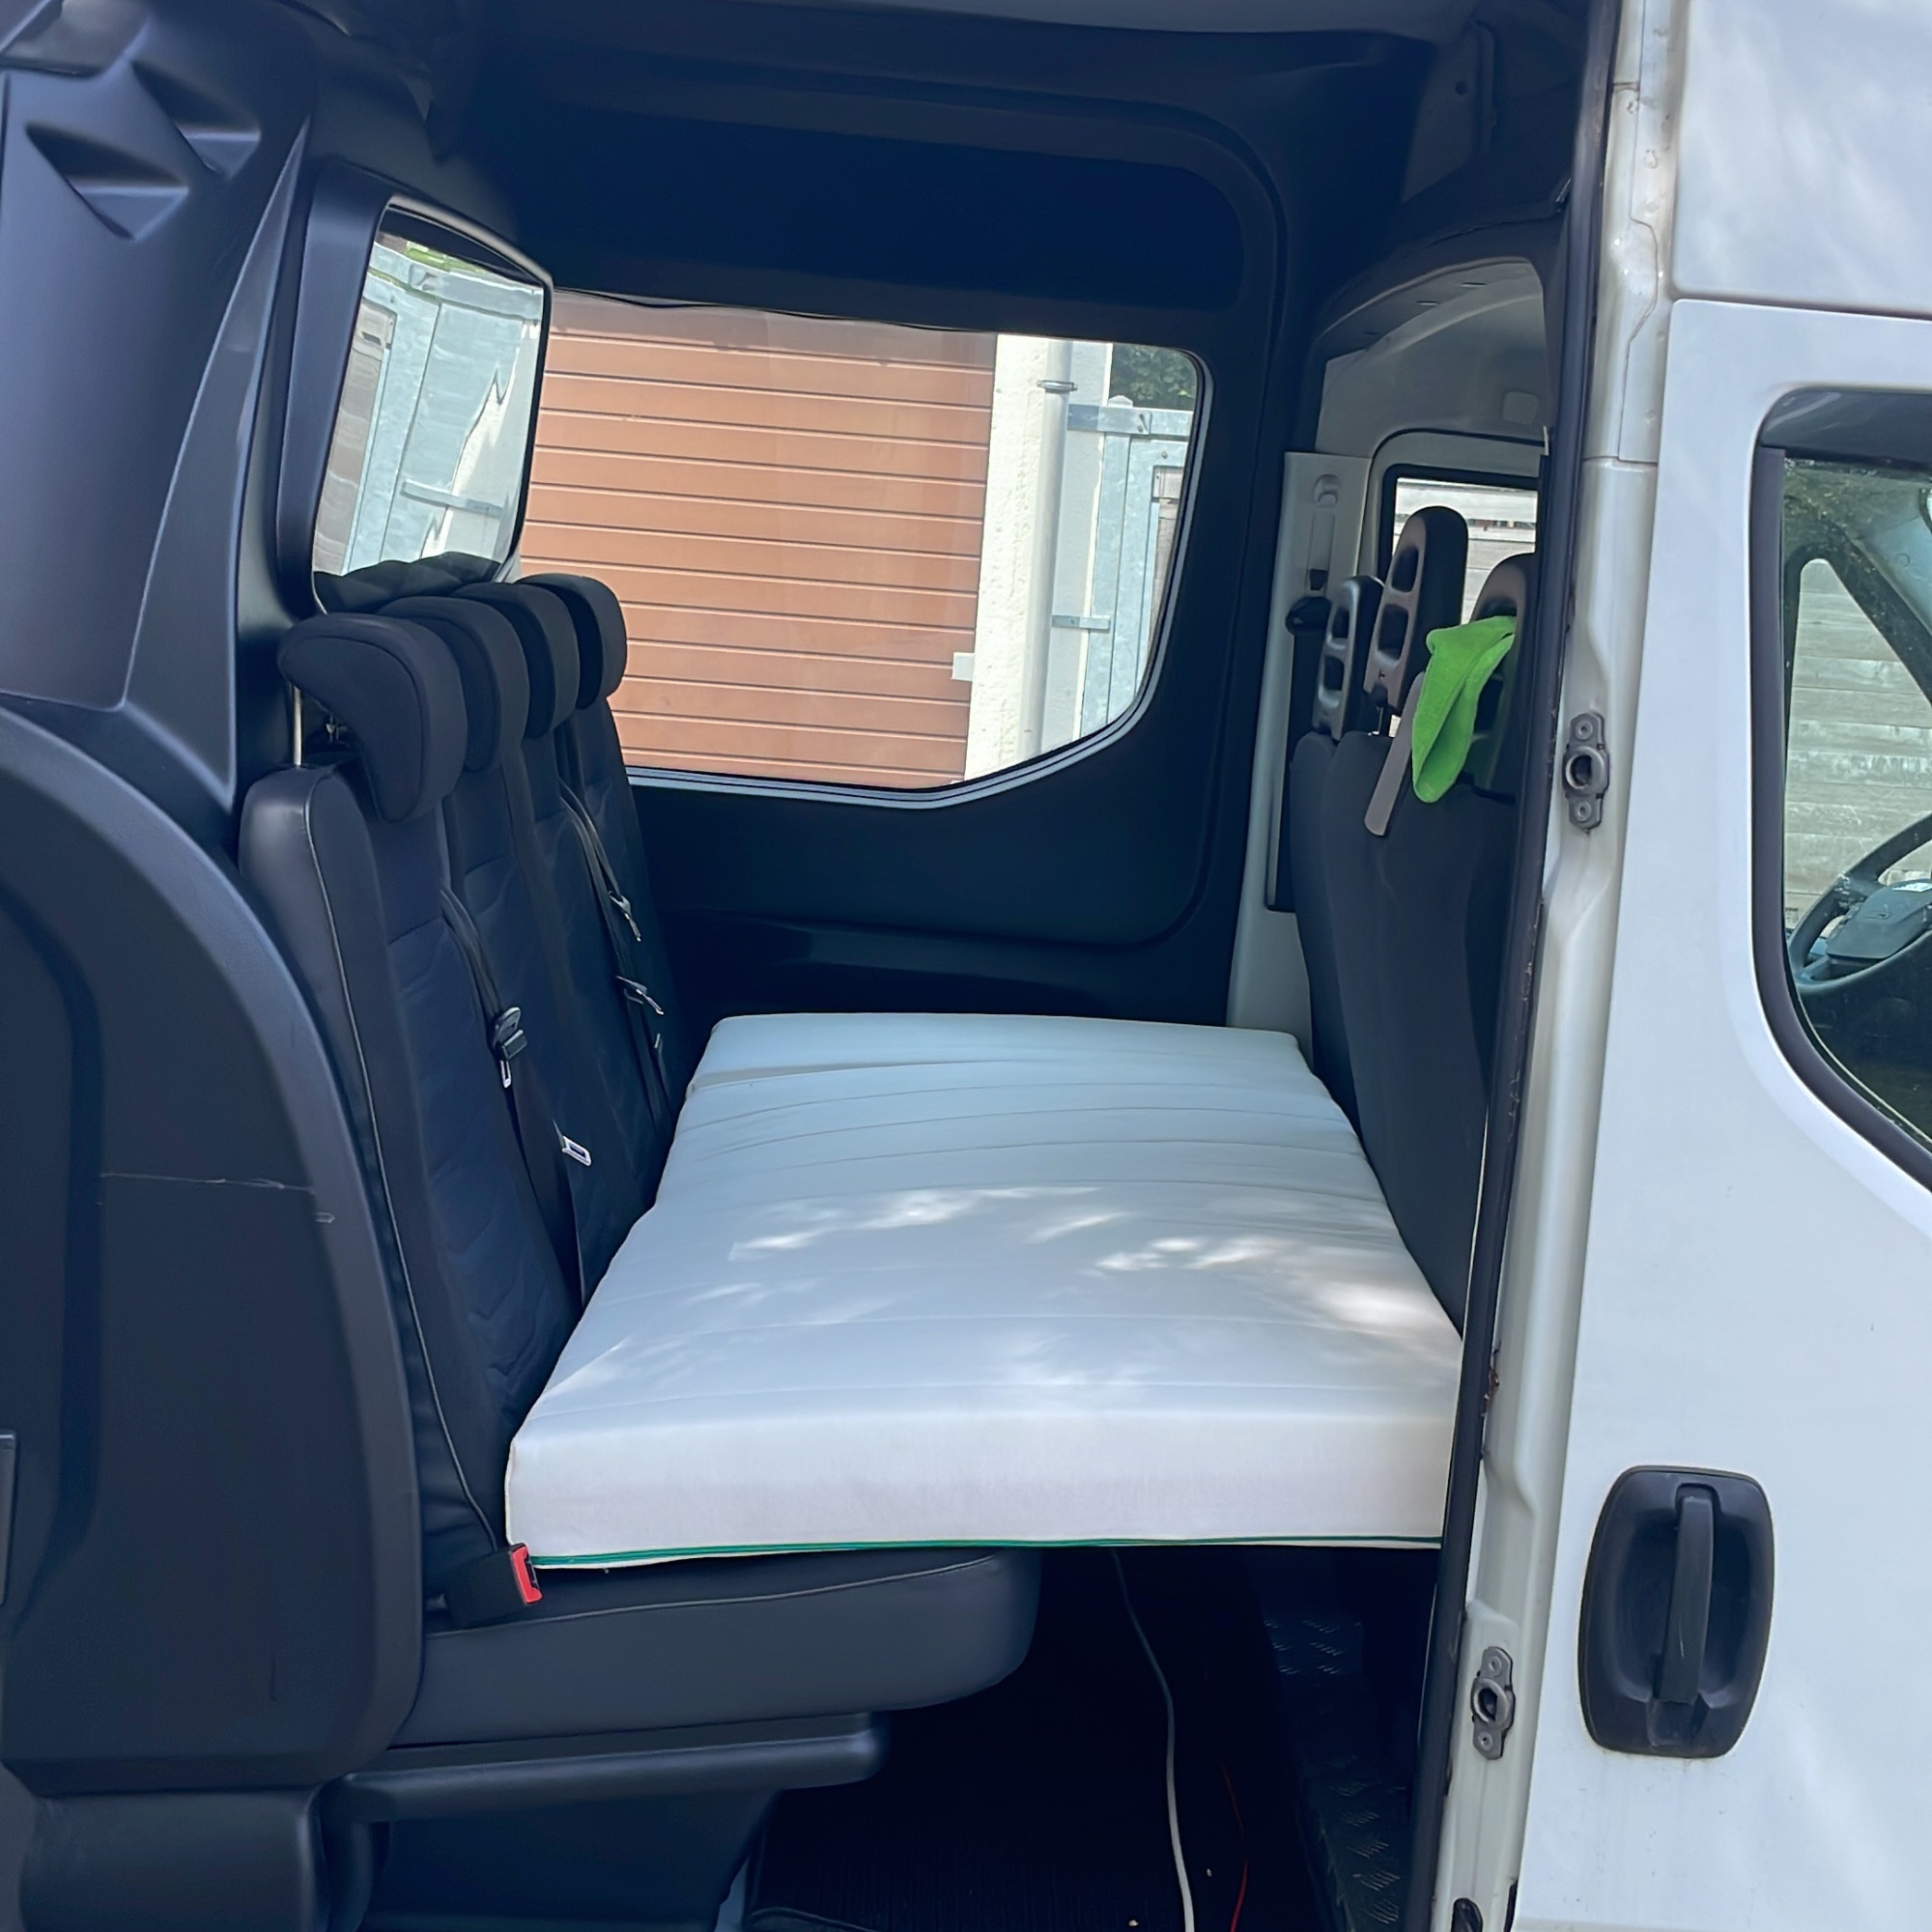
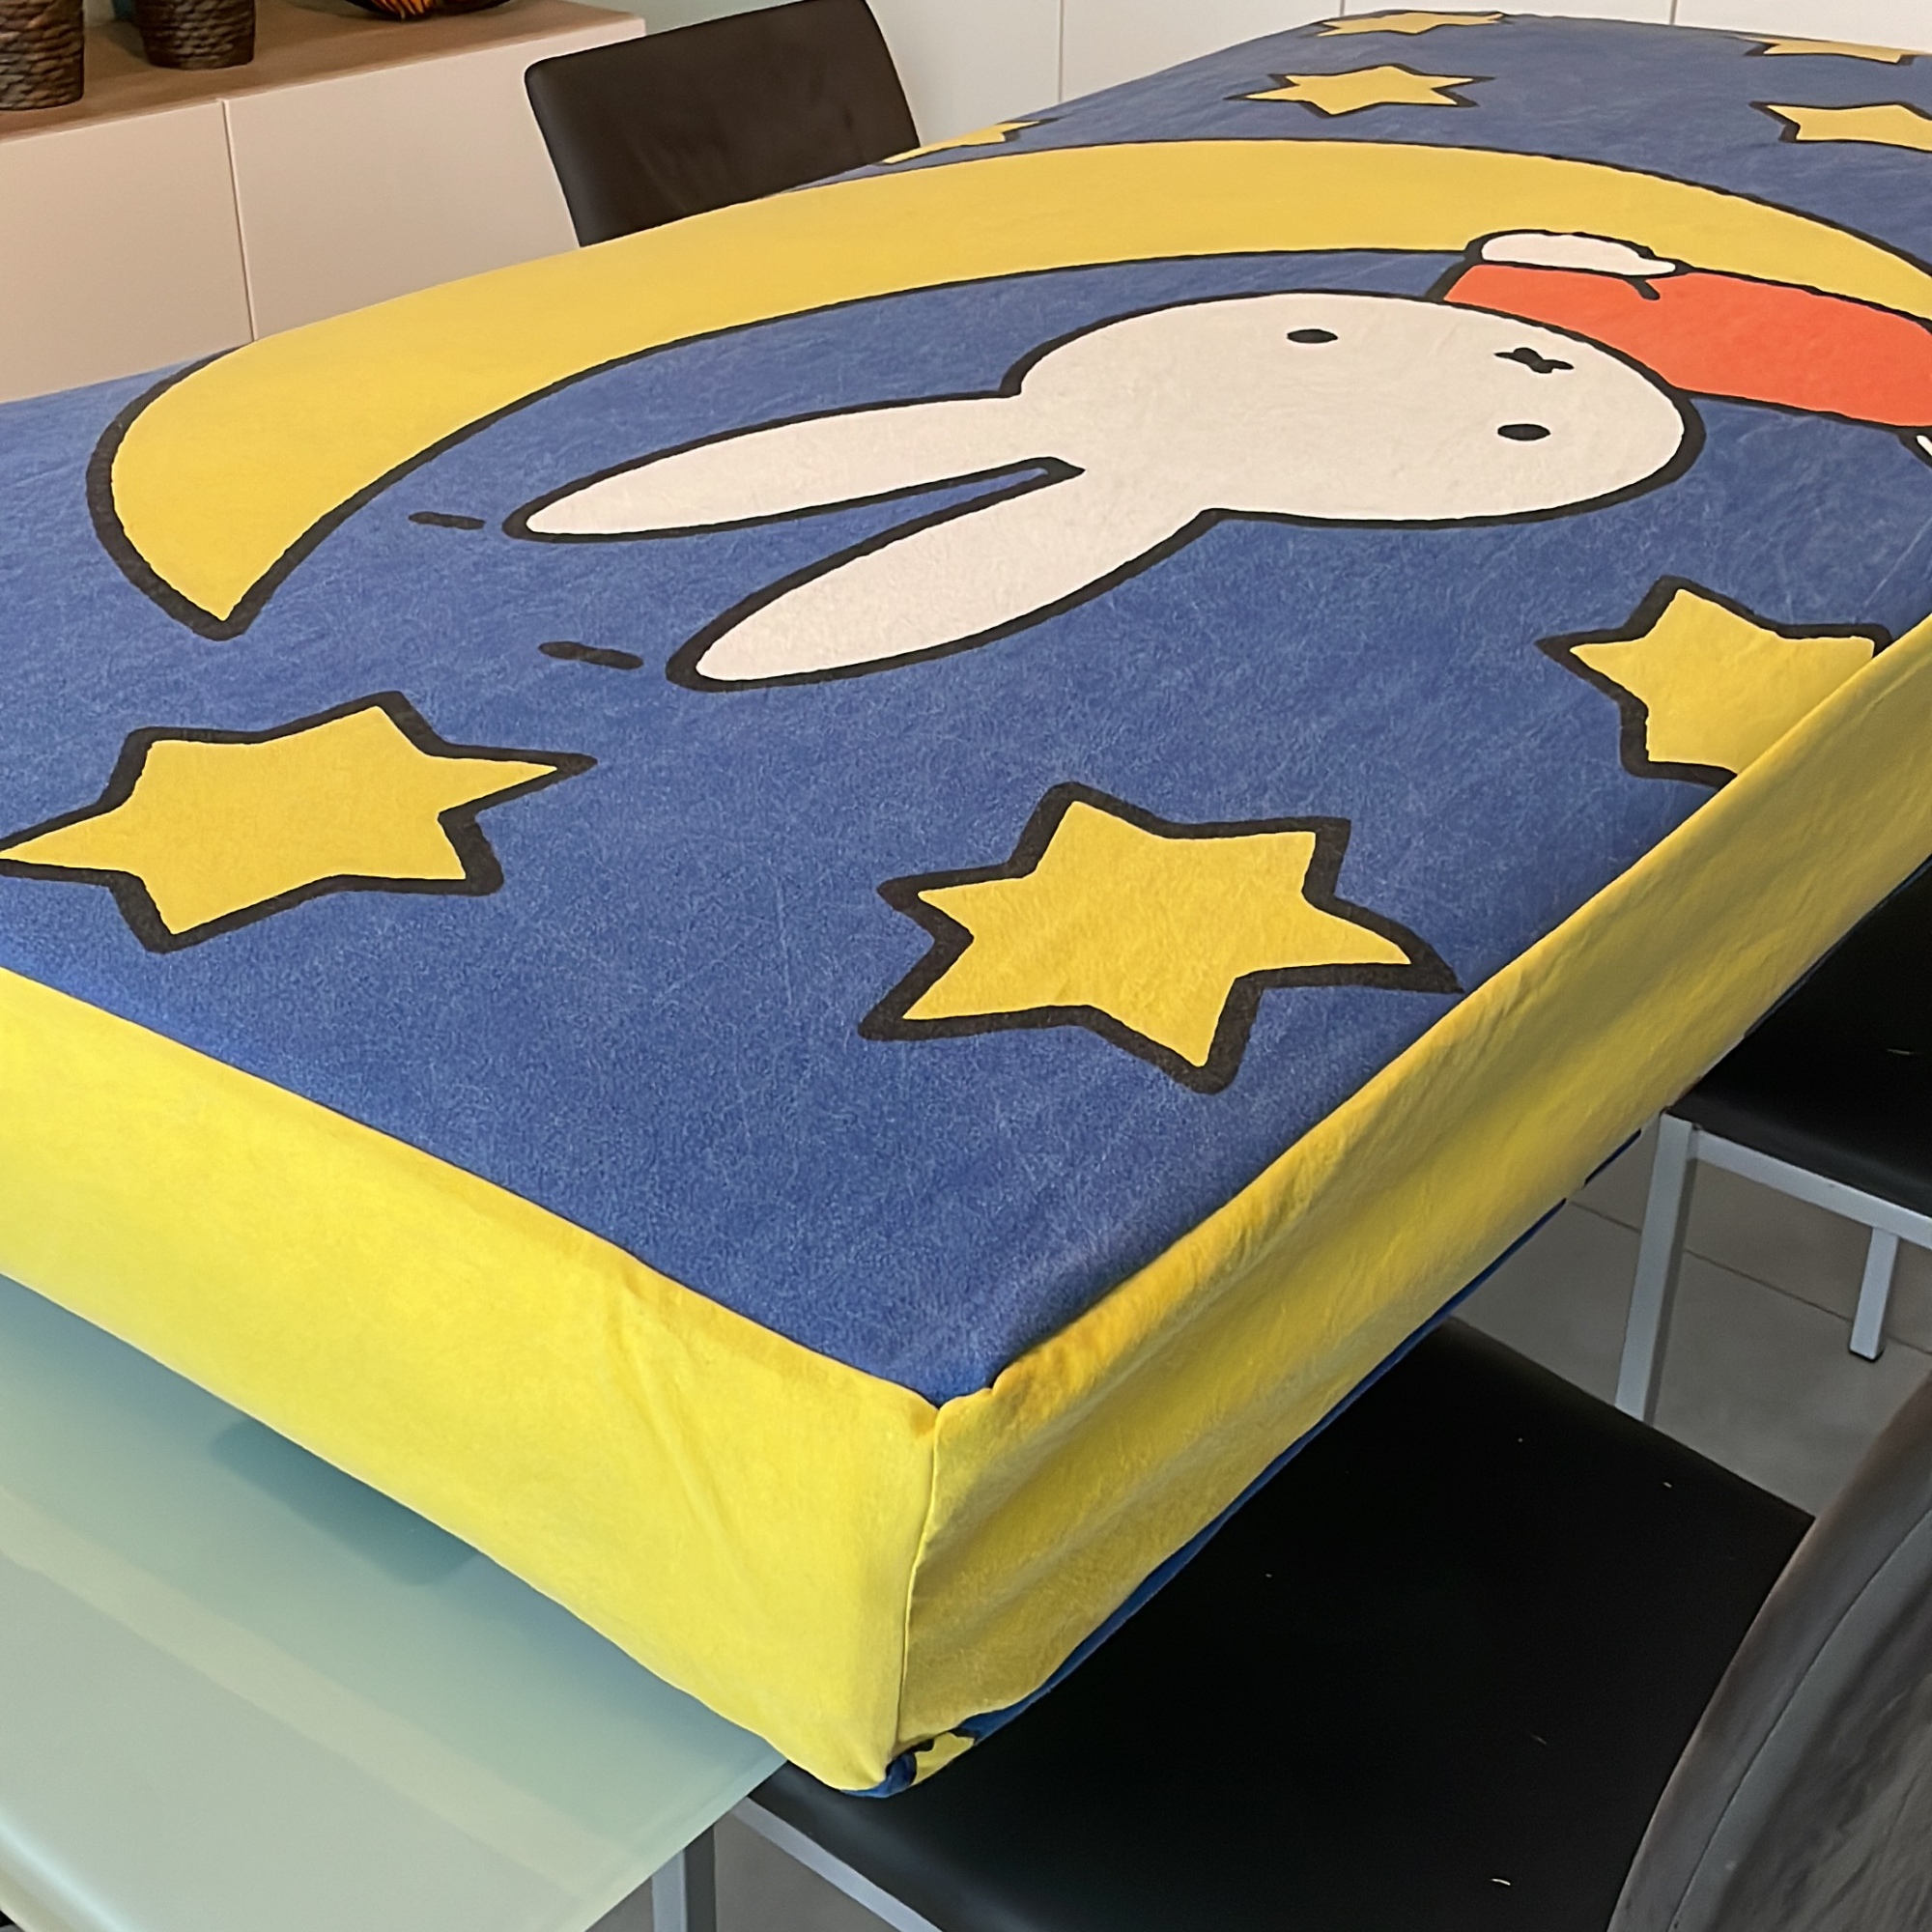
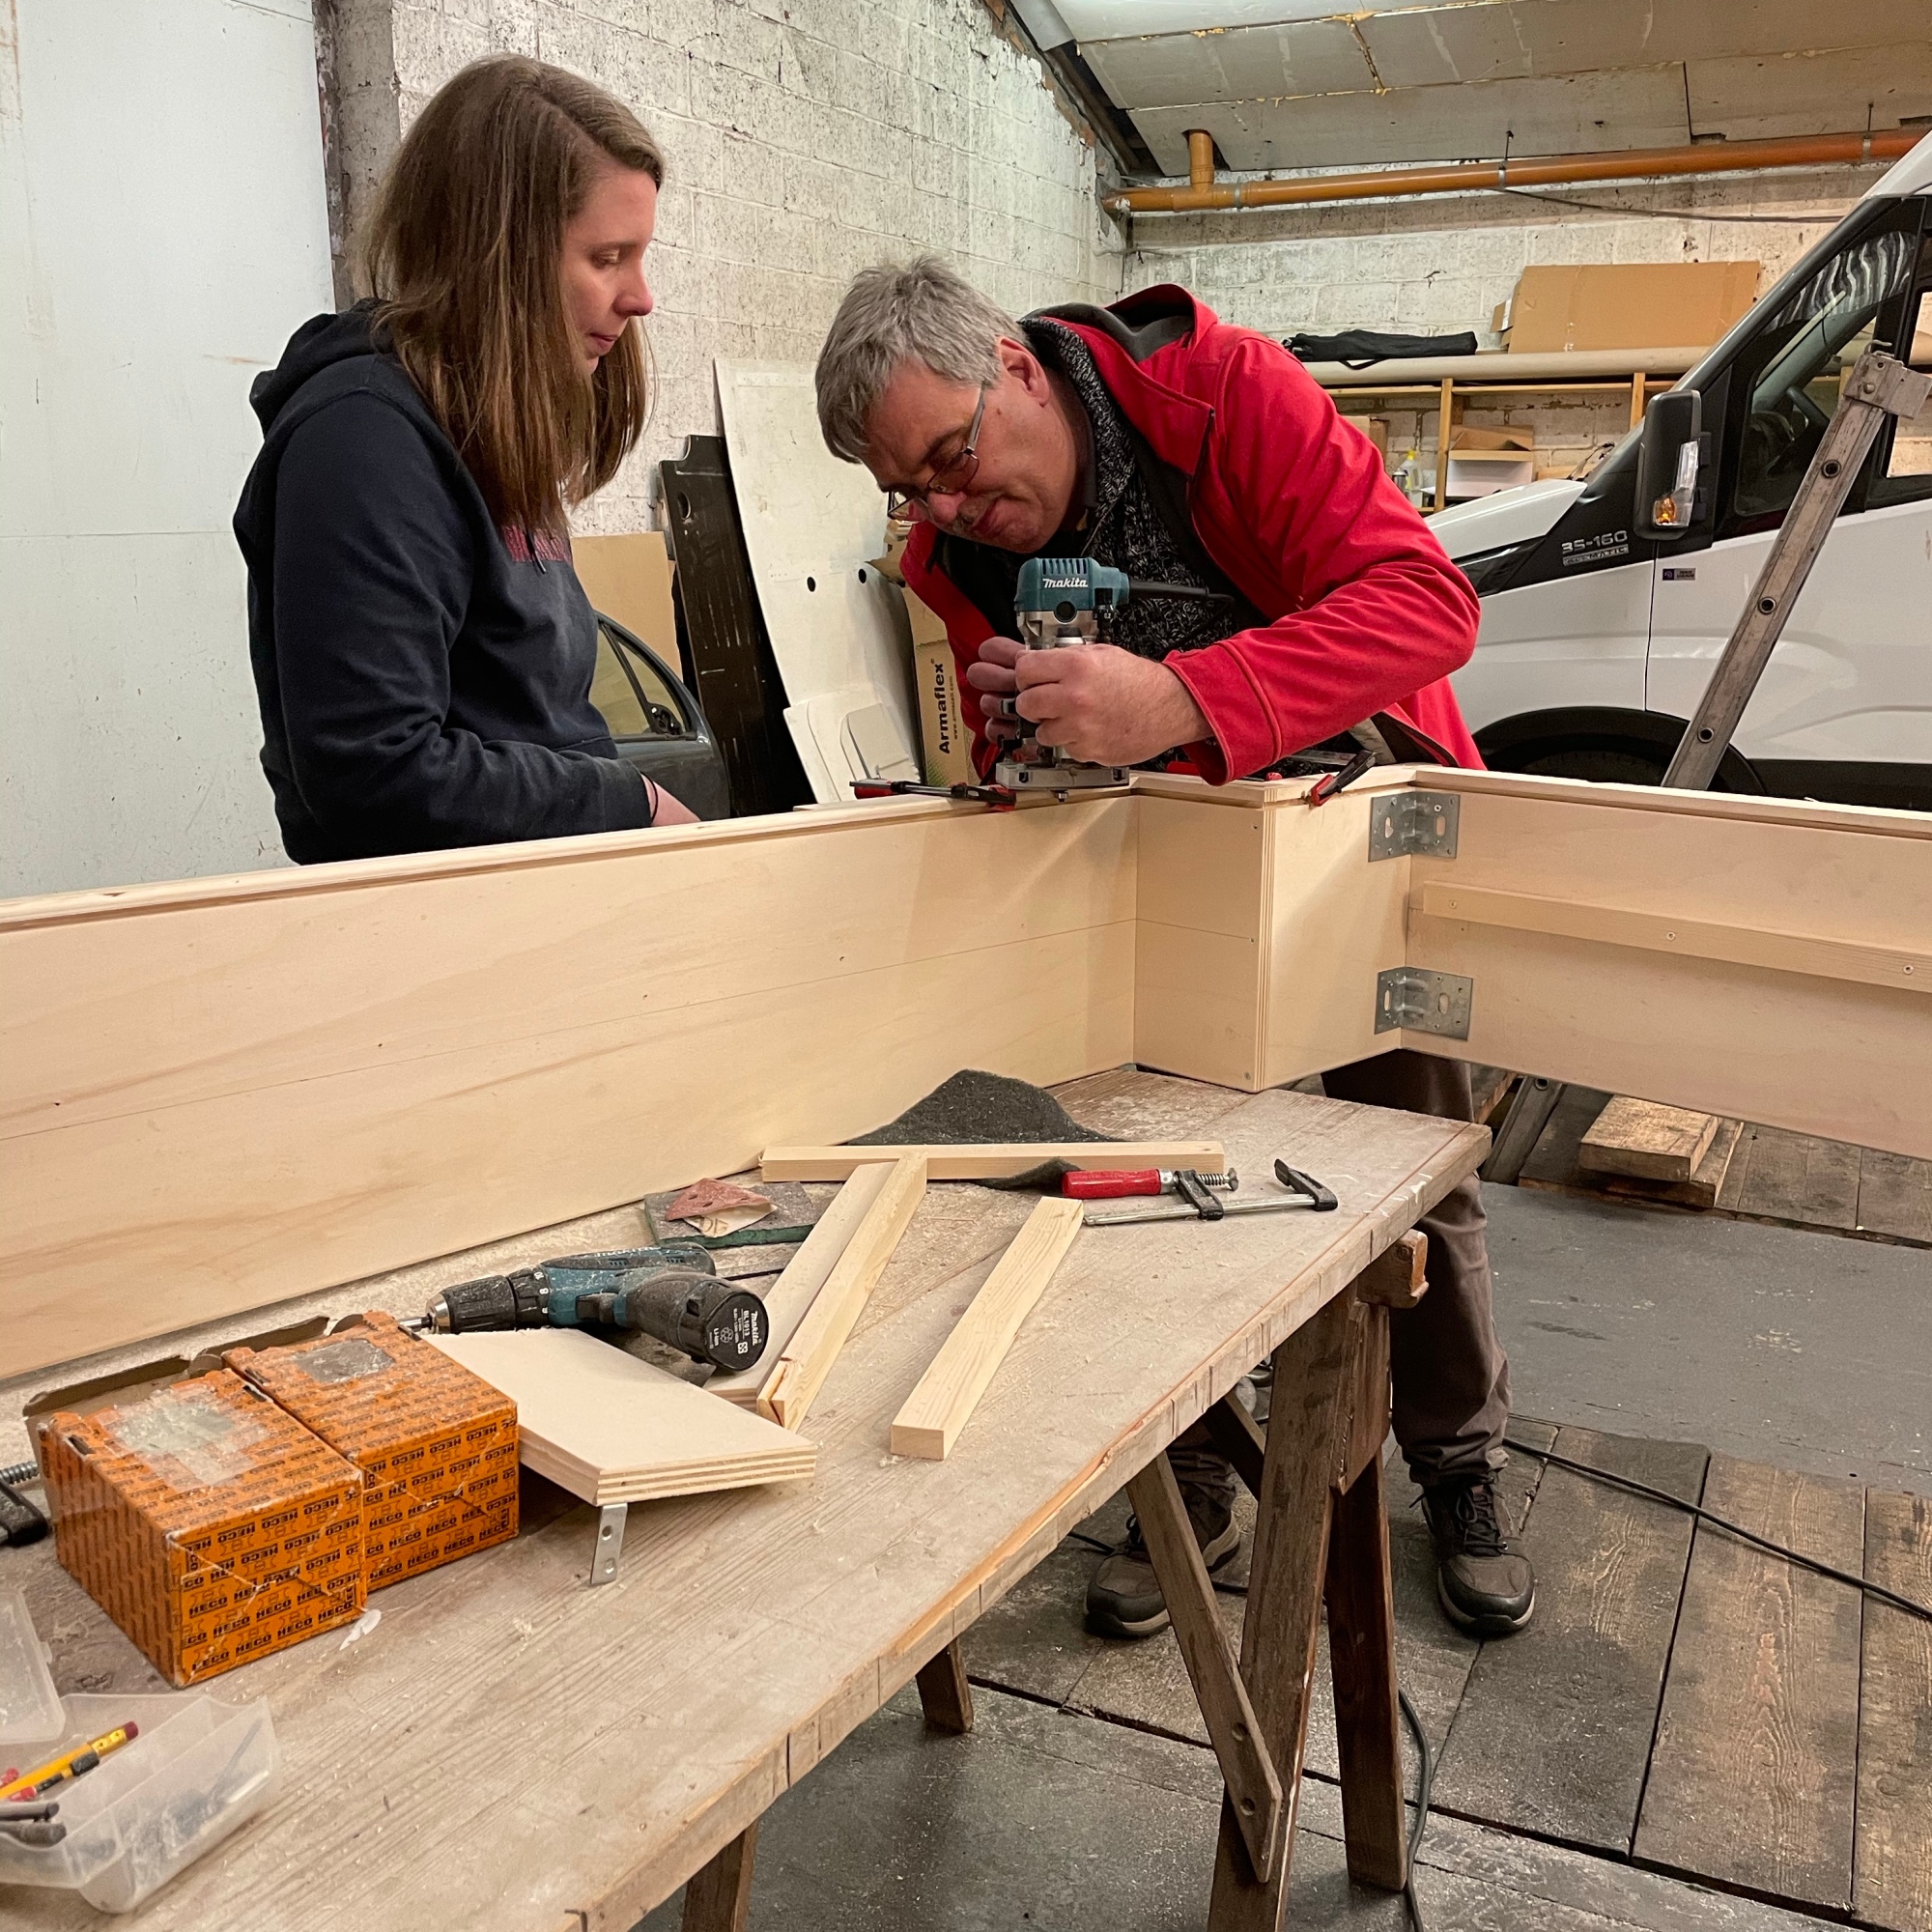
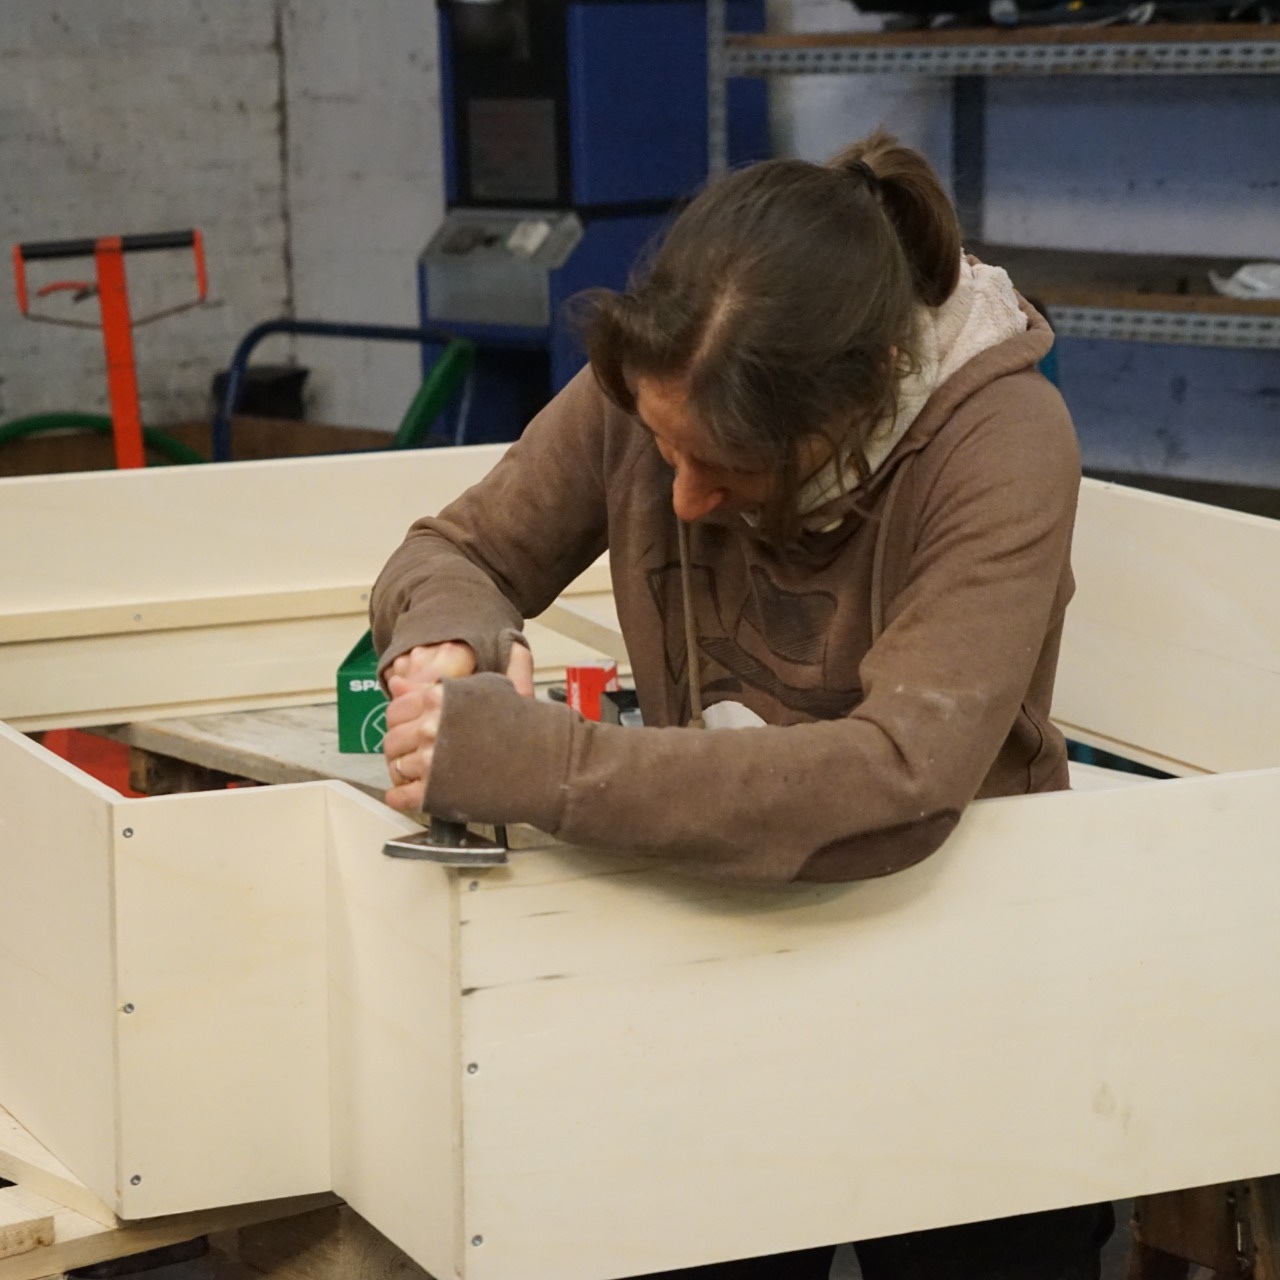
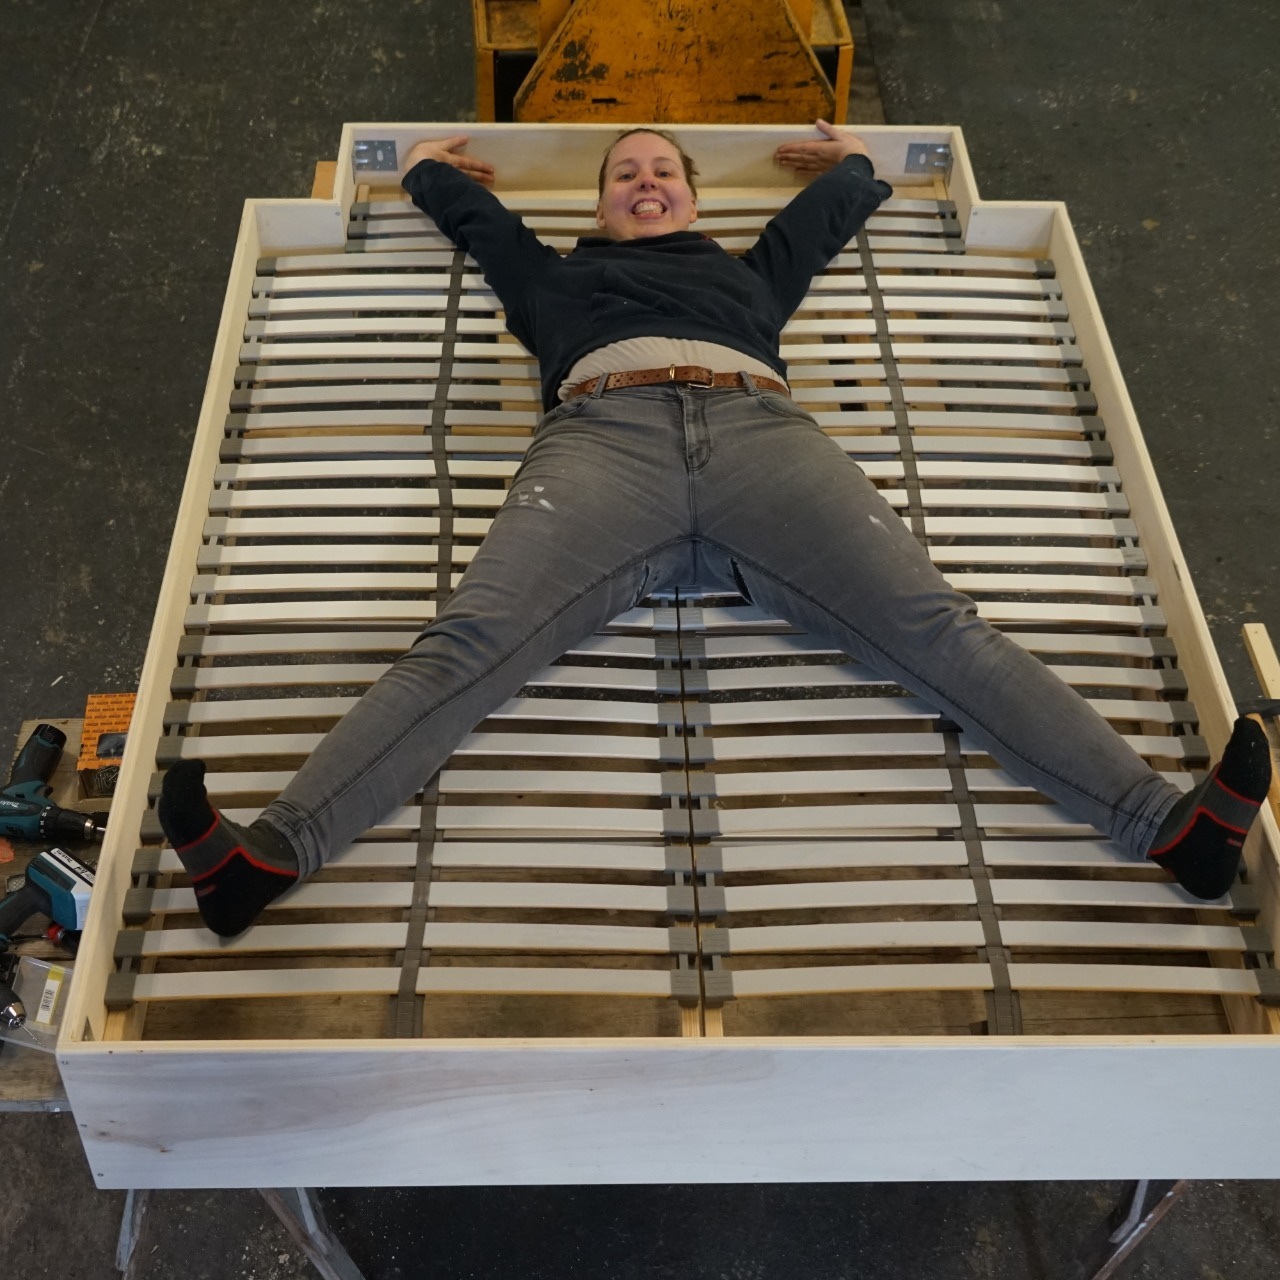
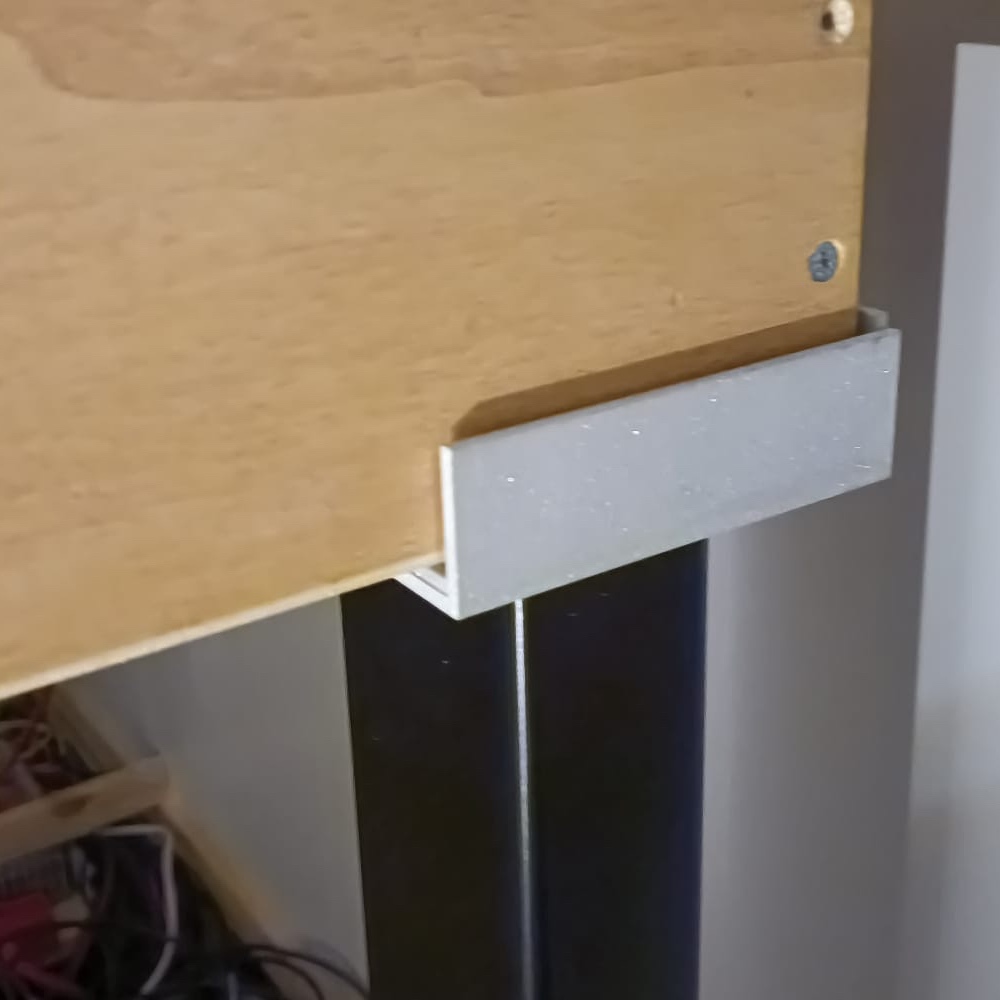
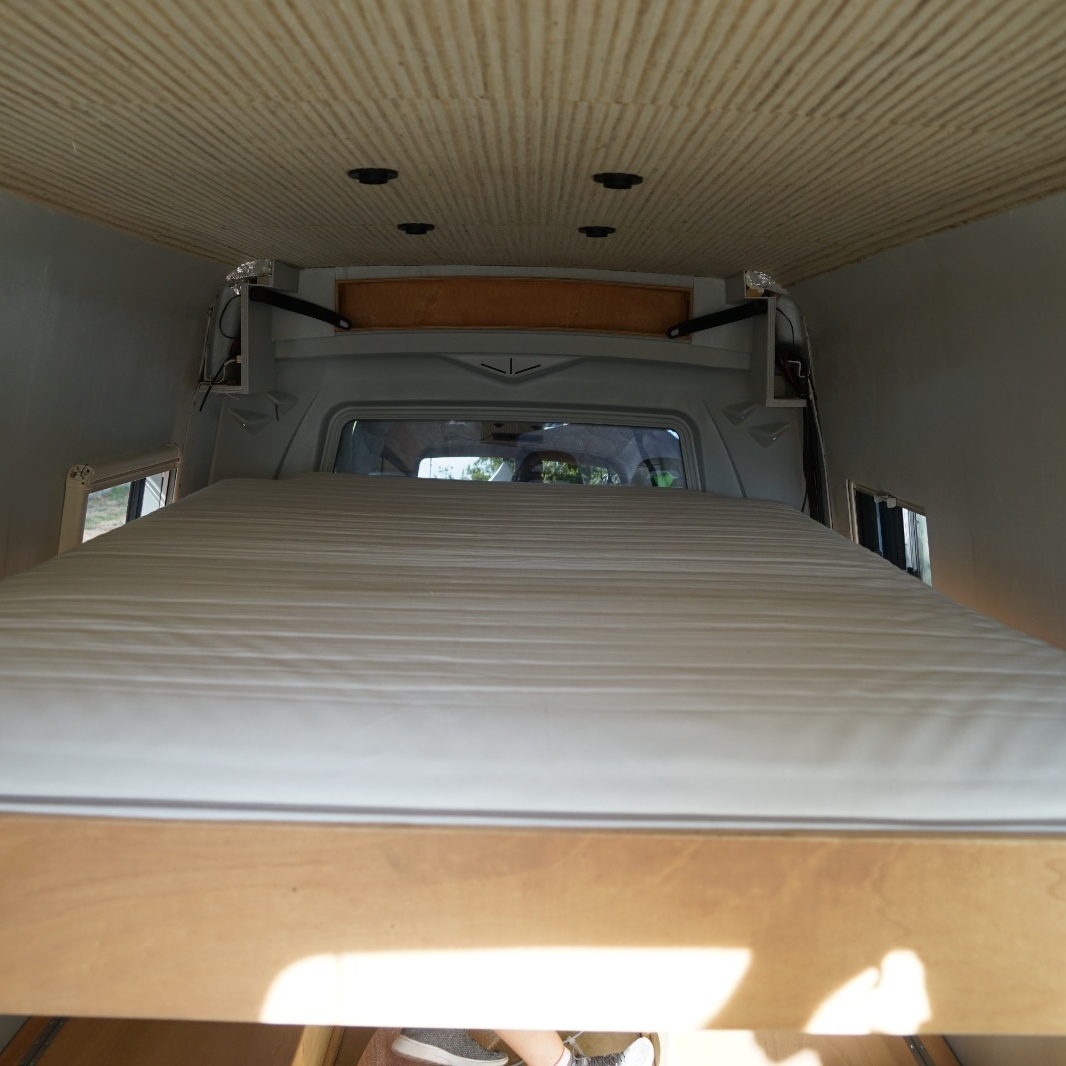
The bed is probably our craziest idea. Since Ronny seats 7, it would be absurd if it only sleeps 2, or 3. The logical solution was a bed that can be stowed away during the day, and lowered for the night. Some research led us to several available -and very expensive- solutions. Then we stumbled upon the website of Linak. Sofie exchanged ideas with one of their agents, and so we bought an actuator system for the bed. It turned out absolutely amazing! Enter the starry sky below the bed and you’ll have to agree, that this is an absolute masterpiece.


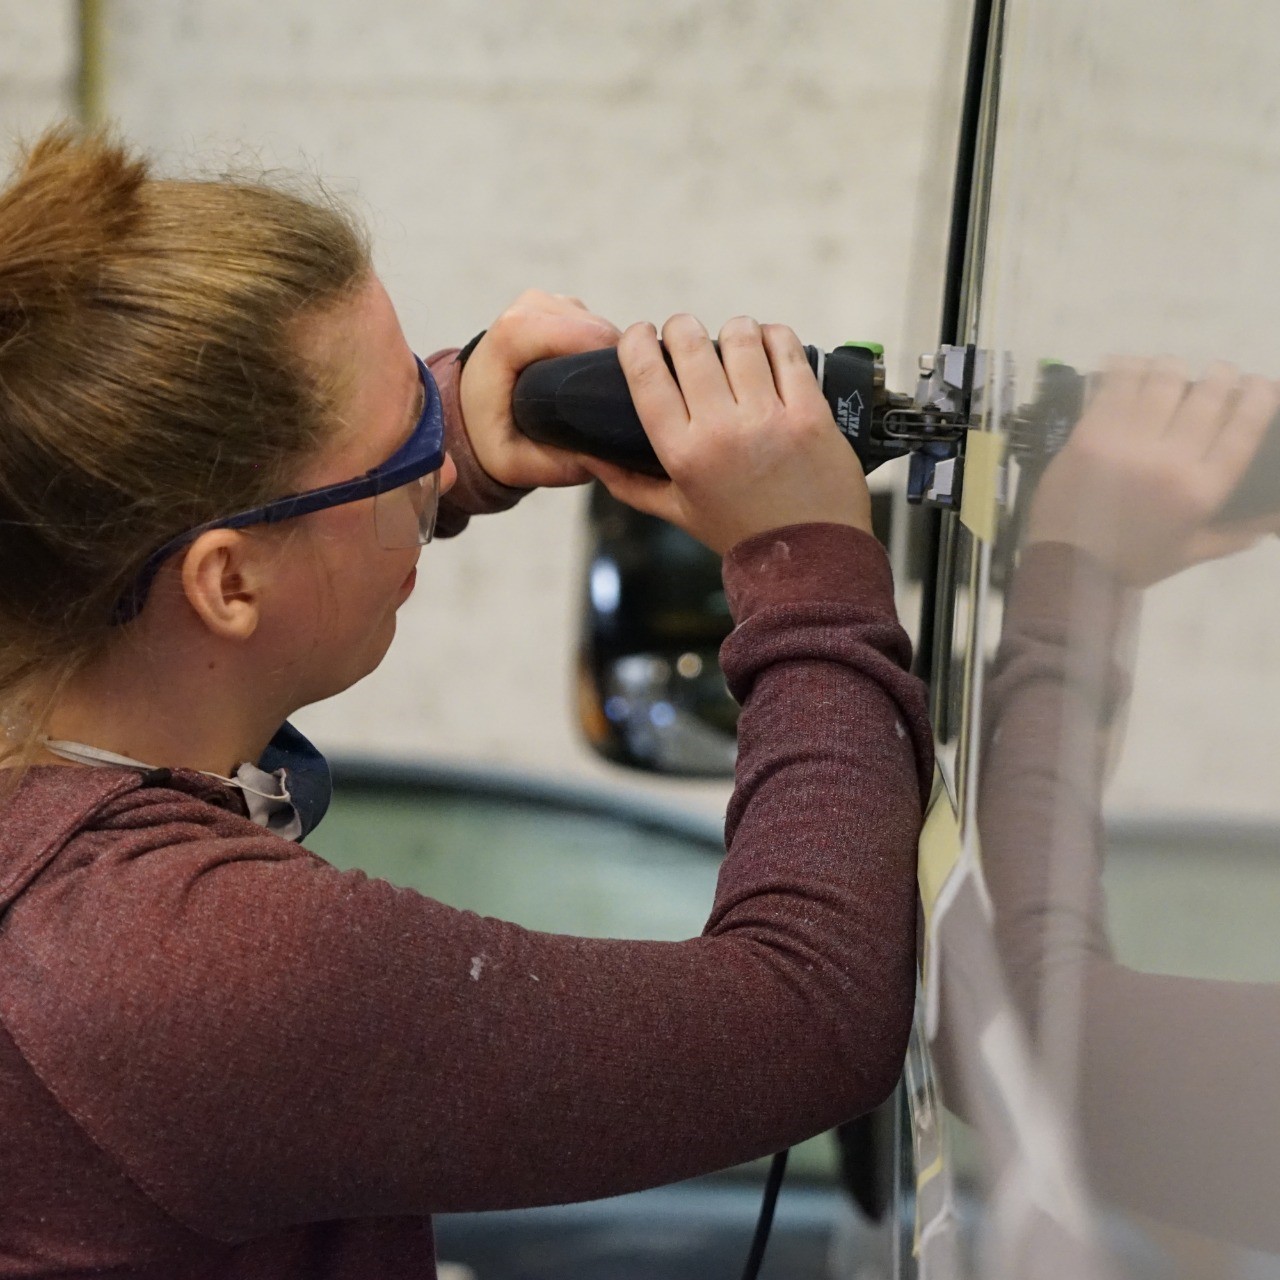
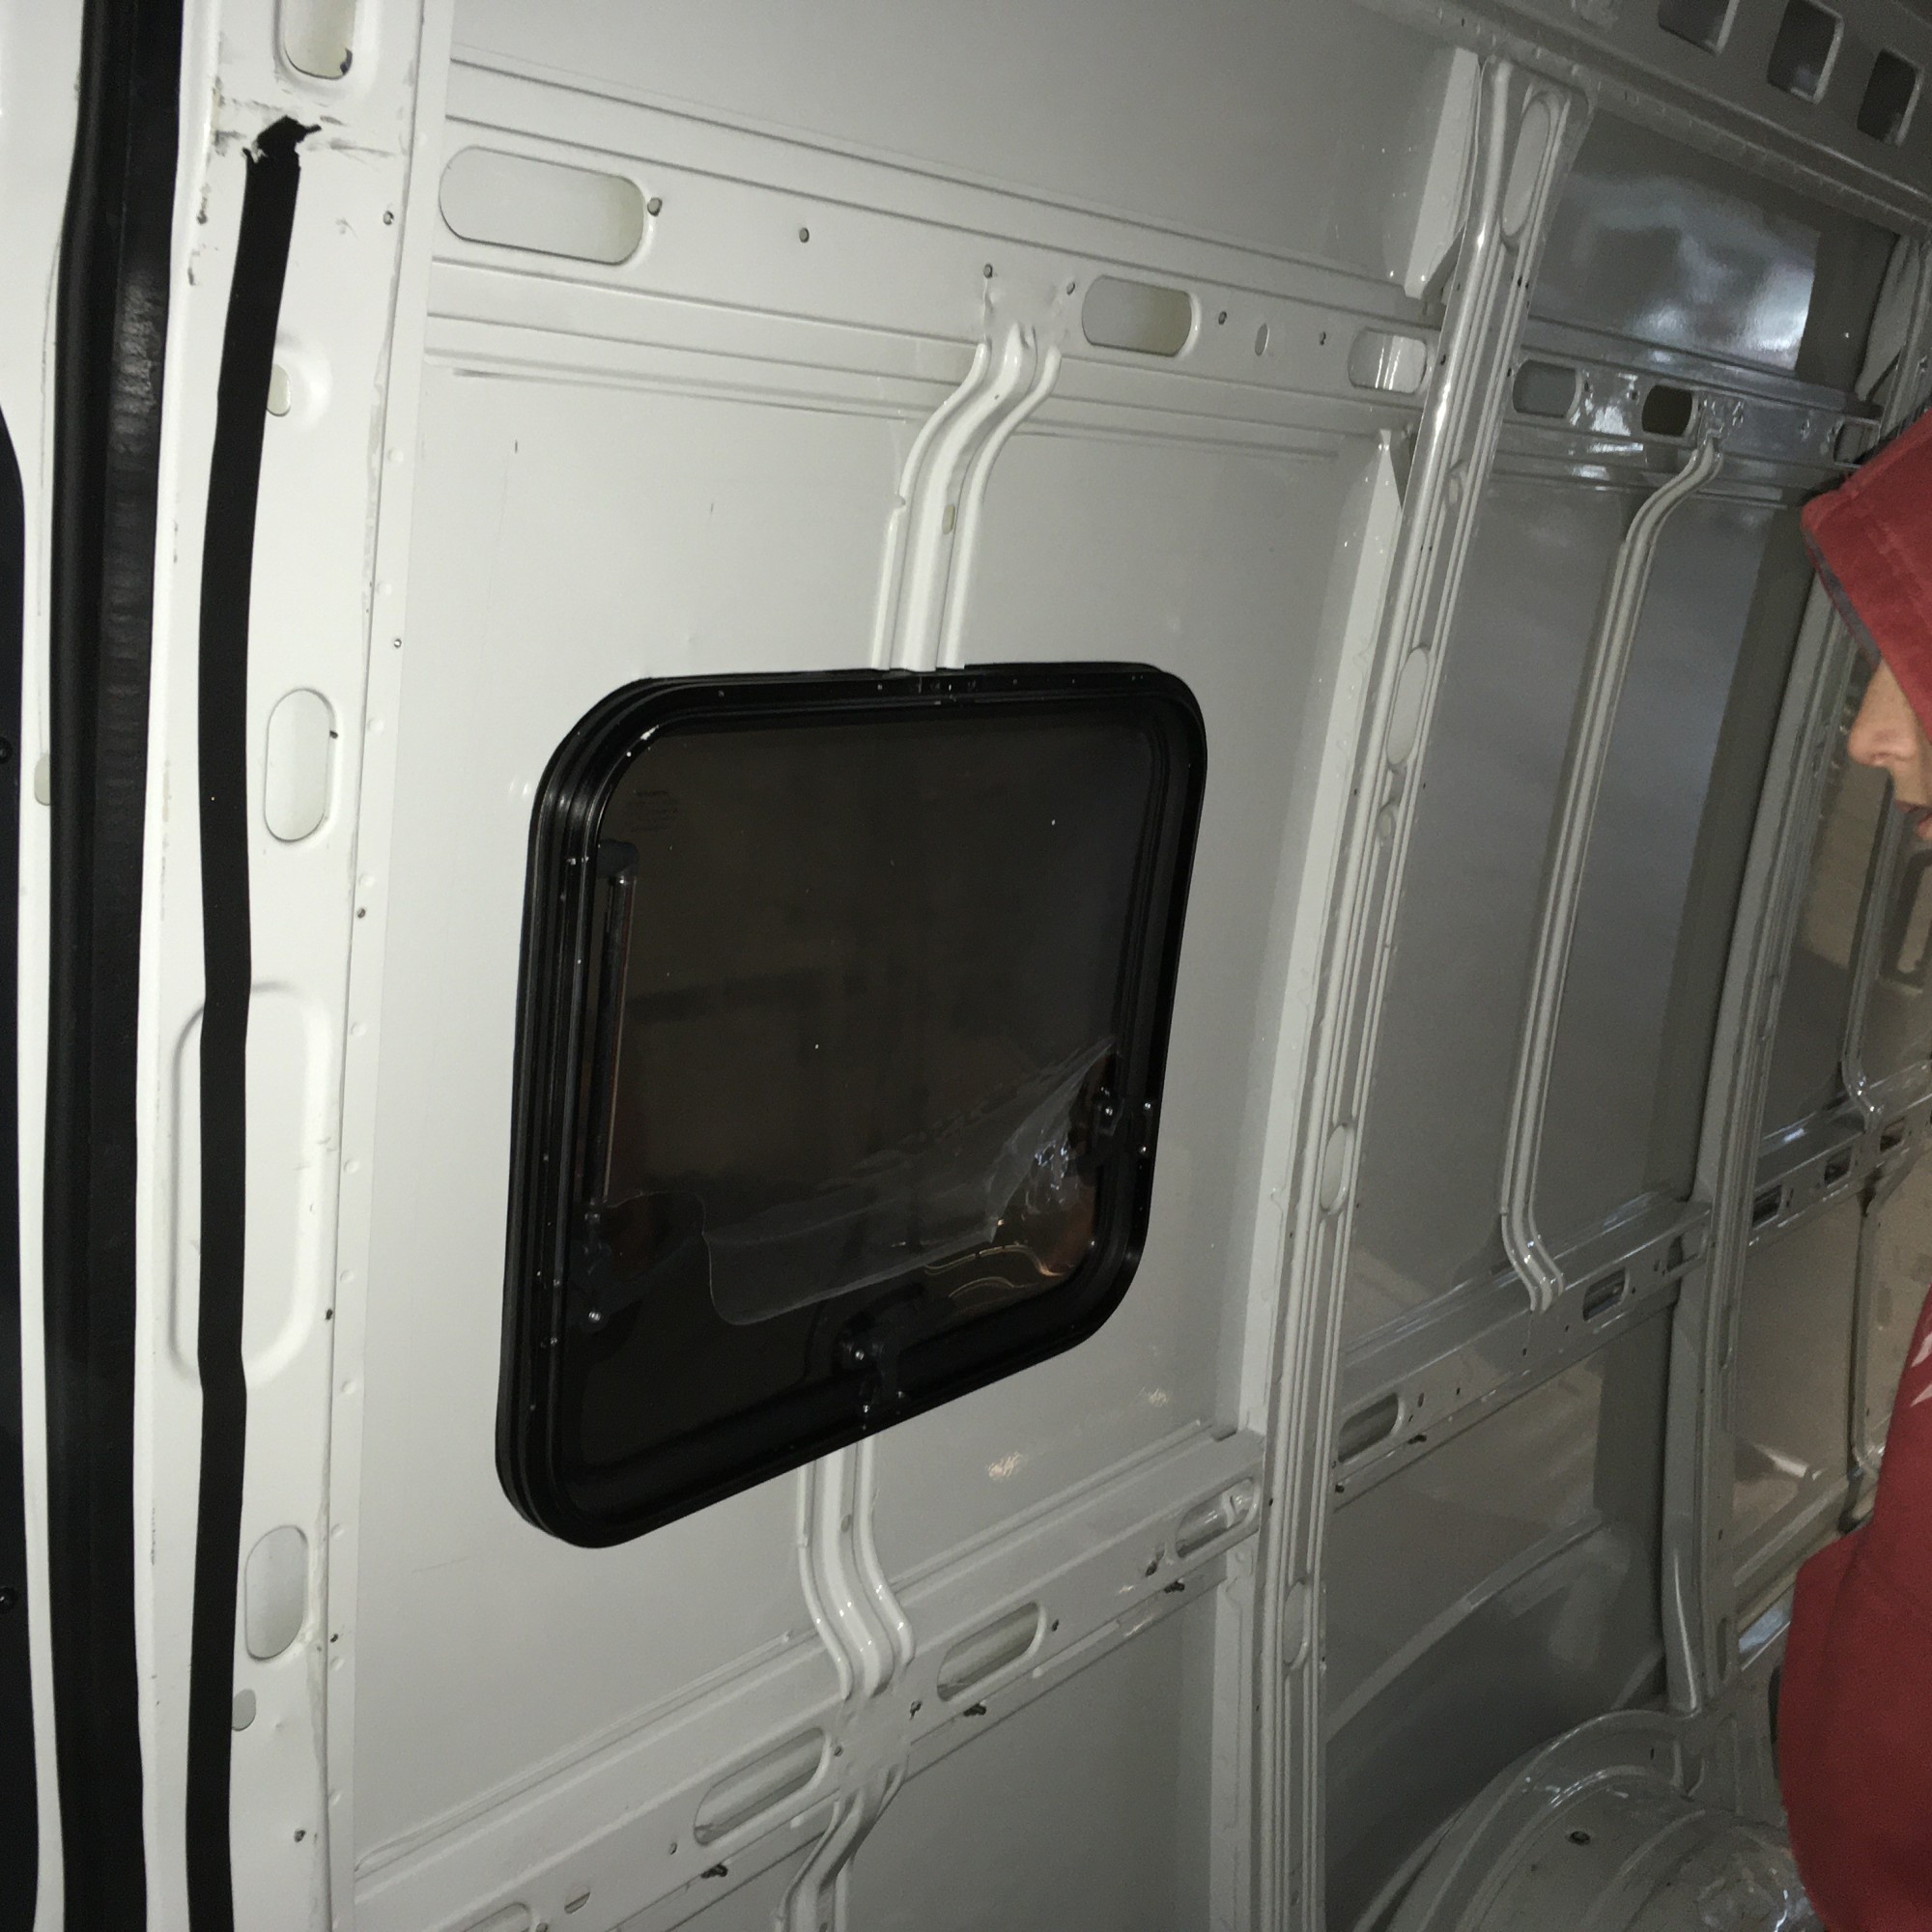
So we got ourselves 2 awning windows, made holes in the bodywork… And realized that an awning window behind a sliding door, is a disaster waiting to happen. We discussed pro and con of keeping/changing the window into a sliding window, with the only pro of keeping the awning window being aesthetics. So we purchased a new window: a Dometic S4 sliding window of the same size. Well almost. So we needed a larger hole, just slightly larger. Been a hell of a job. So whenever you see Sofie: don’t mention the window.
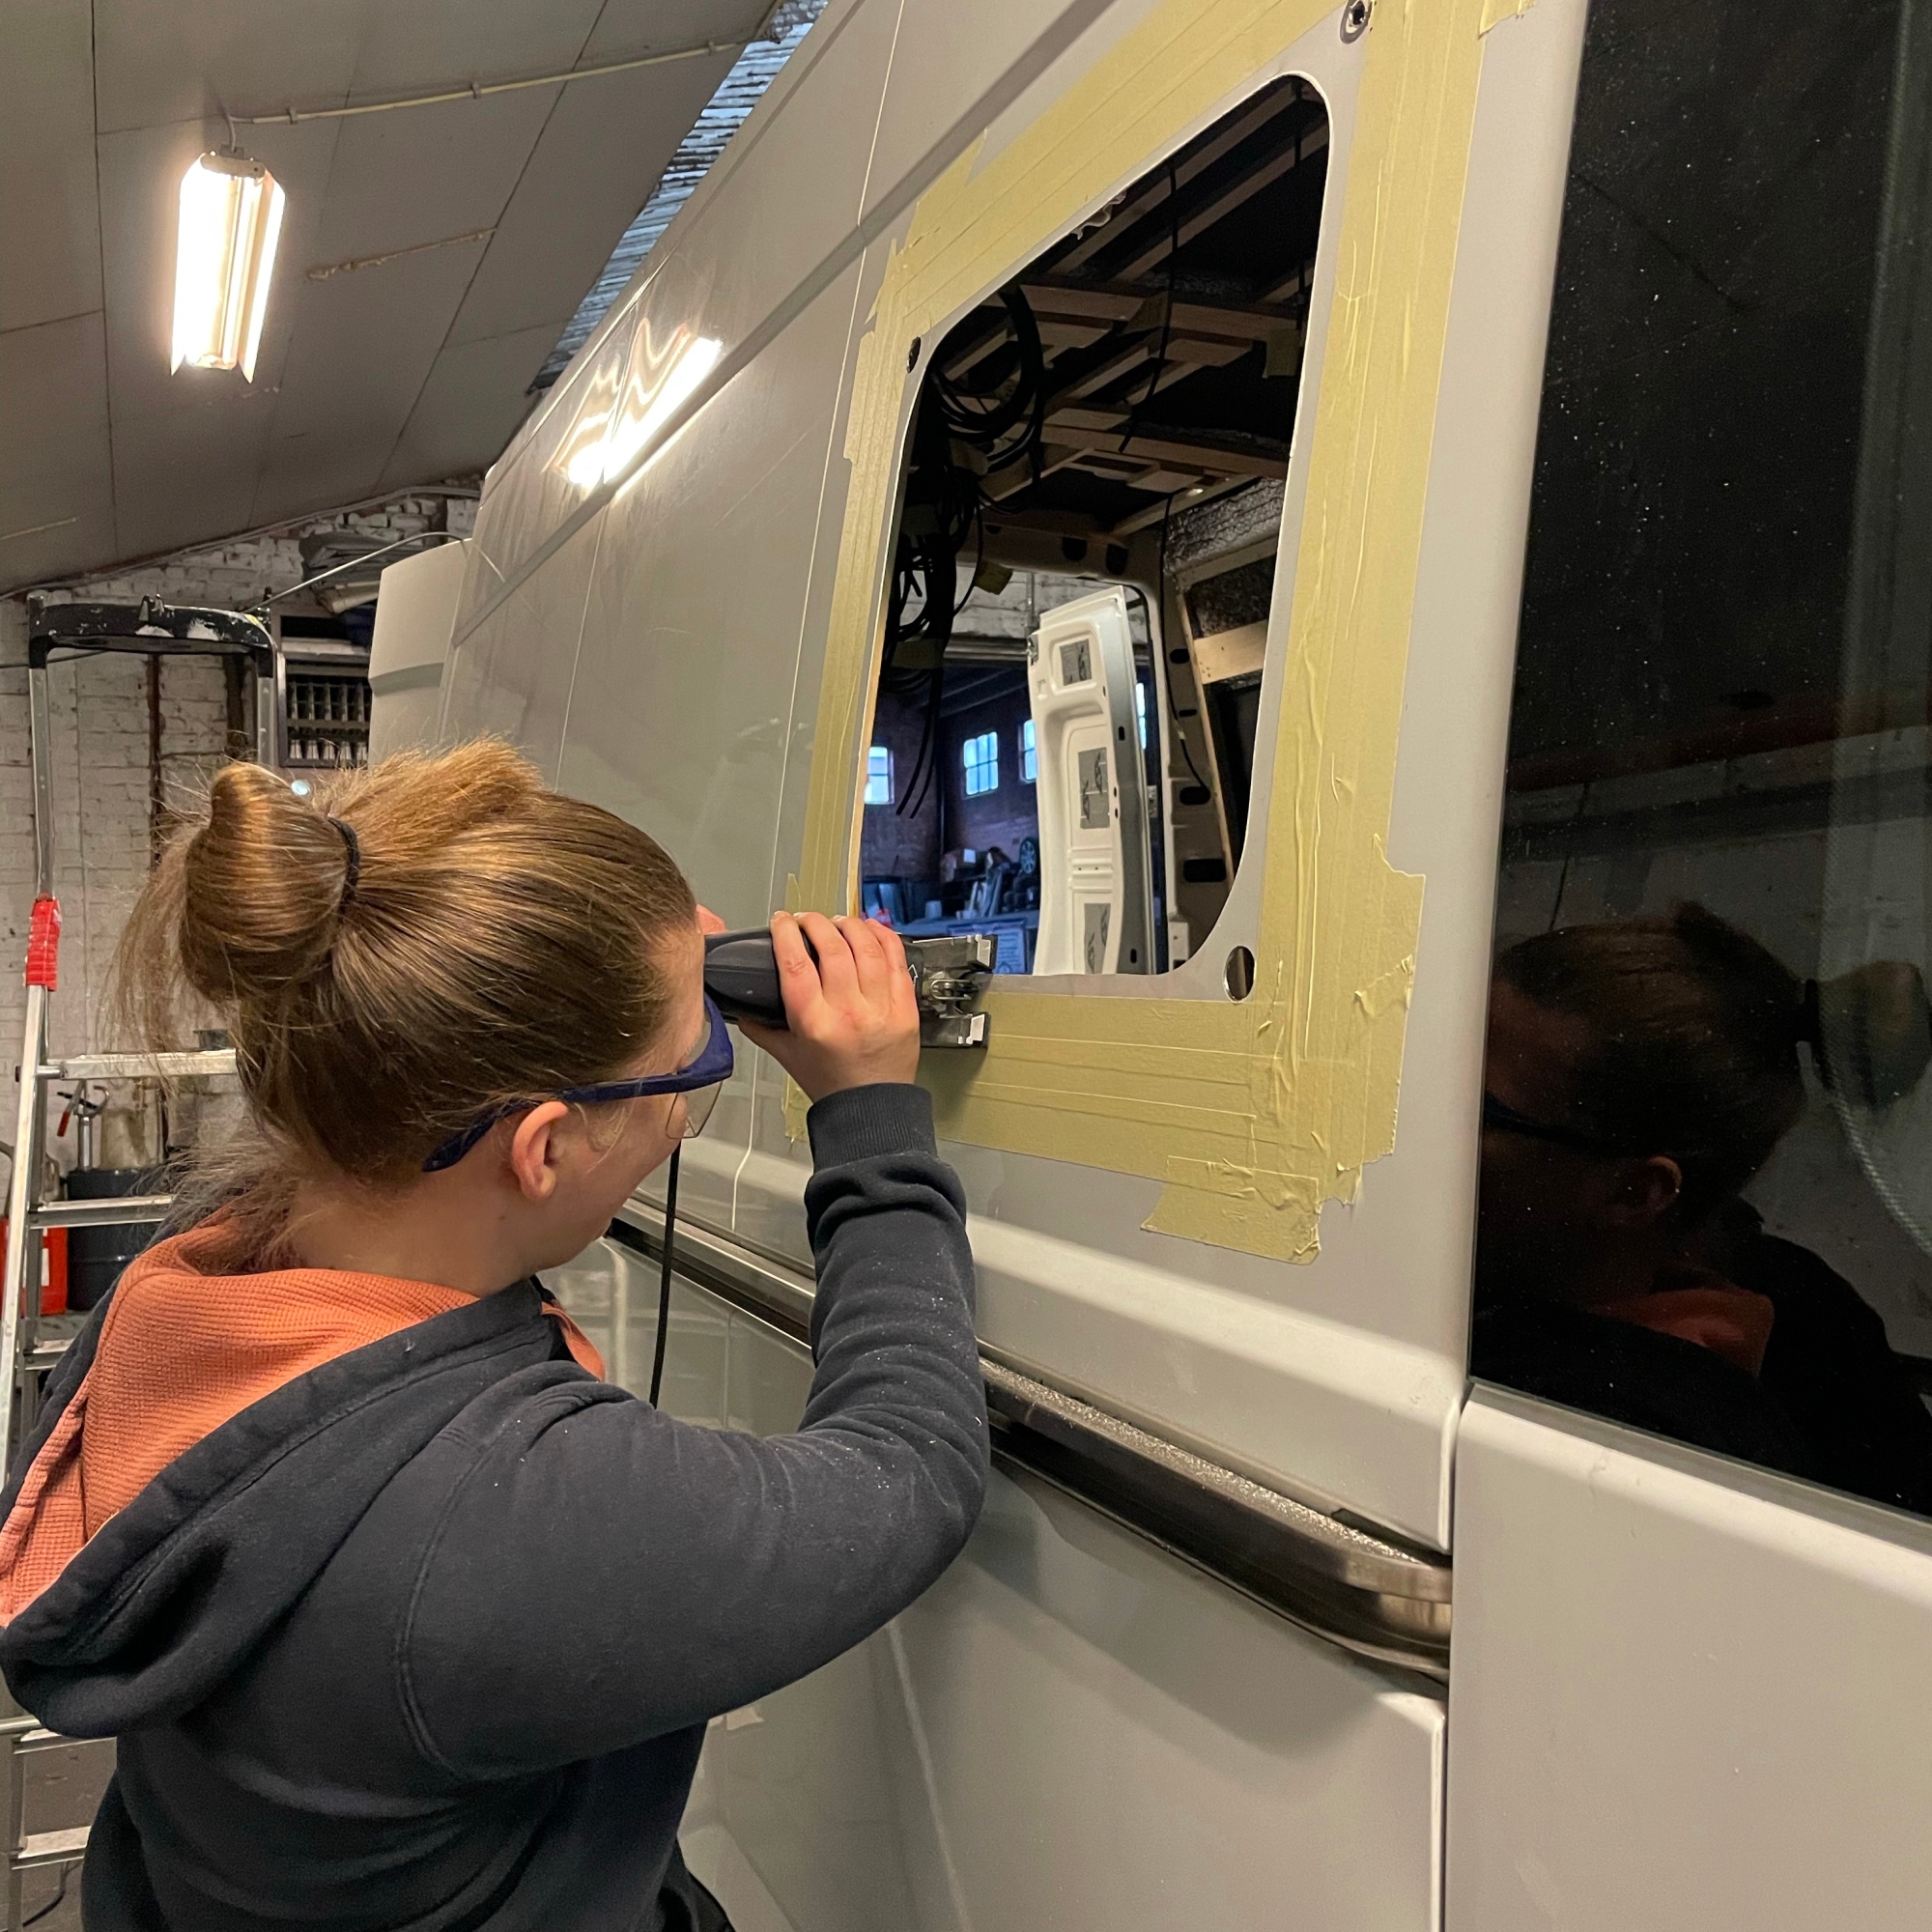

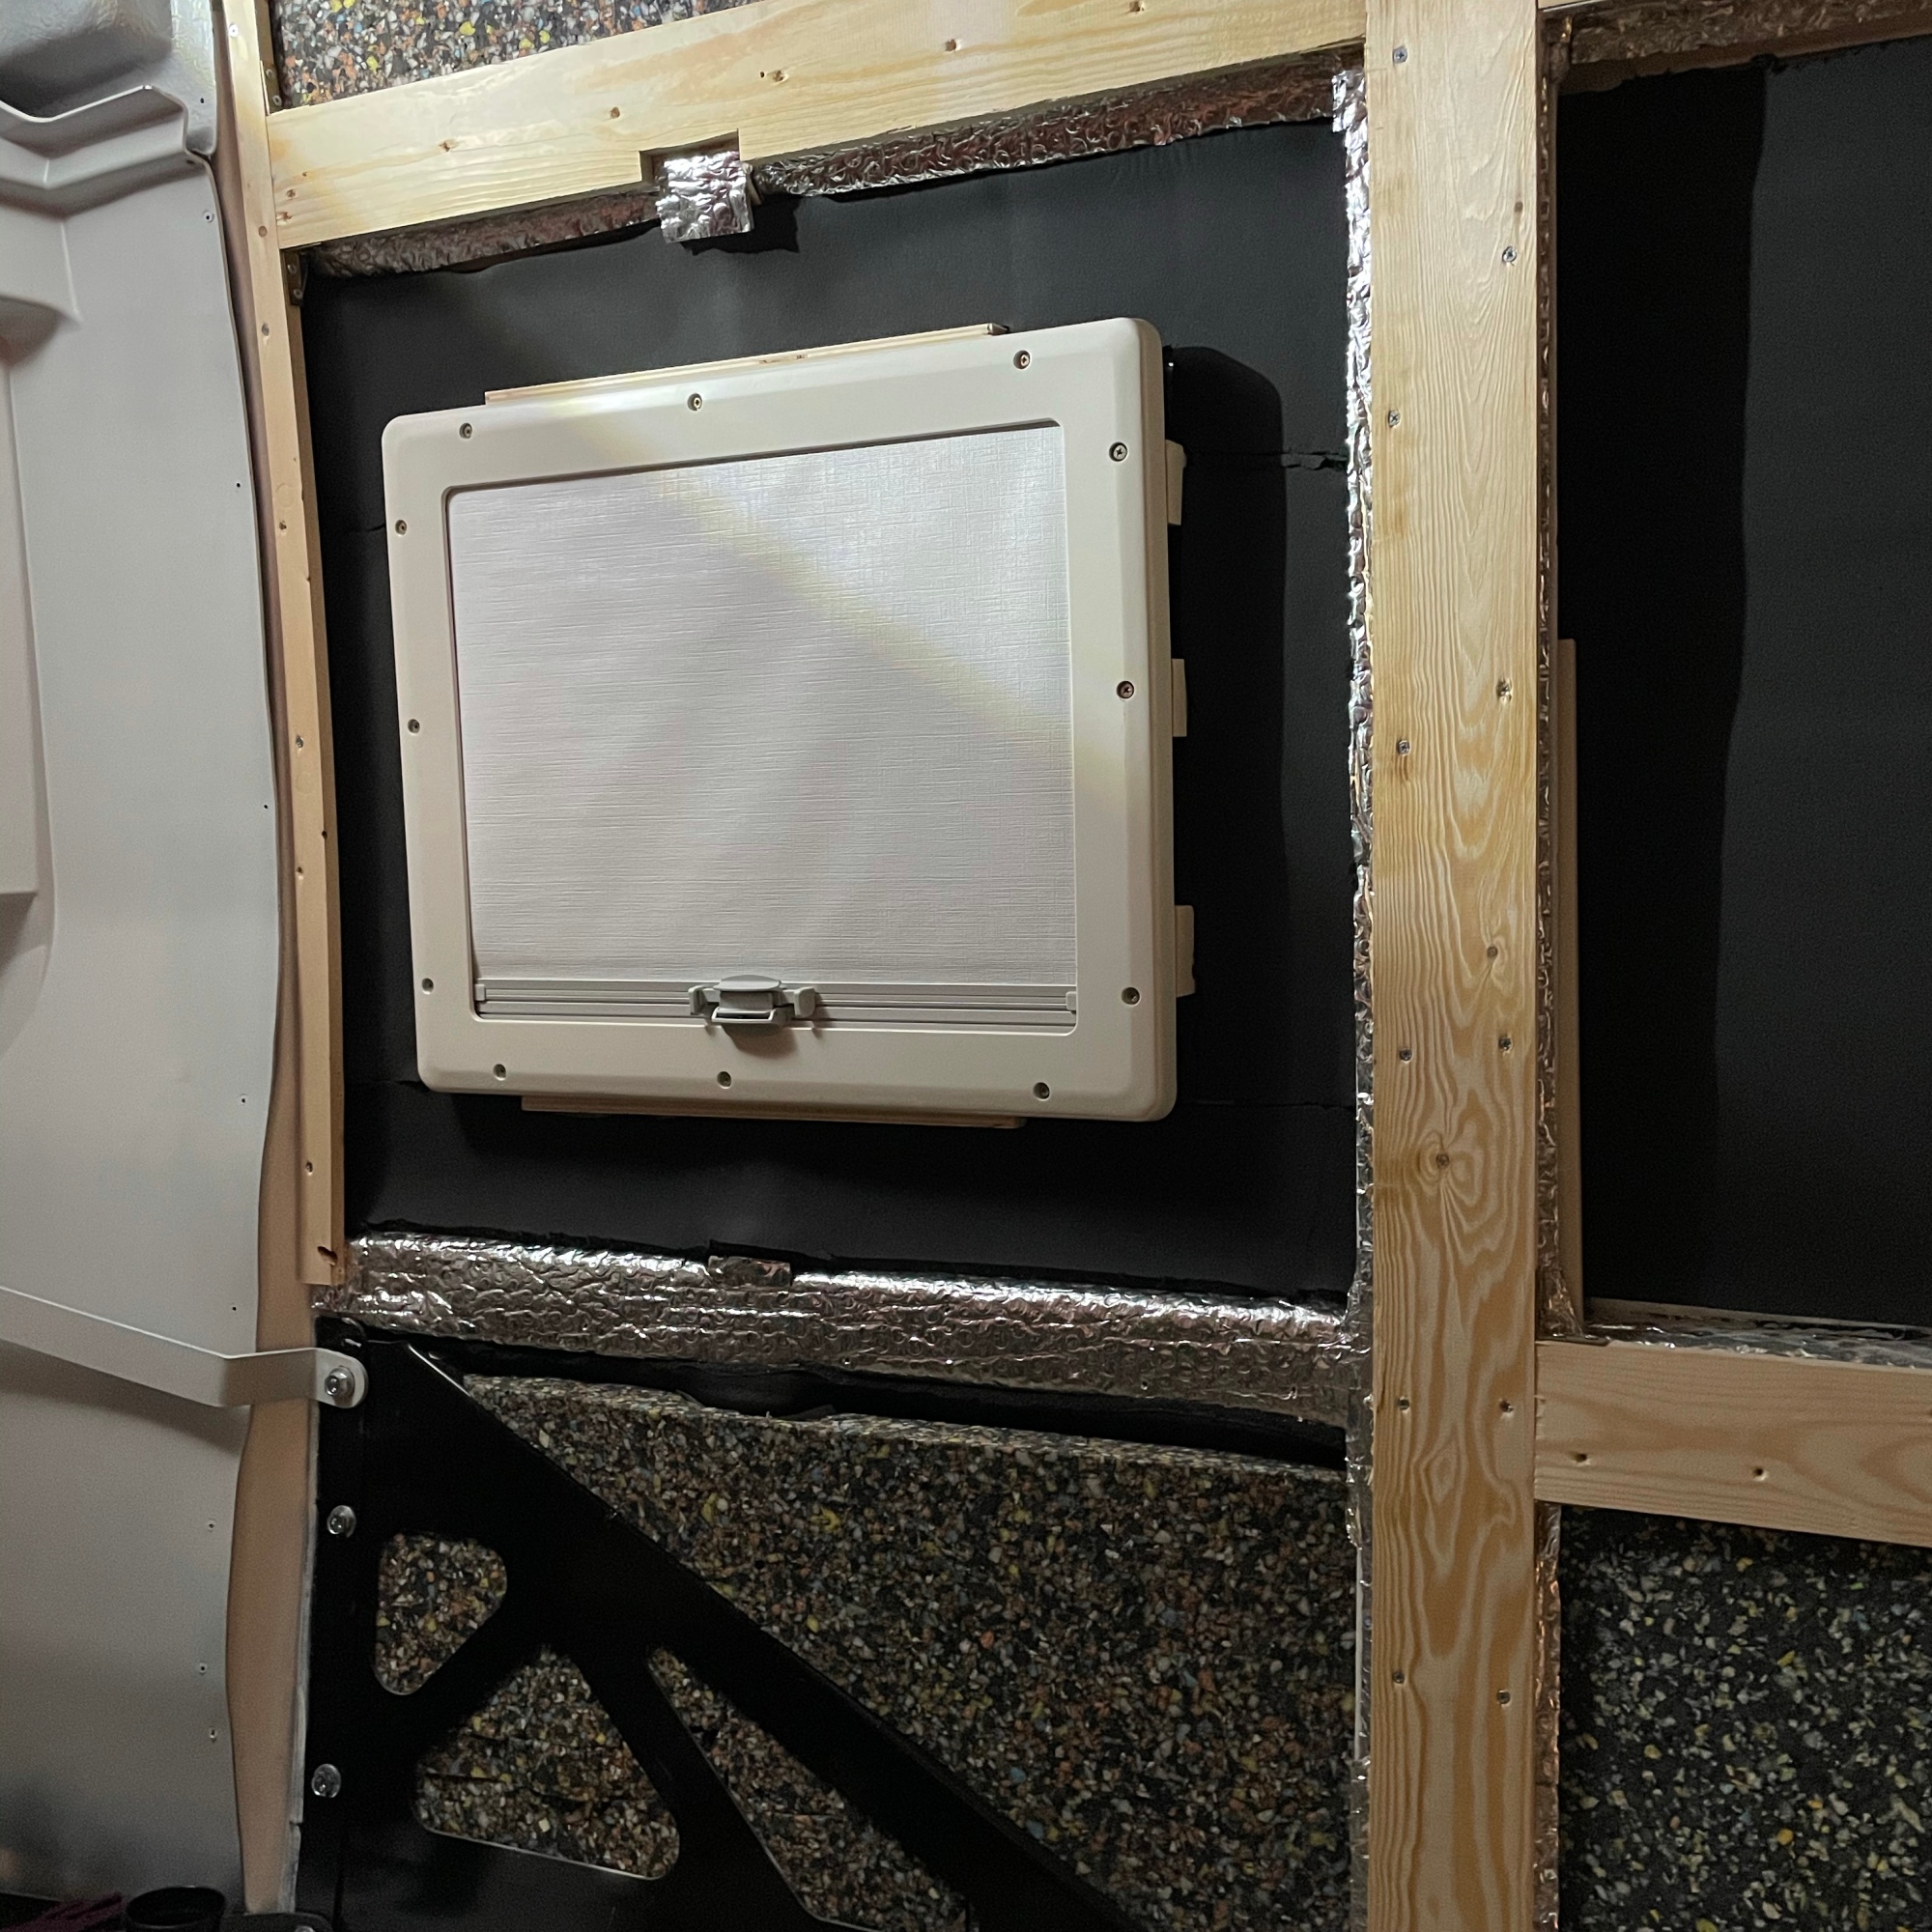
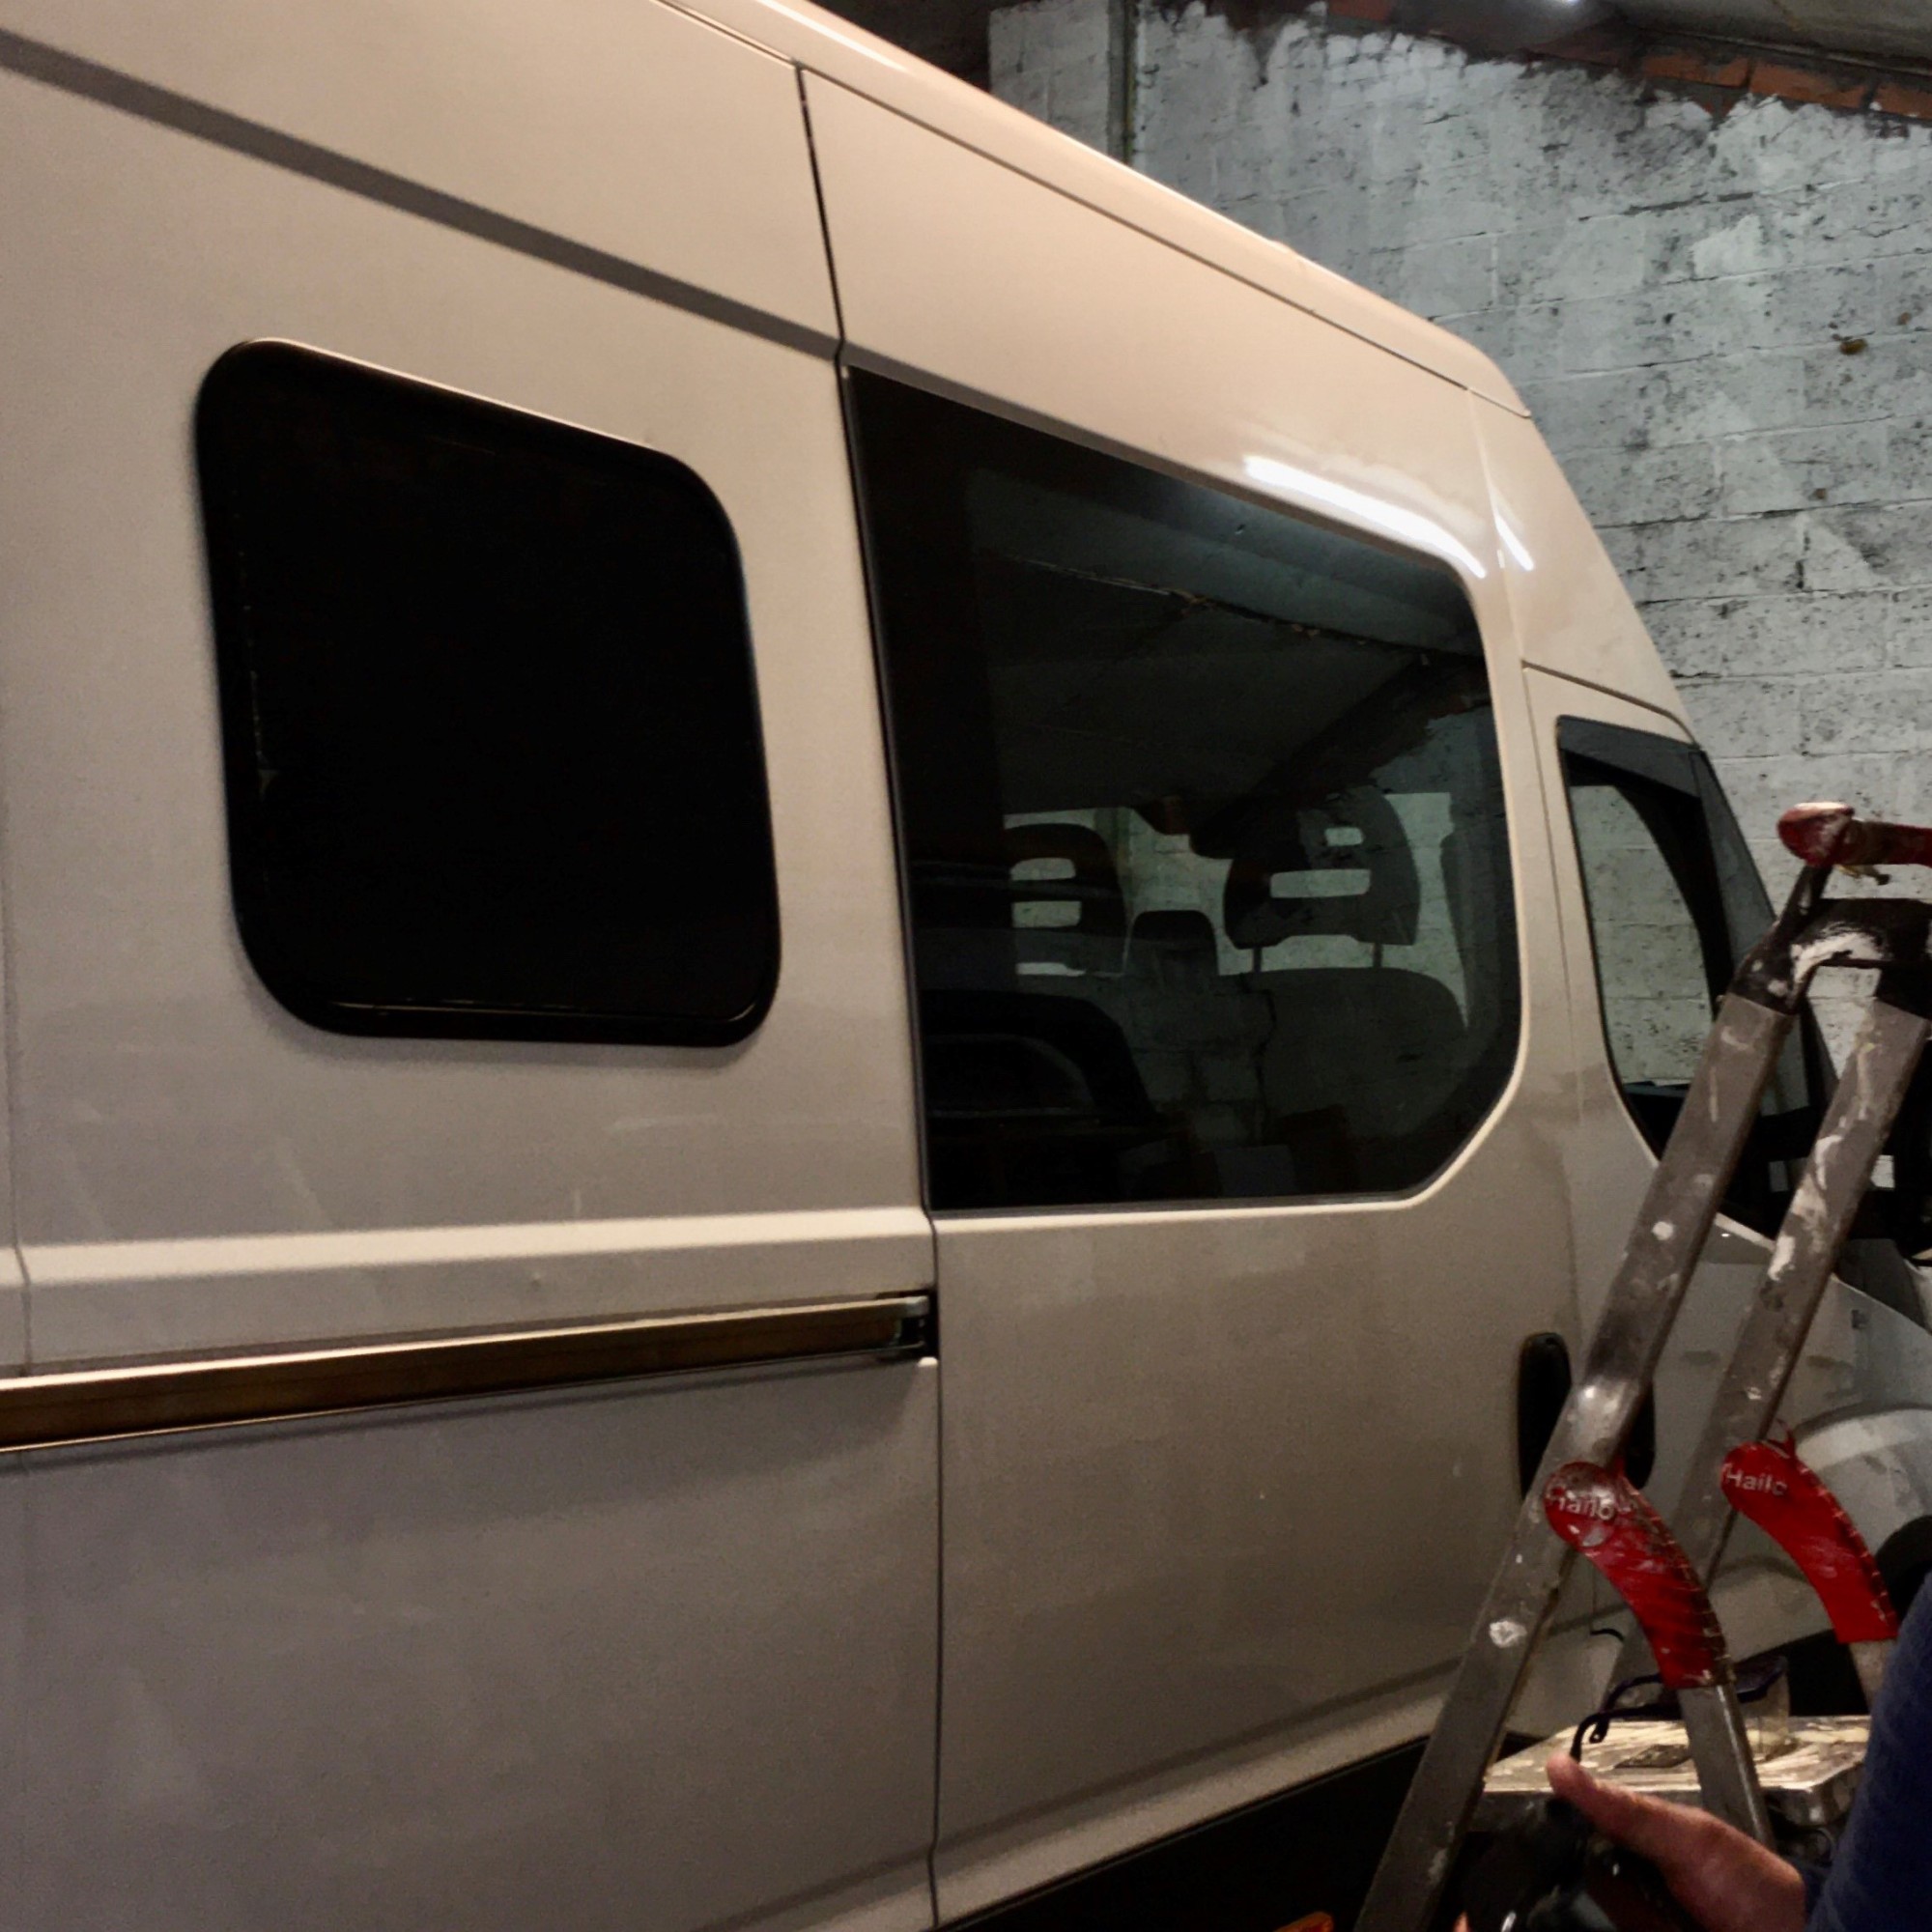
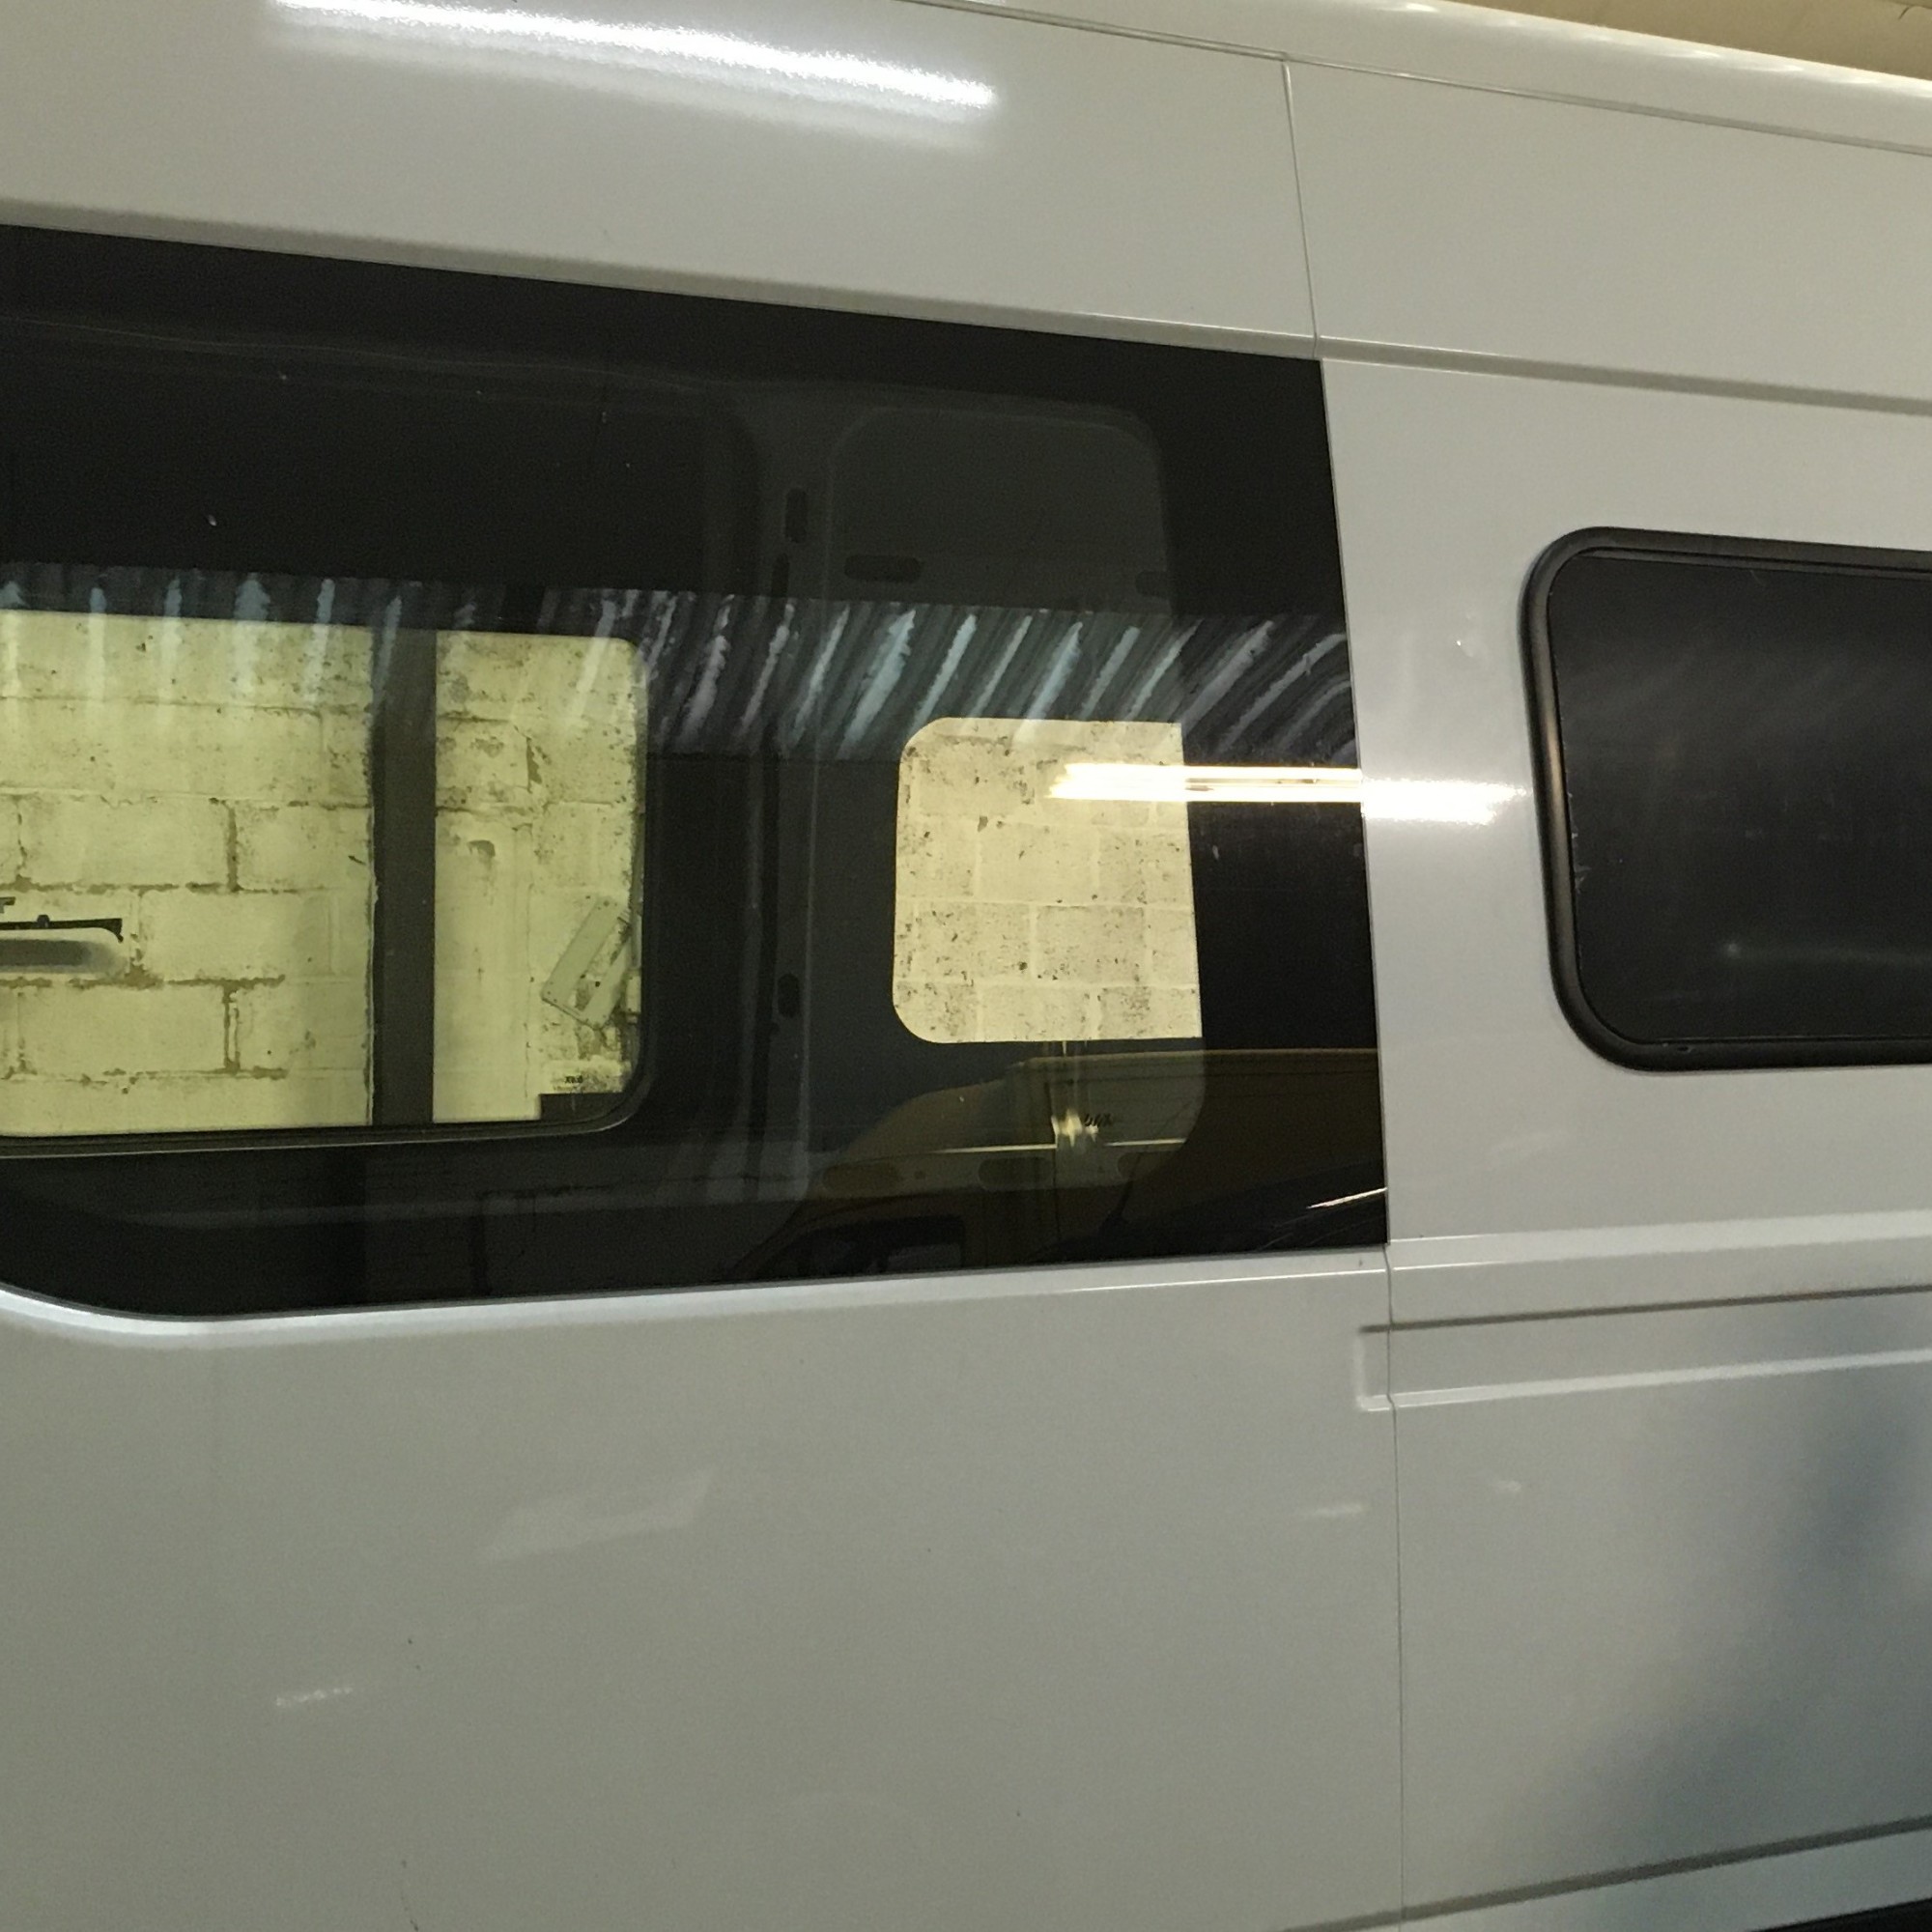
To avoid any misunderstanding when talking about the windows, we now address them as “the pretty window” and “the ugly window”.
Both windows are now fully installed (the awning window with matching clamps, the sliding window didn’t need any extra’s. Both are sealed inside and outside. The awning window has been finished of with multiflex (bendable plywood).


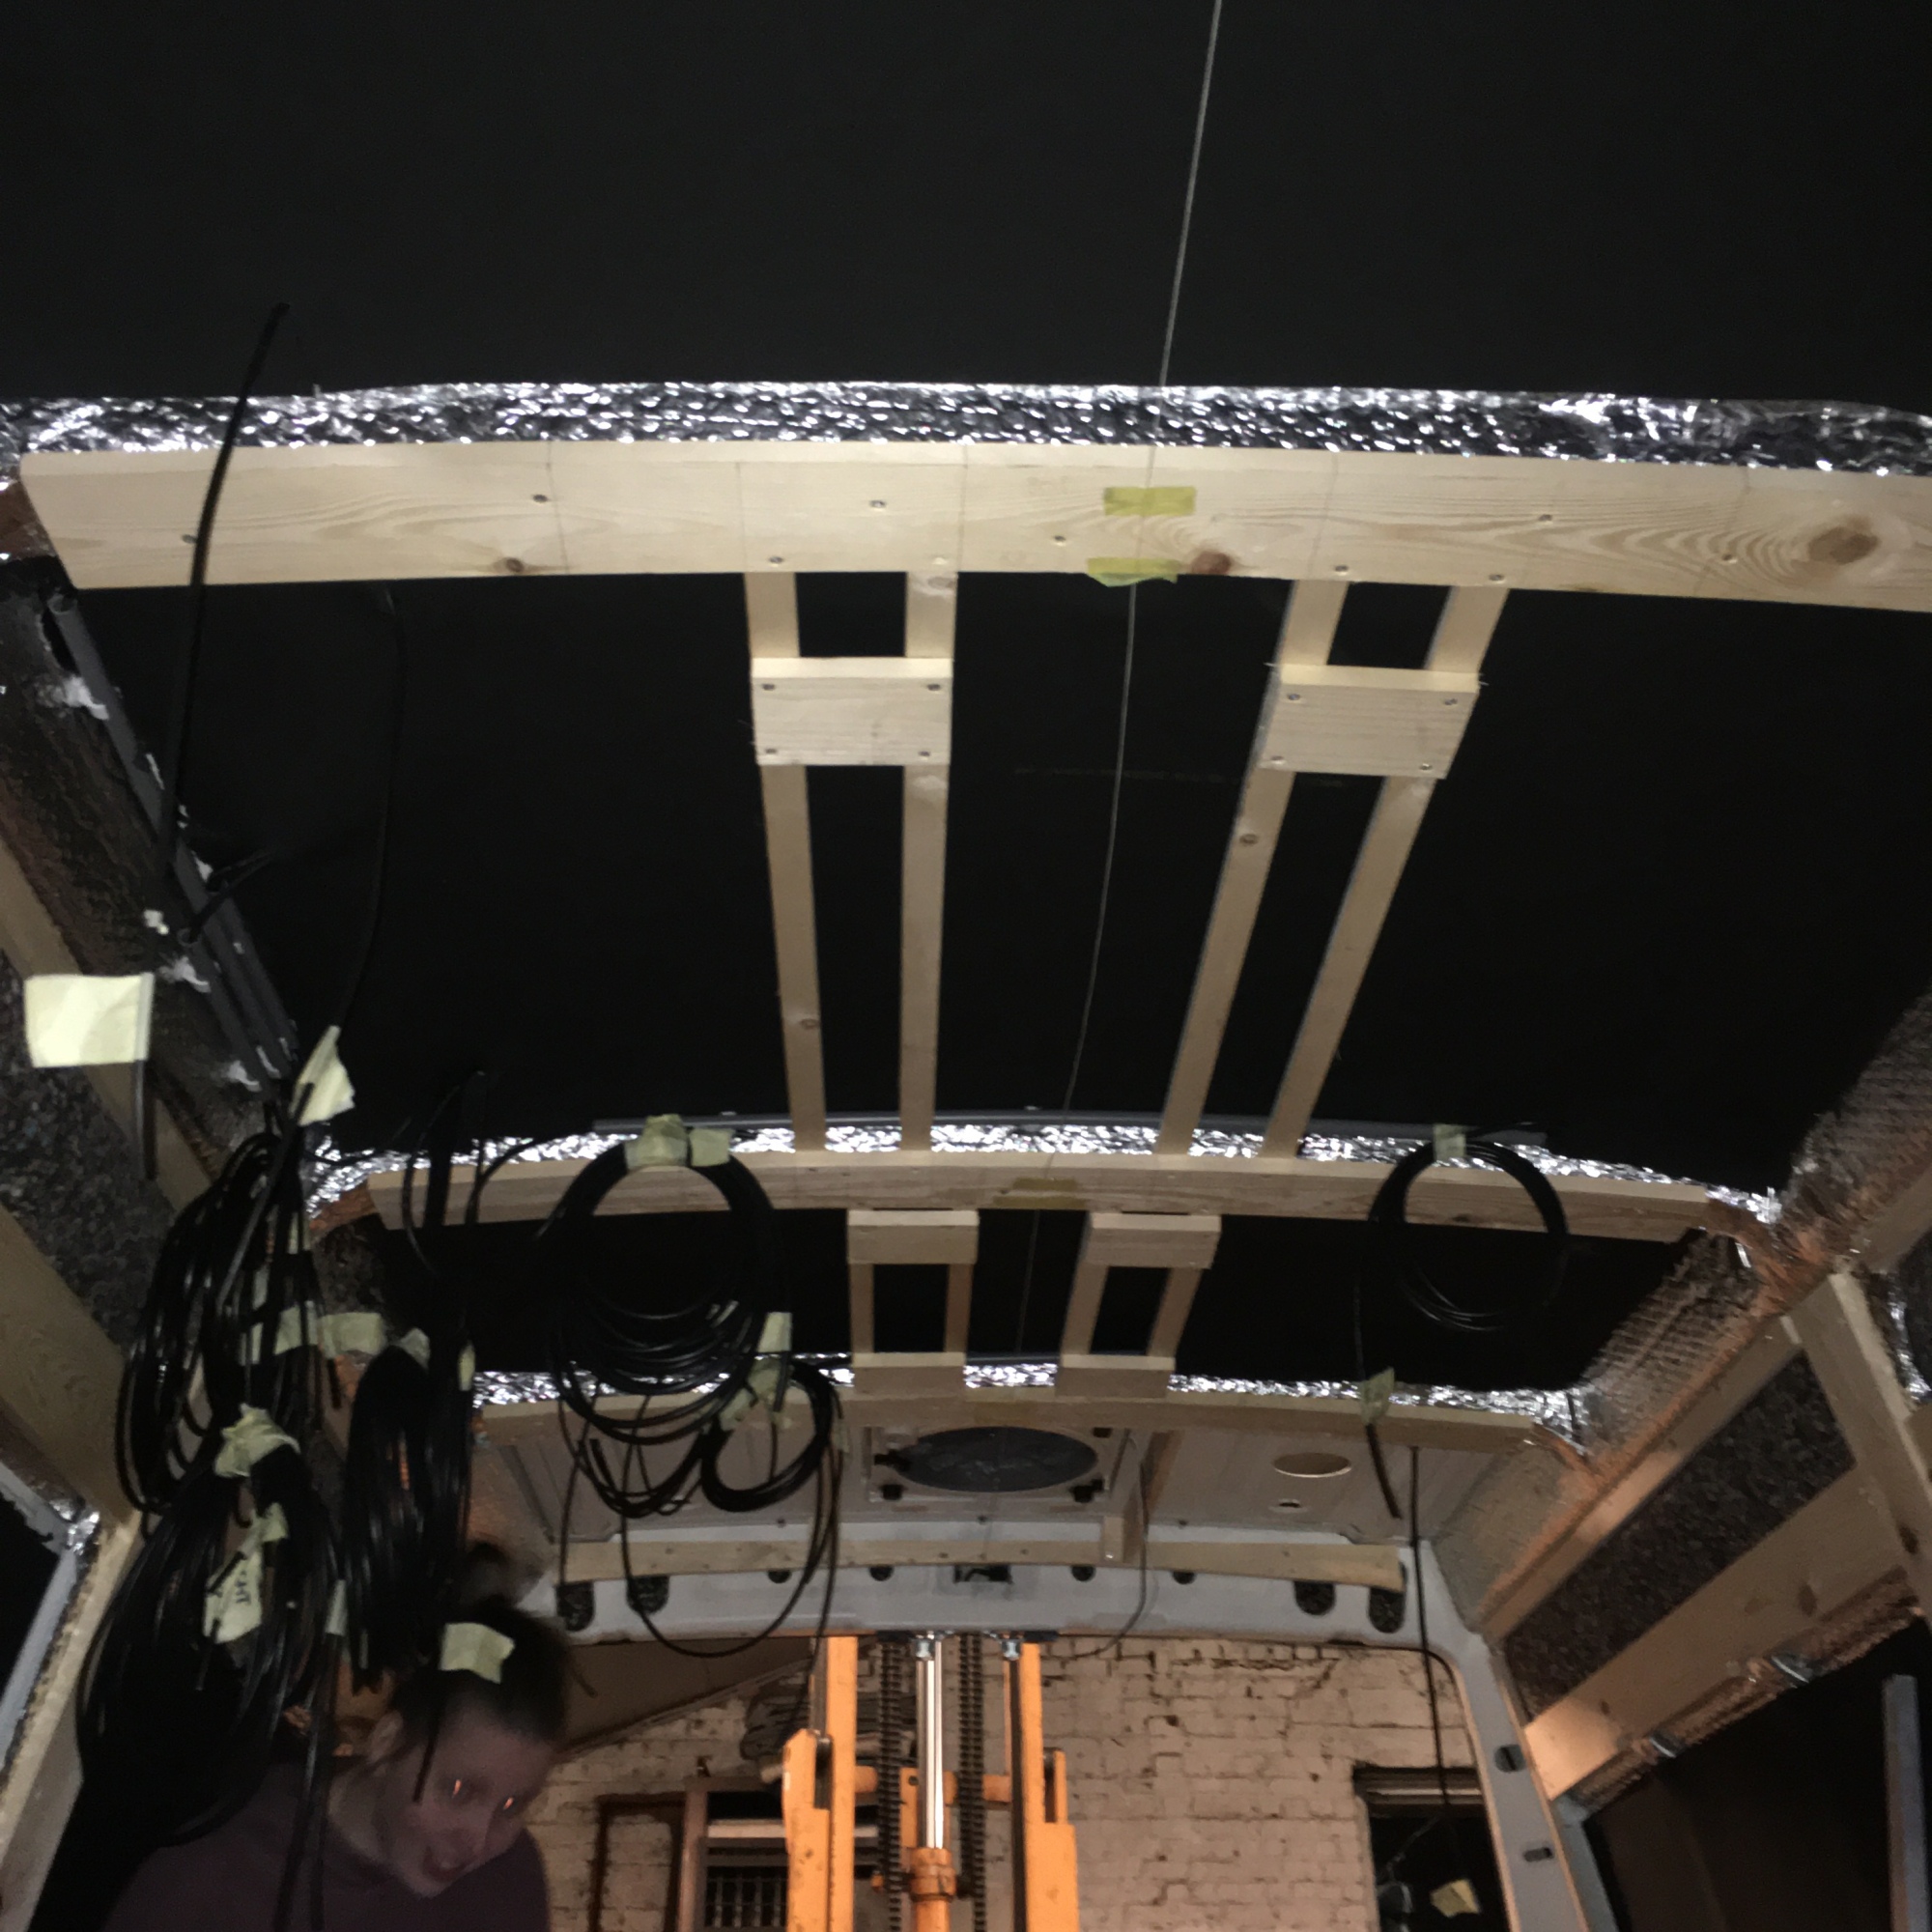
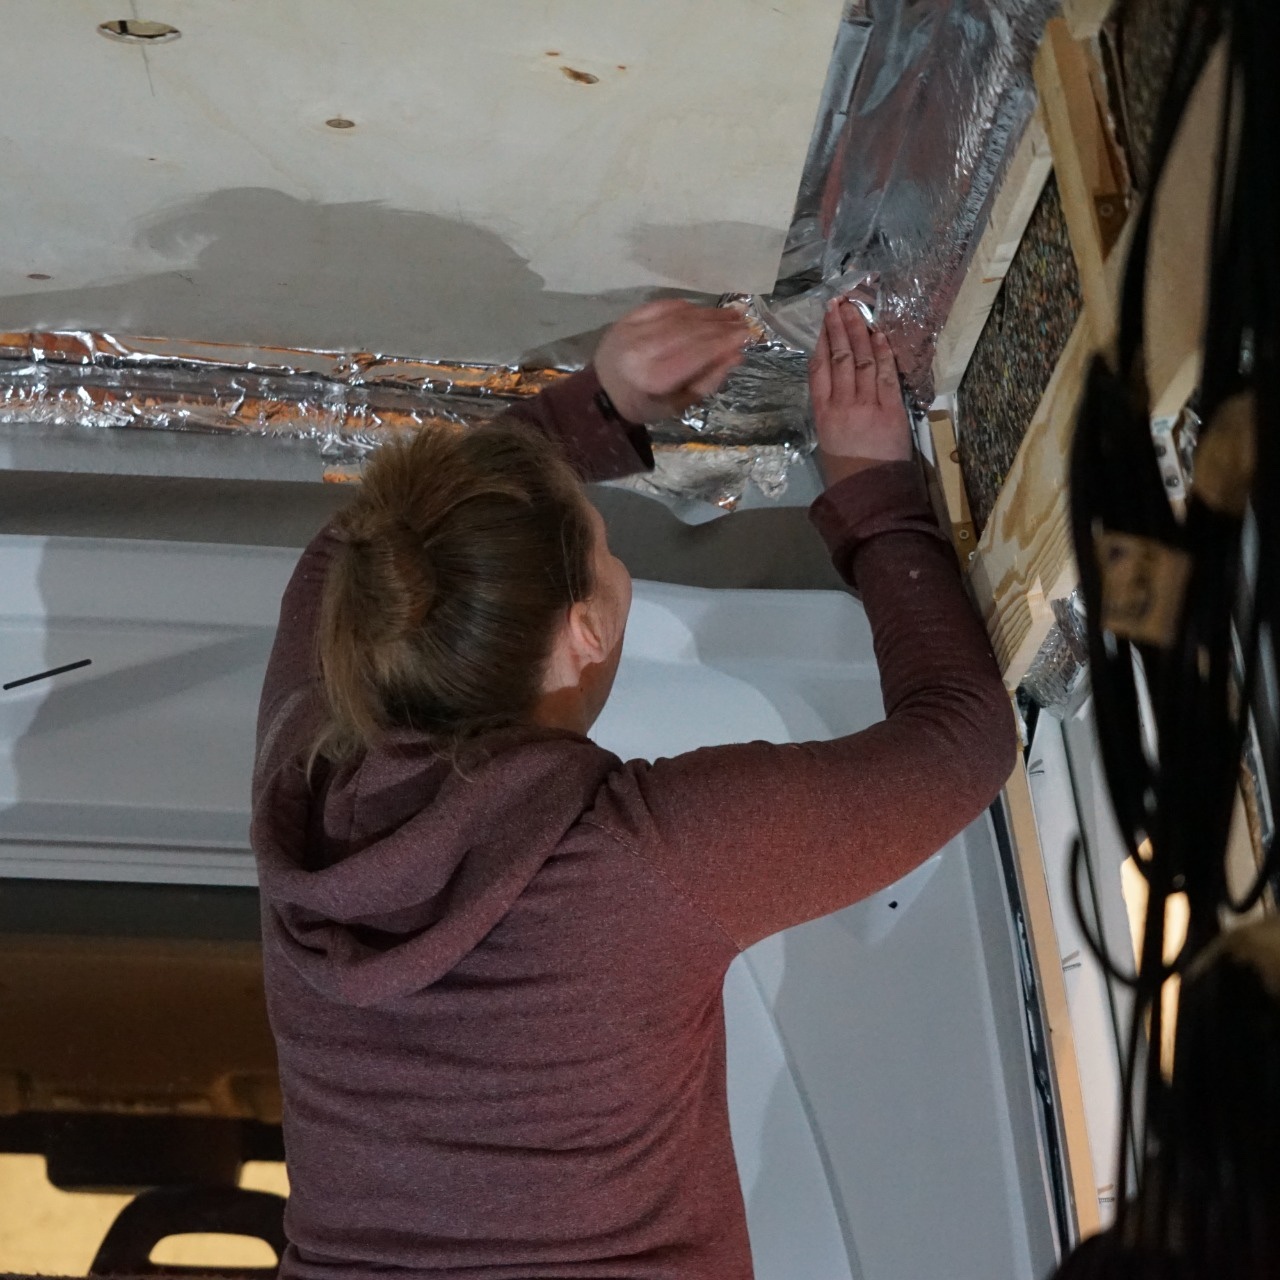
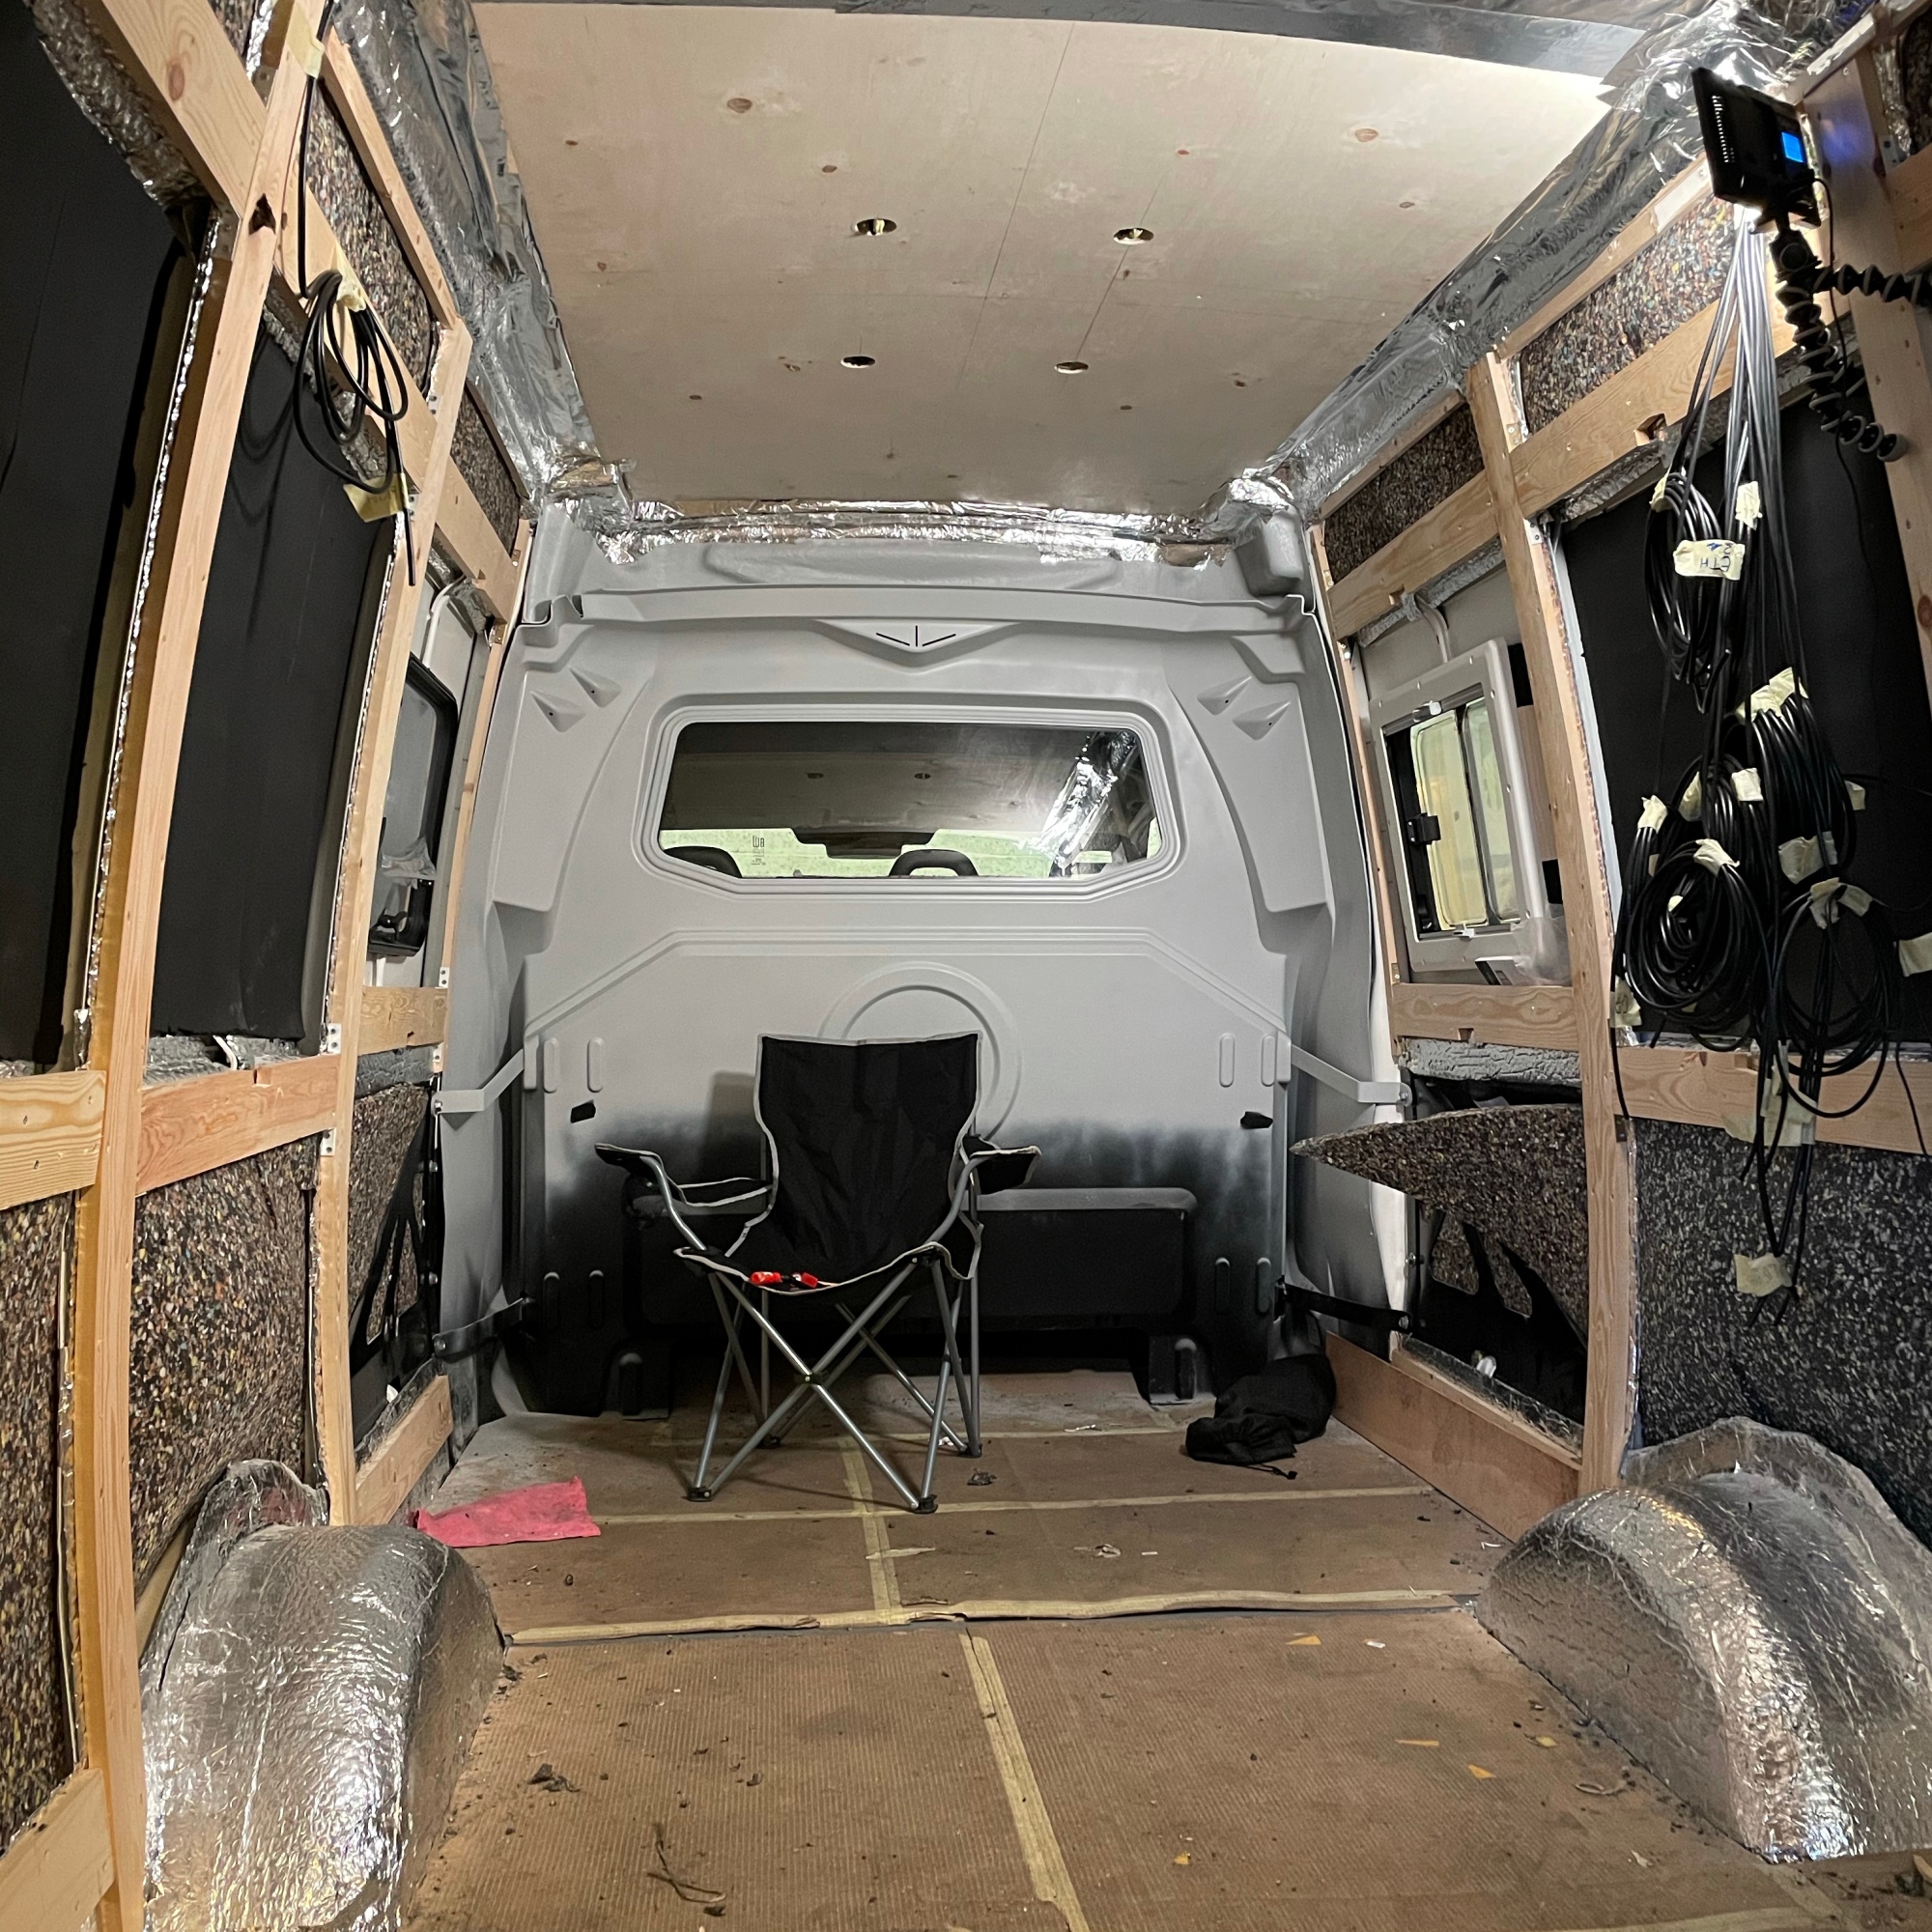
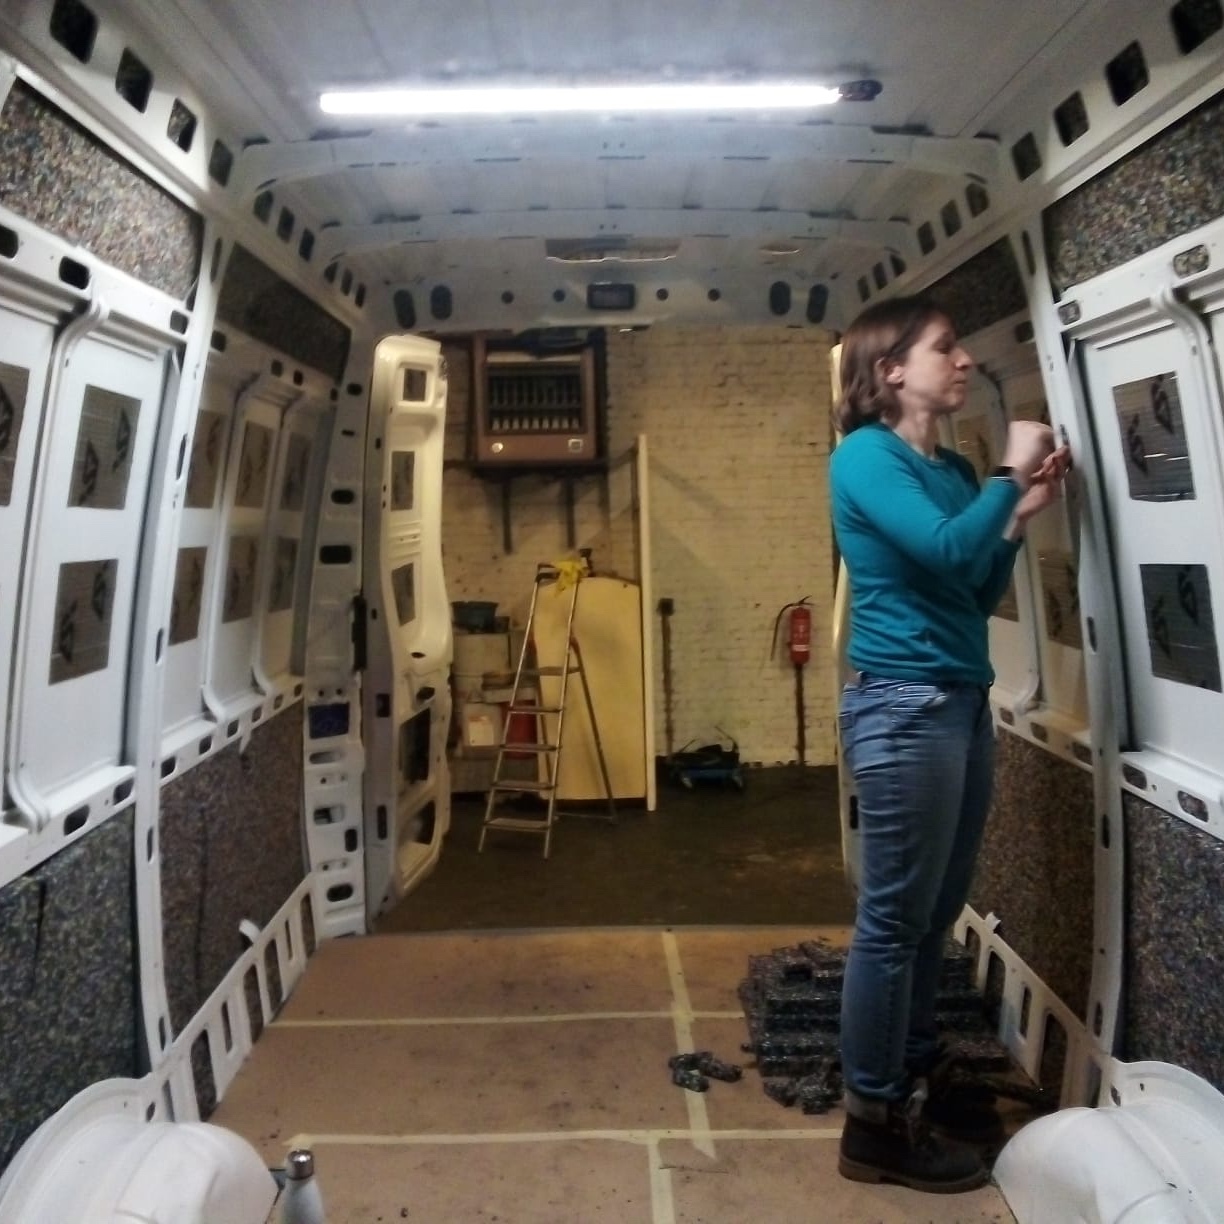
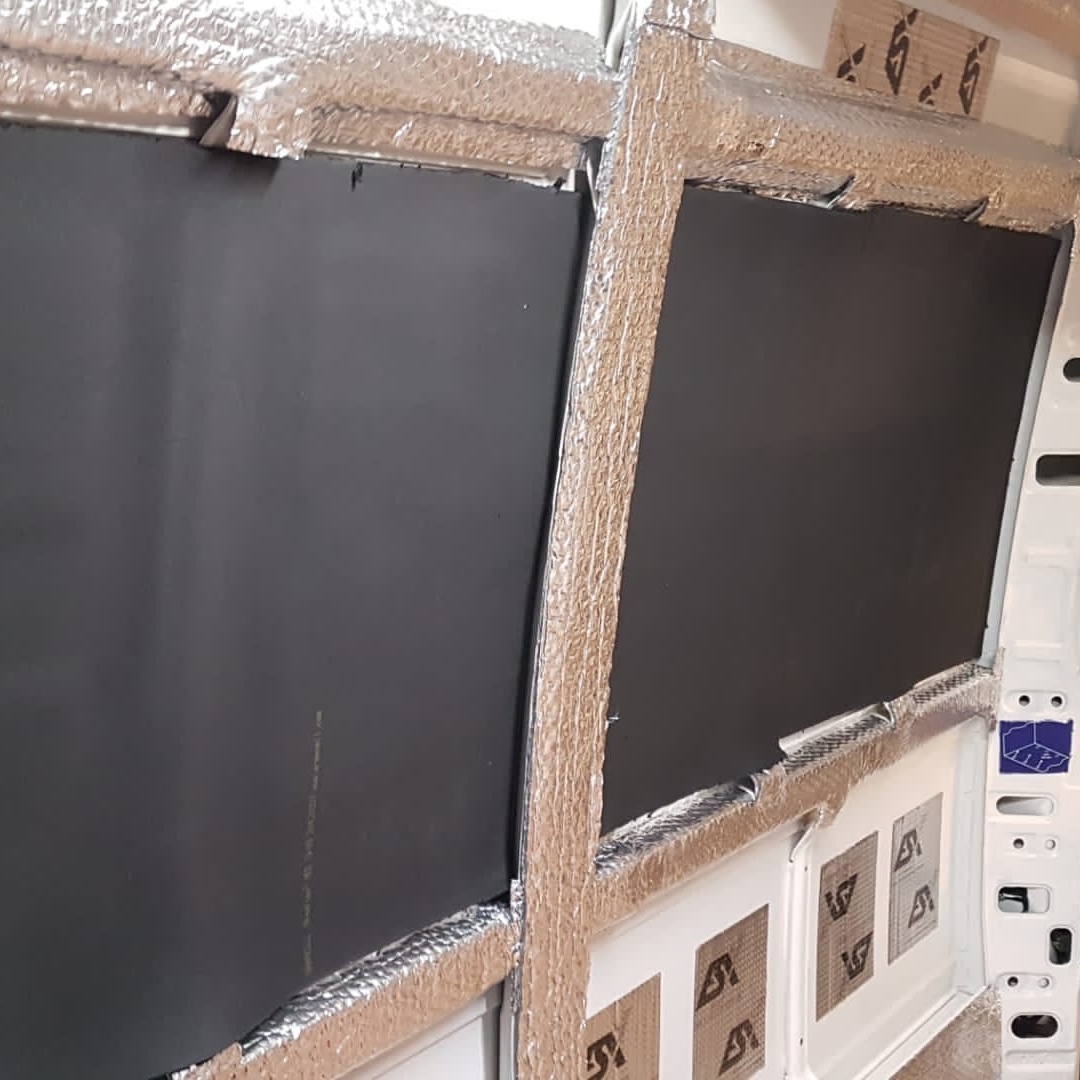
Before we started to insulate, we had to prepare the bodywork. Sofie en I thoroughly cleaned the back of the van and applied Hammerite anti-rust paint to all metal parts.
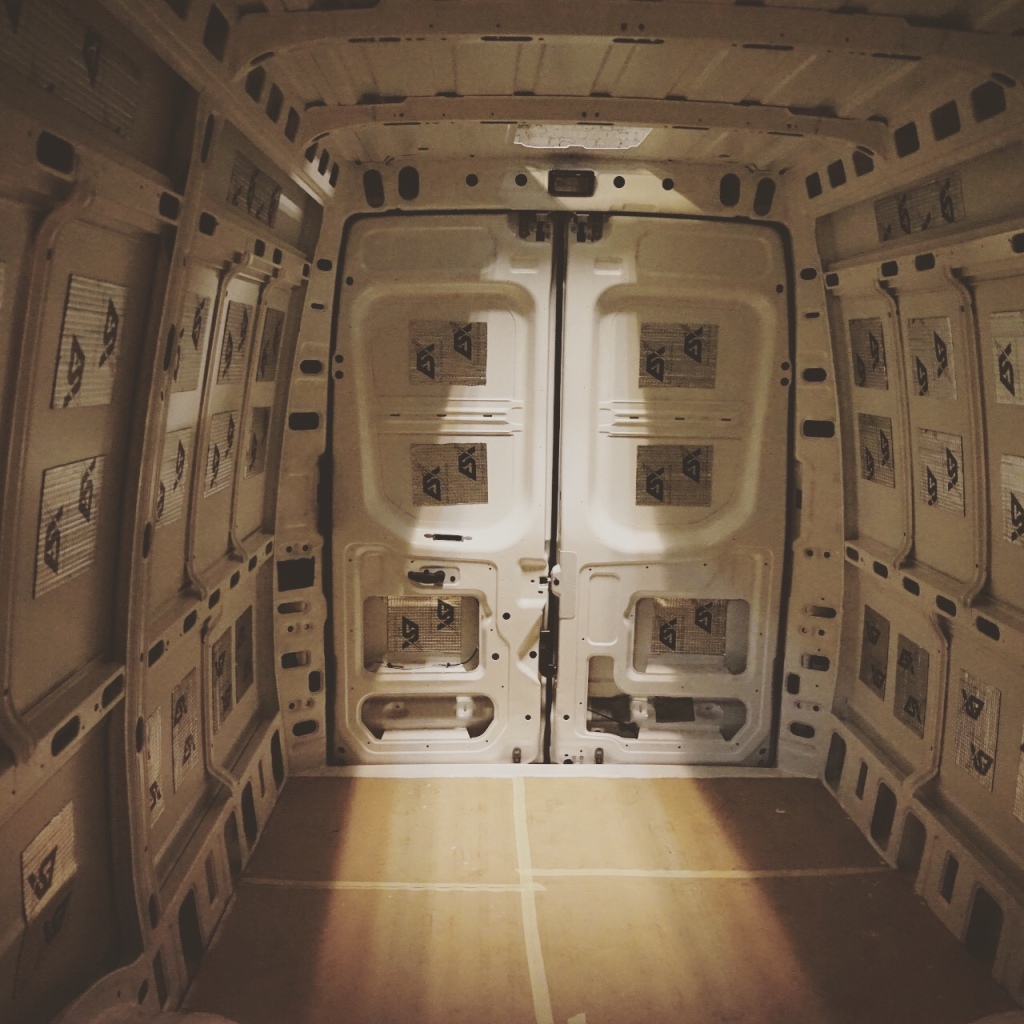
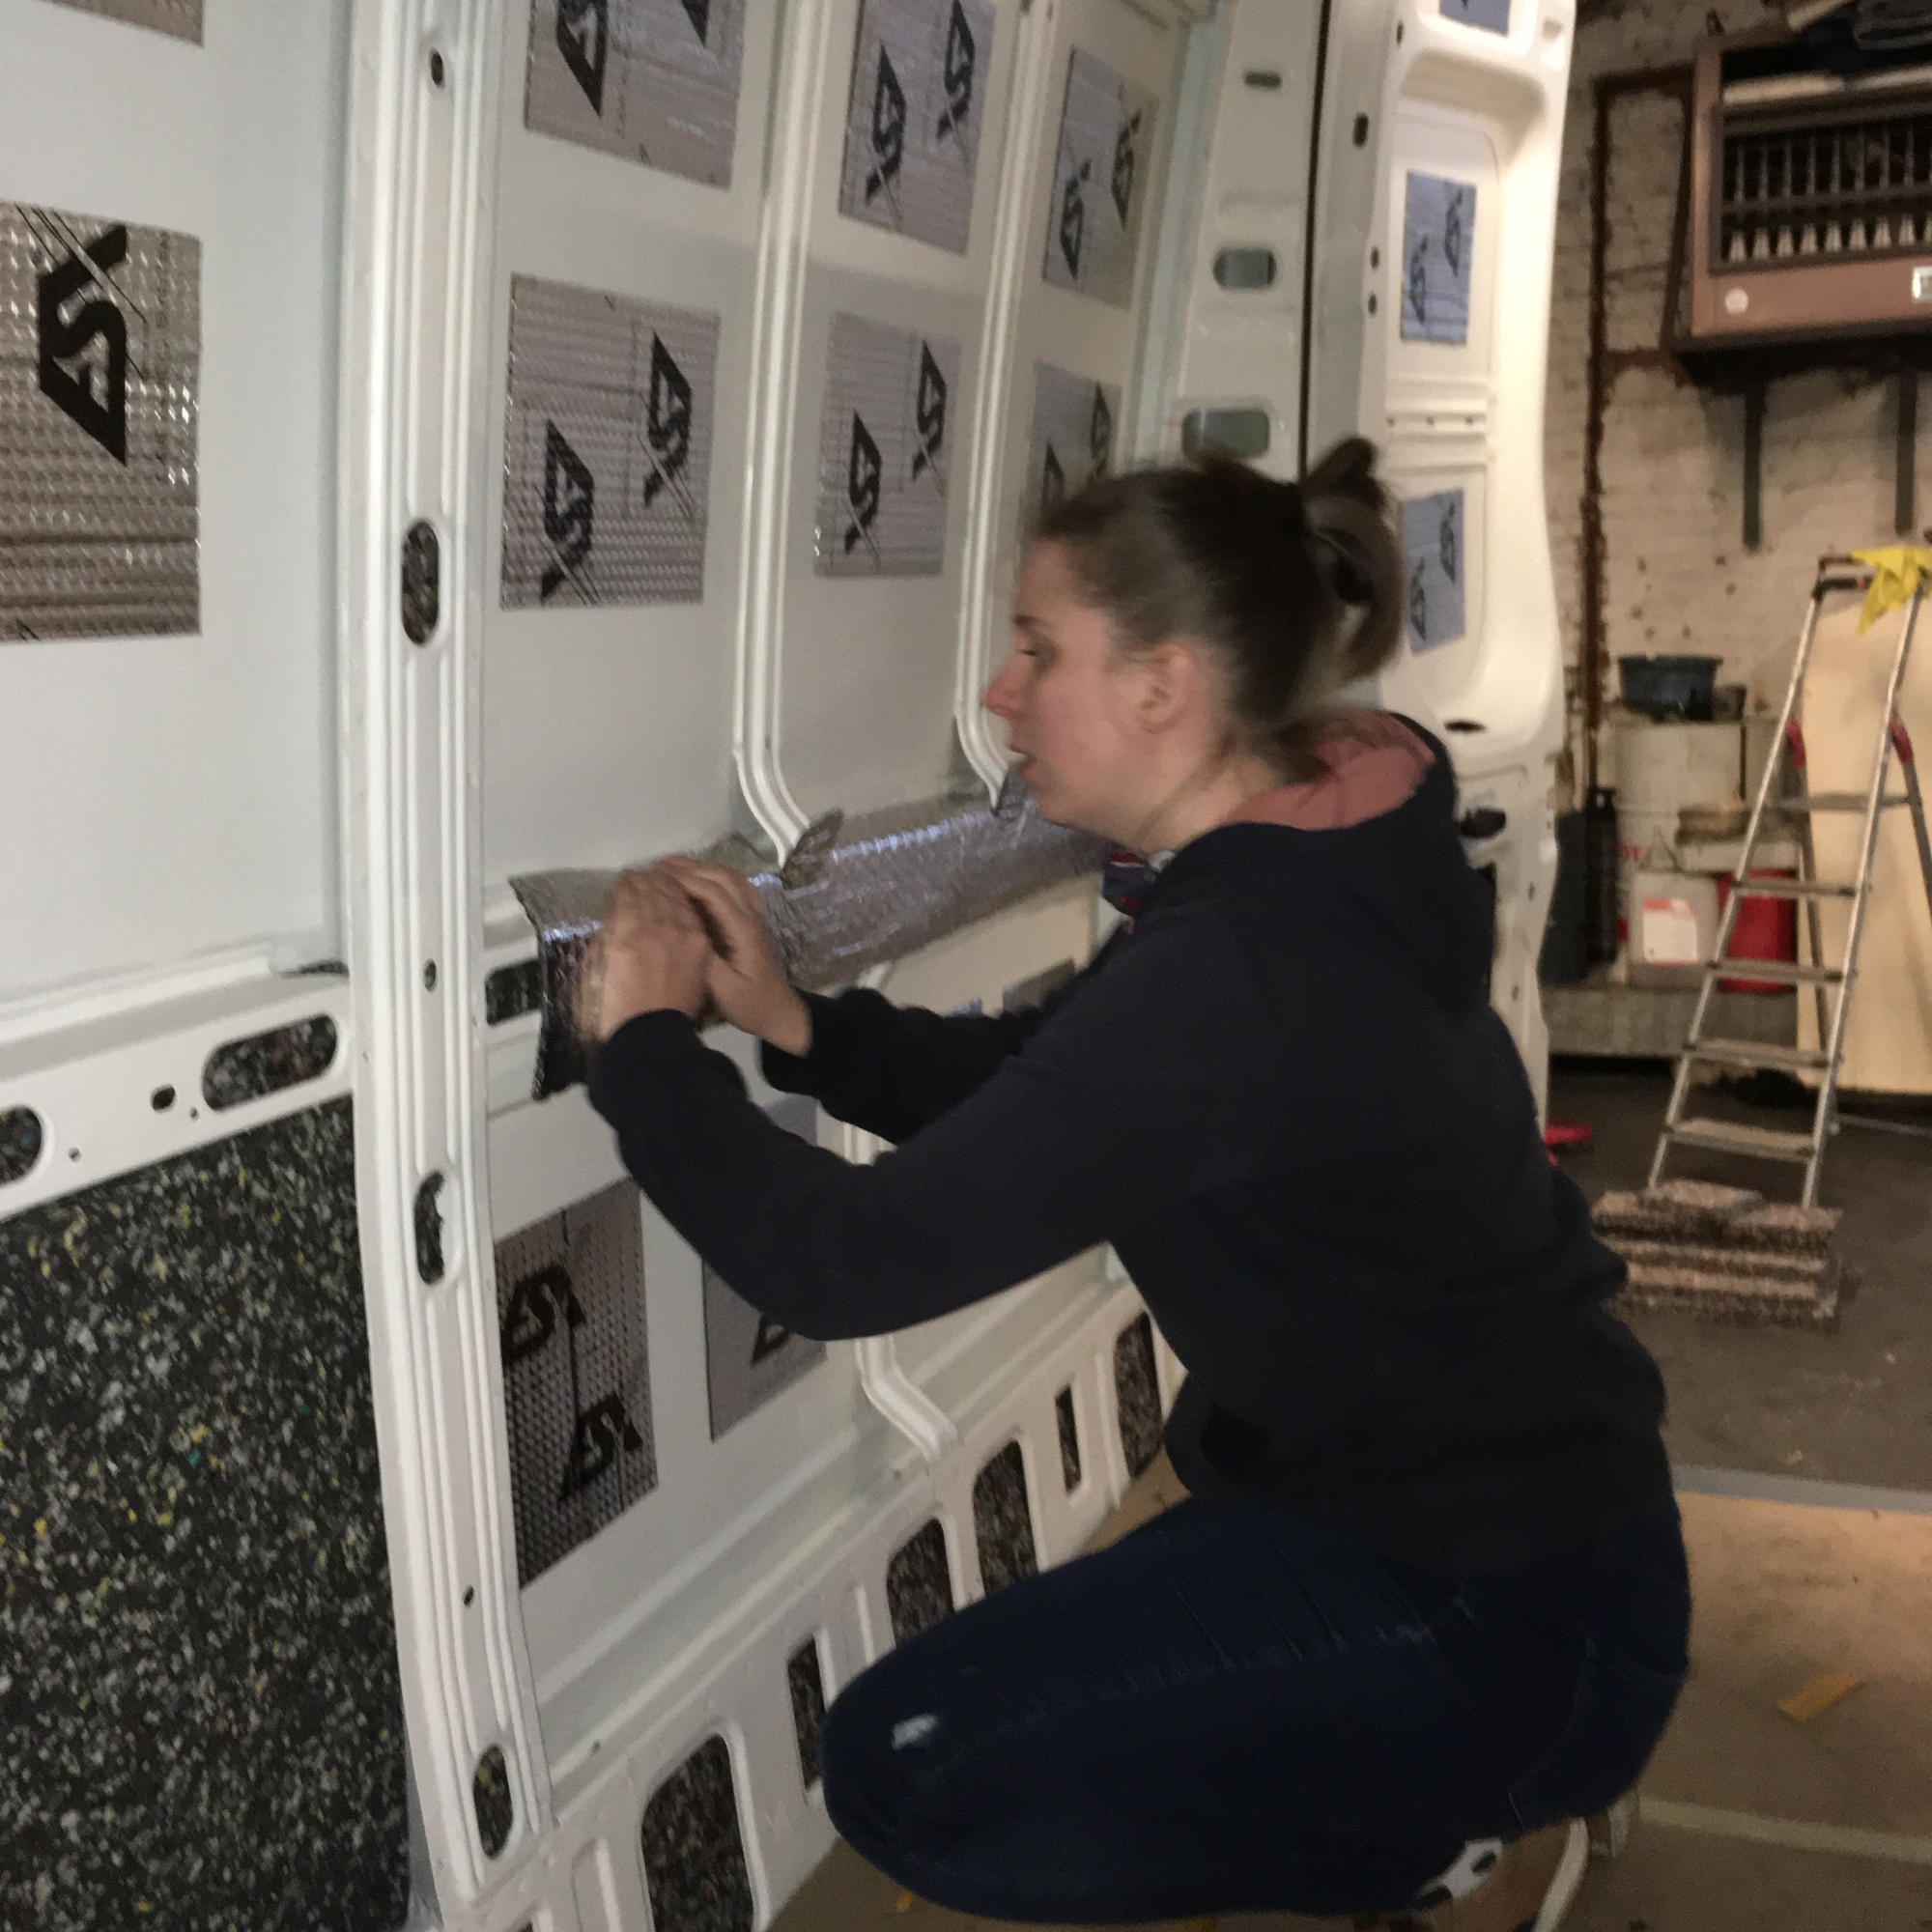
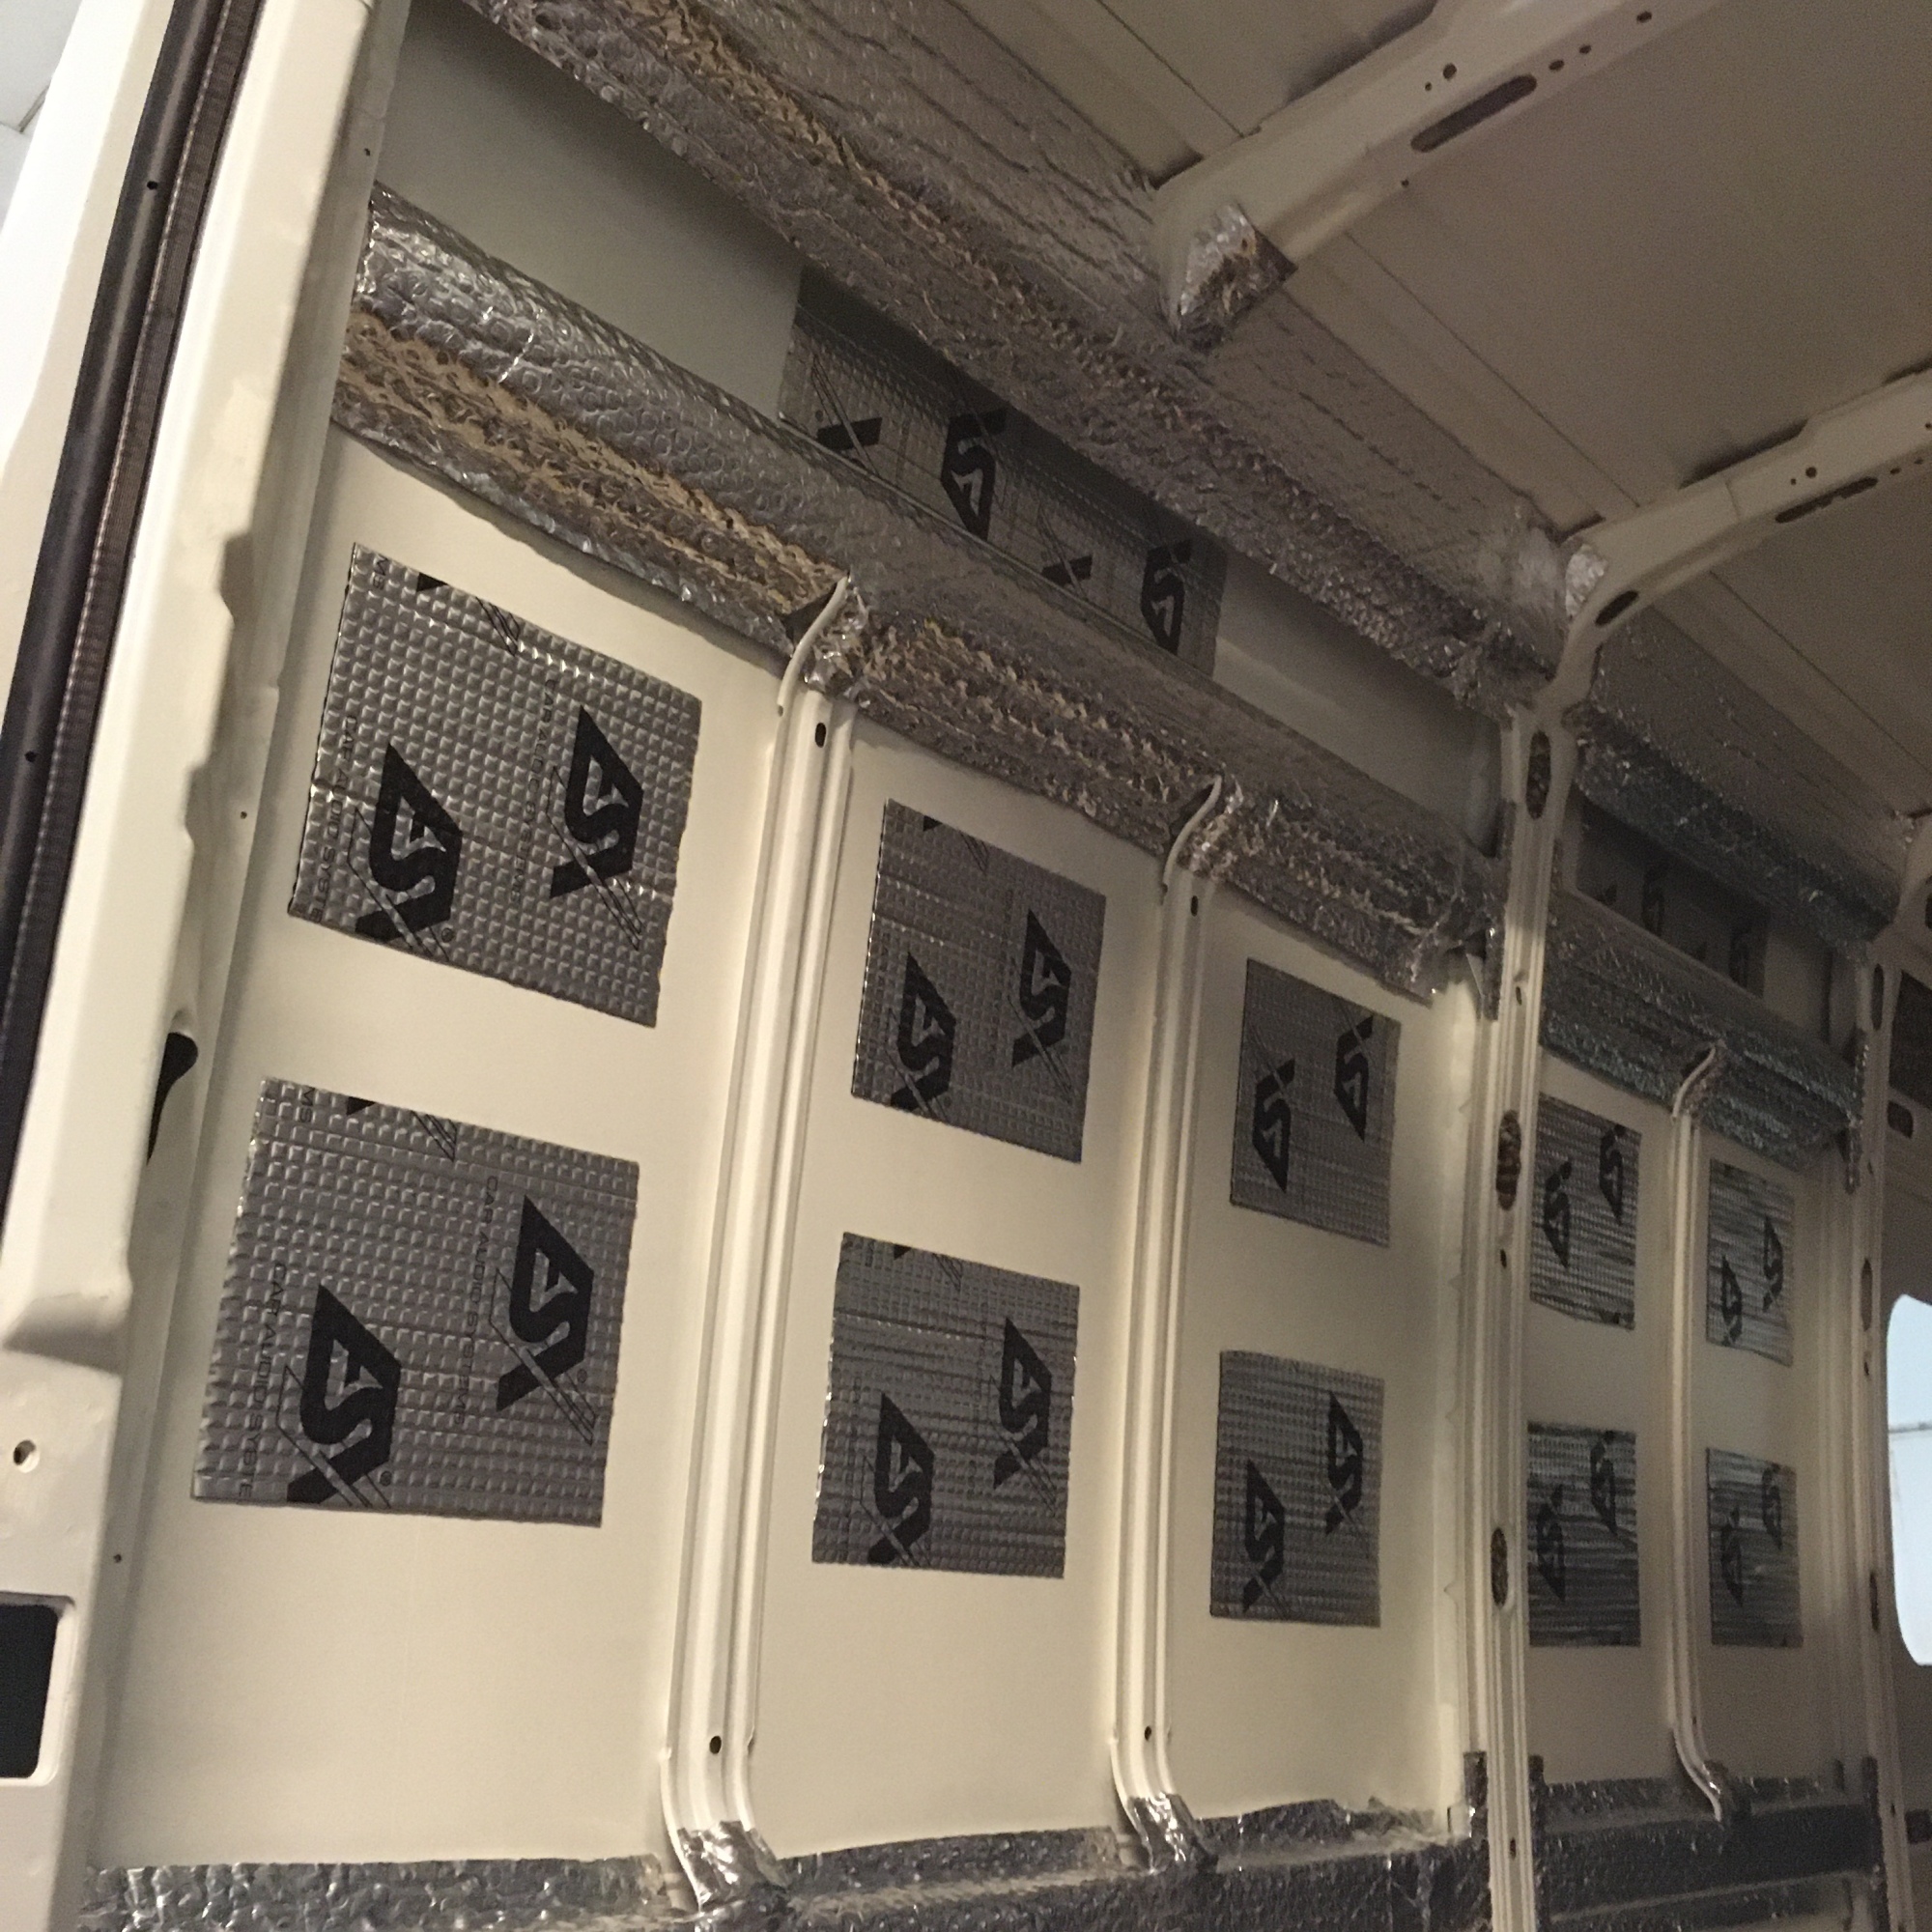
When you convert a regular van into a camper van, you really want to add noise cancellation to minimise the typical van noises such as the slamming of a door, vibrations, outside noises. Just apply sound deadening mats to the walls and doors of the van. You’ll immediately notice the difference when you tap the walls or slam the door. We used ESX dampening mats.
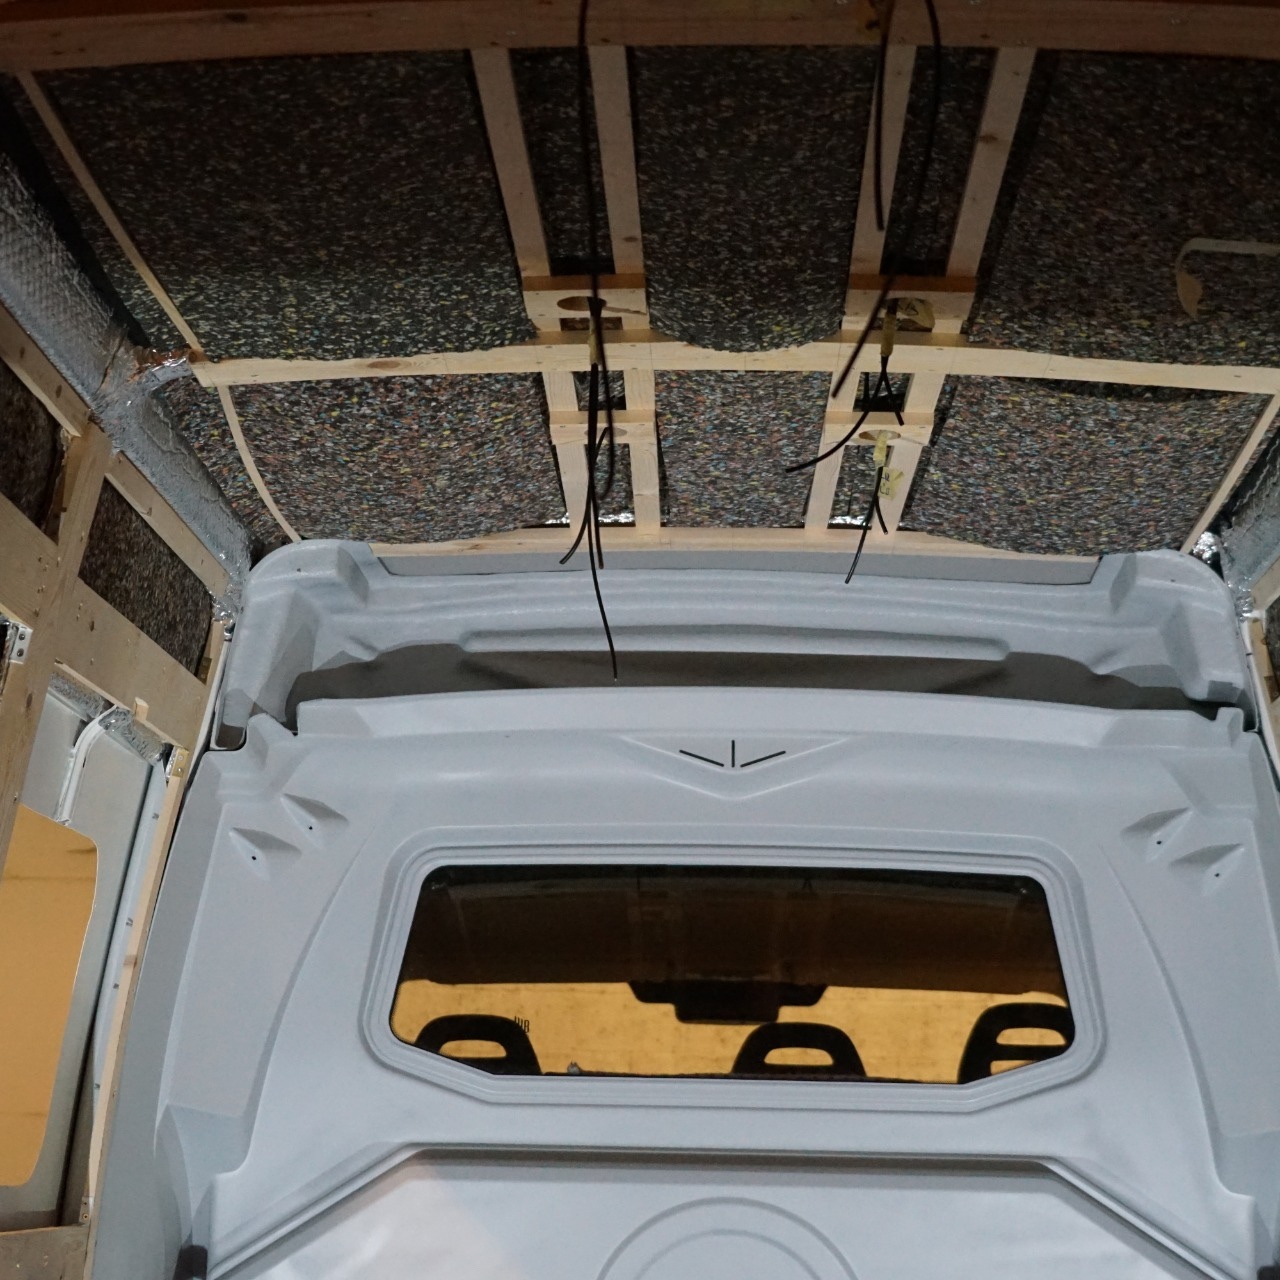
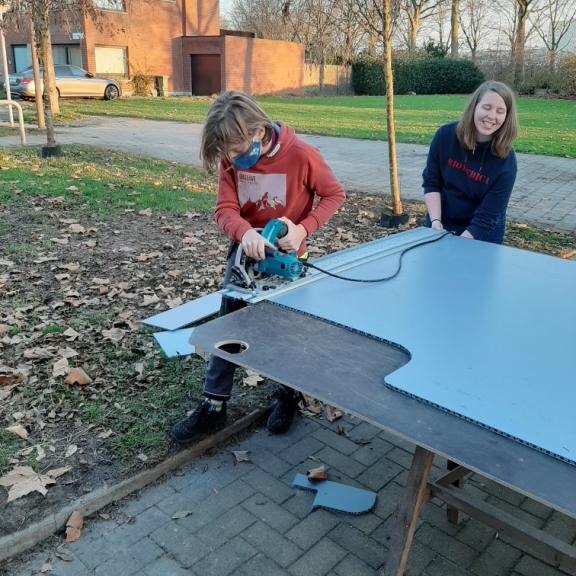
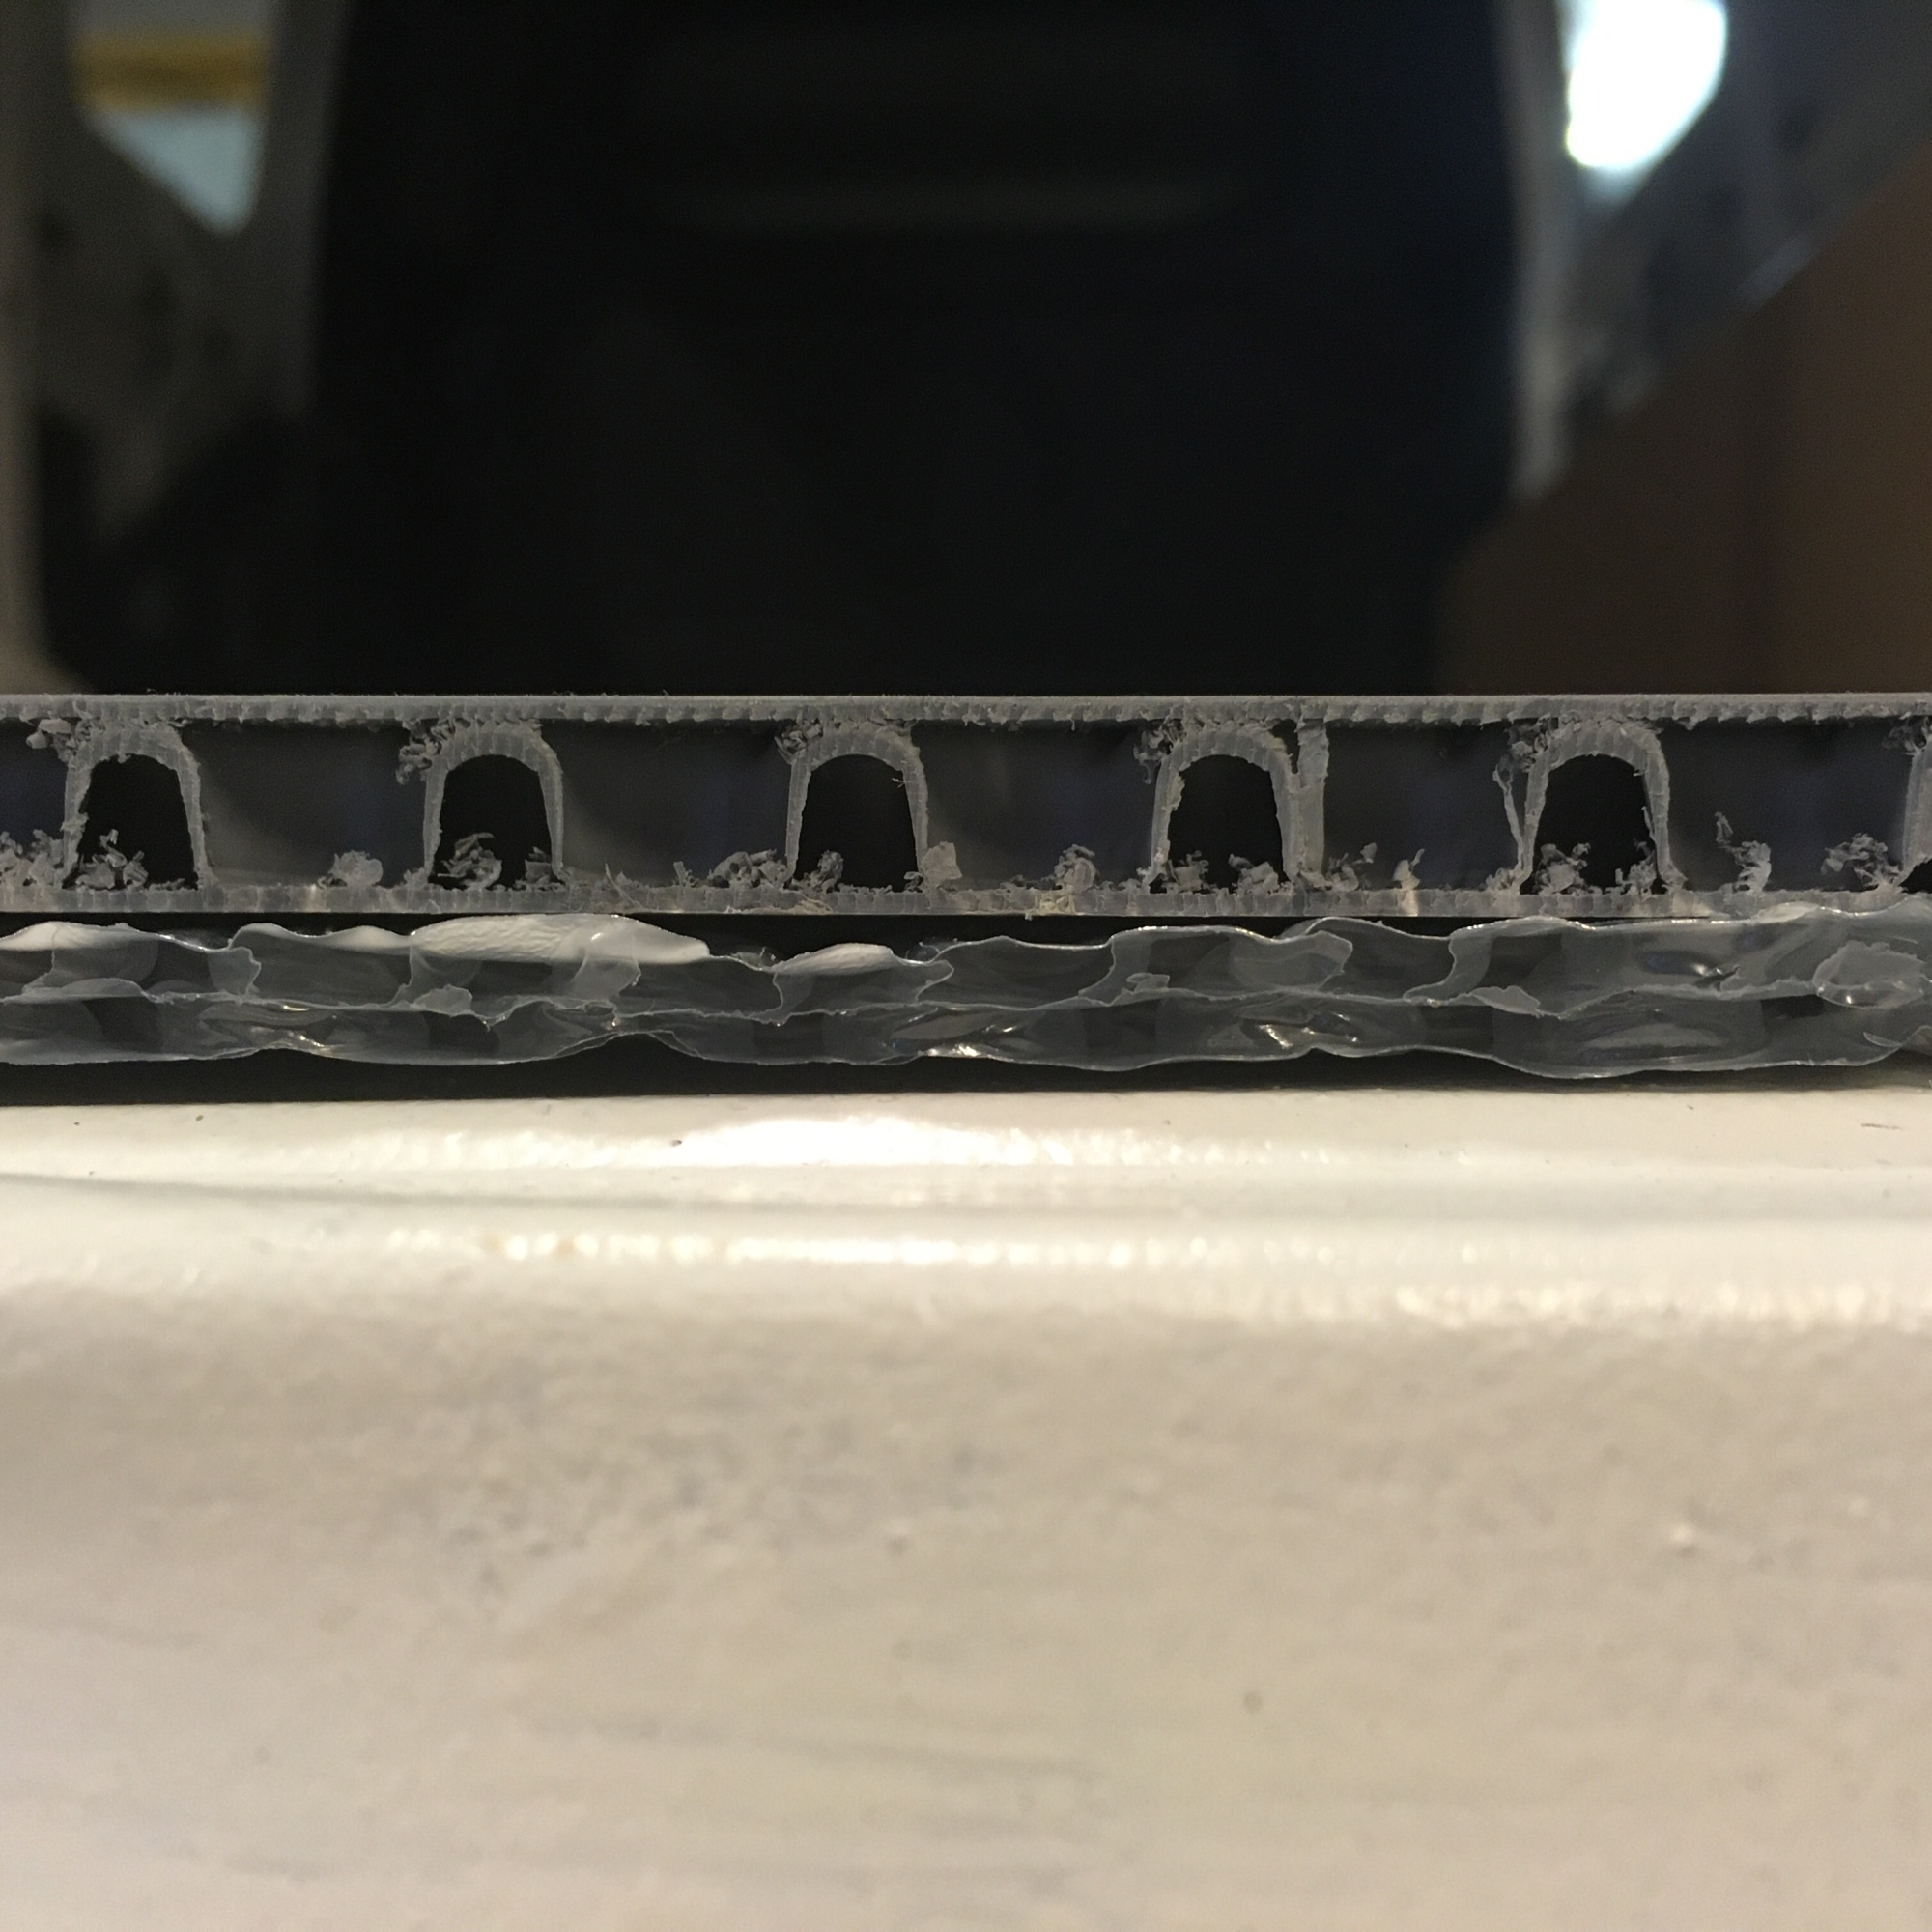
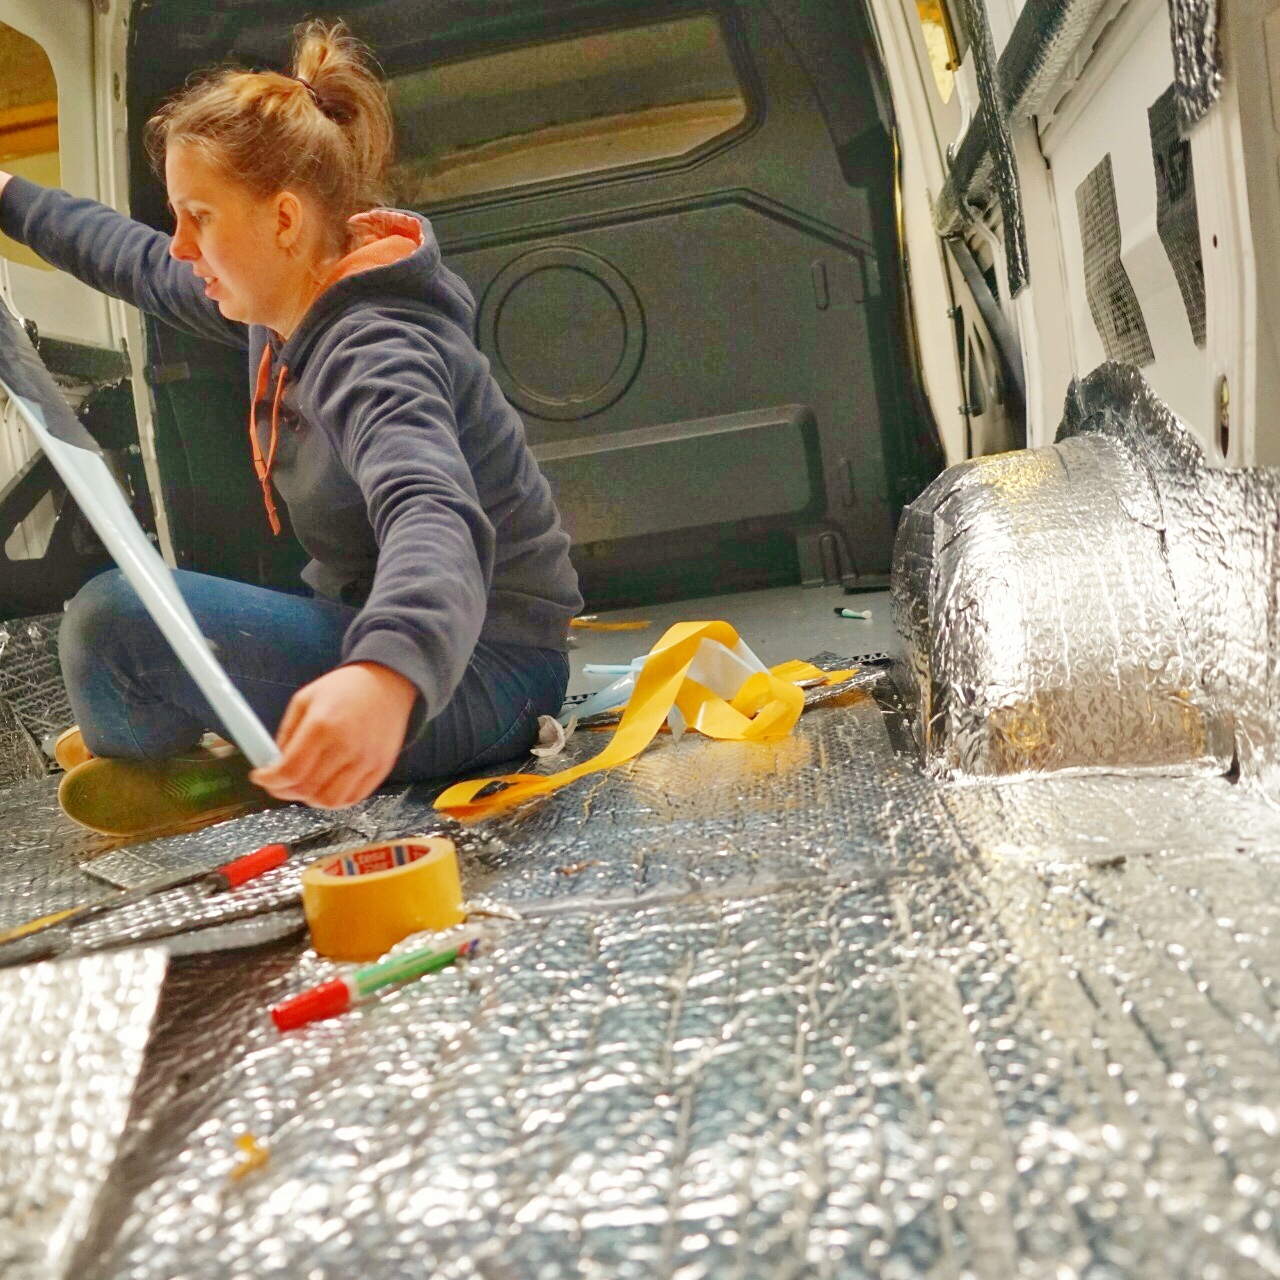
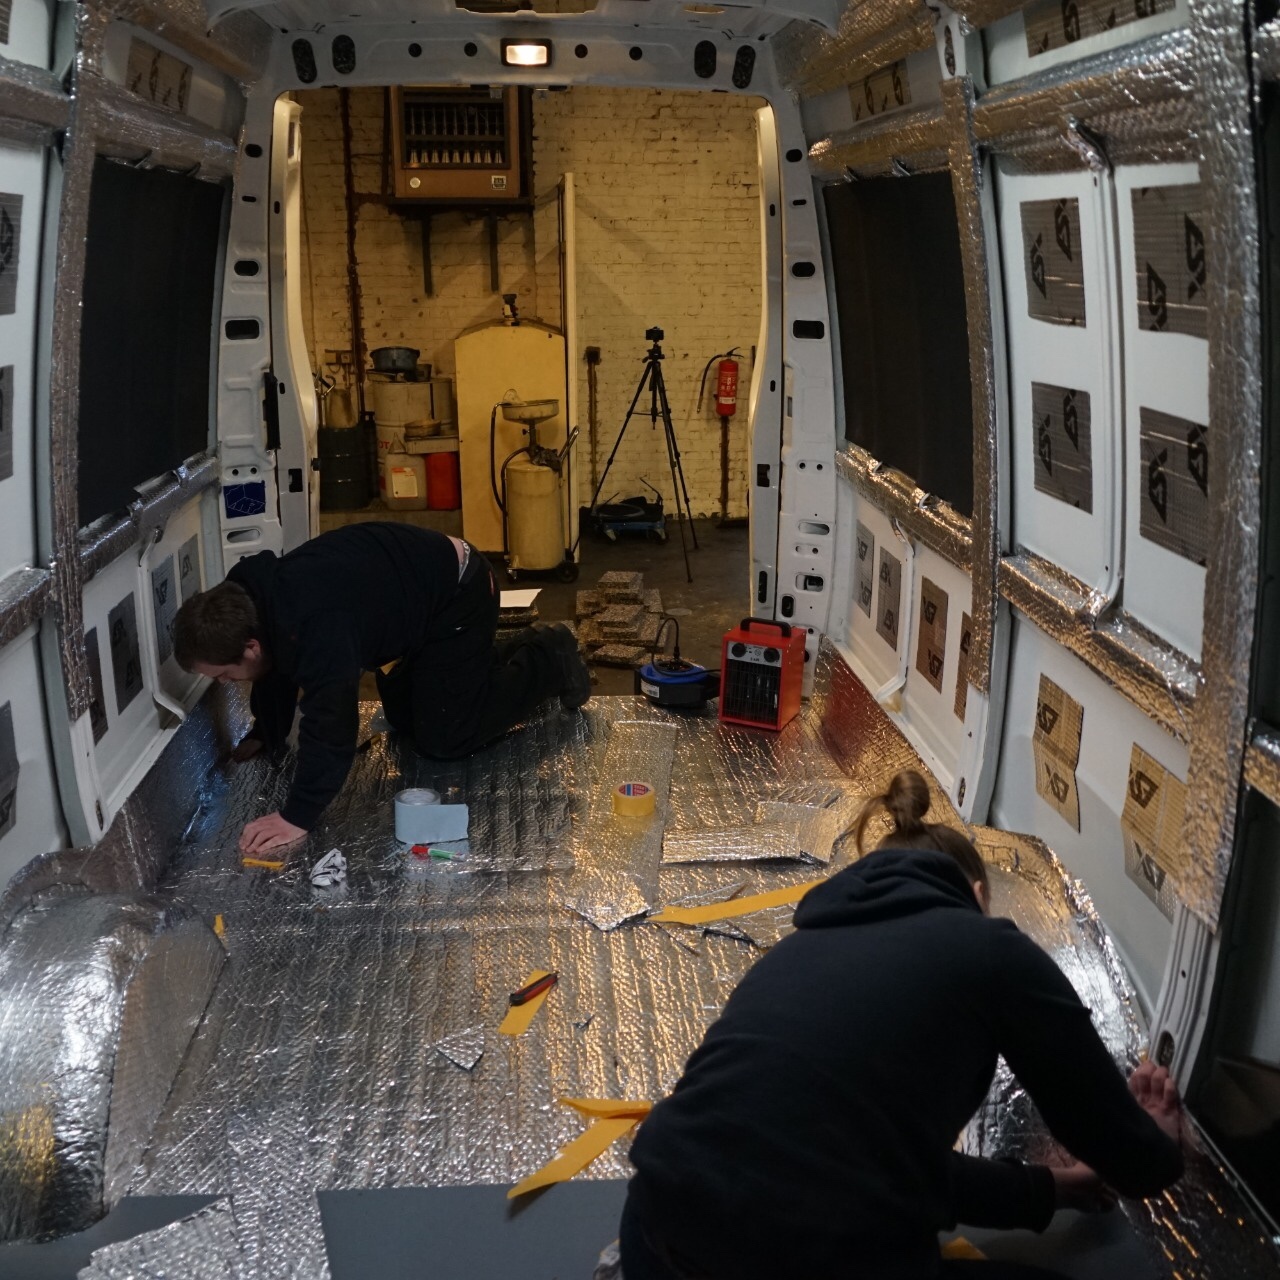
The insulation below the floor is the YBS Airtec Double Bubble two-sided polyethylene coated aluminum foil. It adds up to R=1,5 m²K/W to your insulation quotient. For the floor we opted for VikuBoard: it consists of two polypropylene sheets with a thermal formed studded structure (honeycomb like). Lightweight at only 3 kg/m². Close up picture at the end of the slide show.
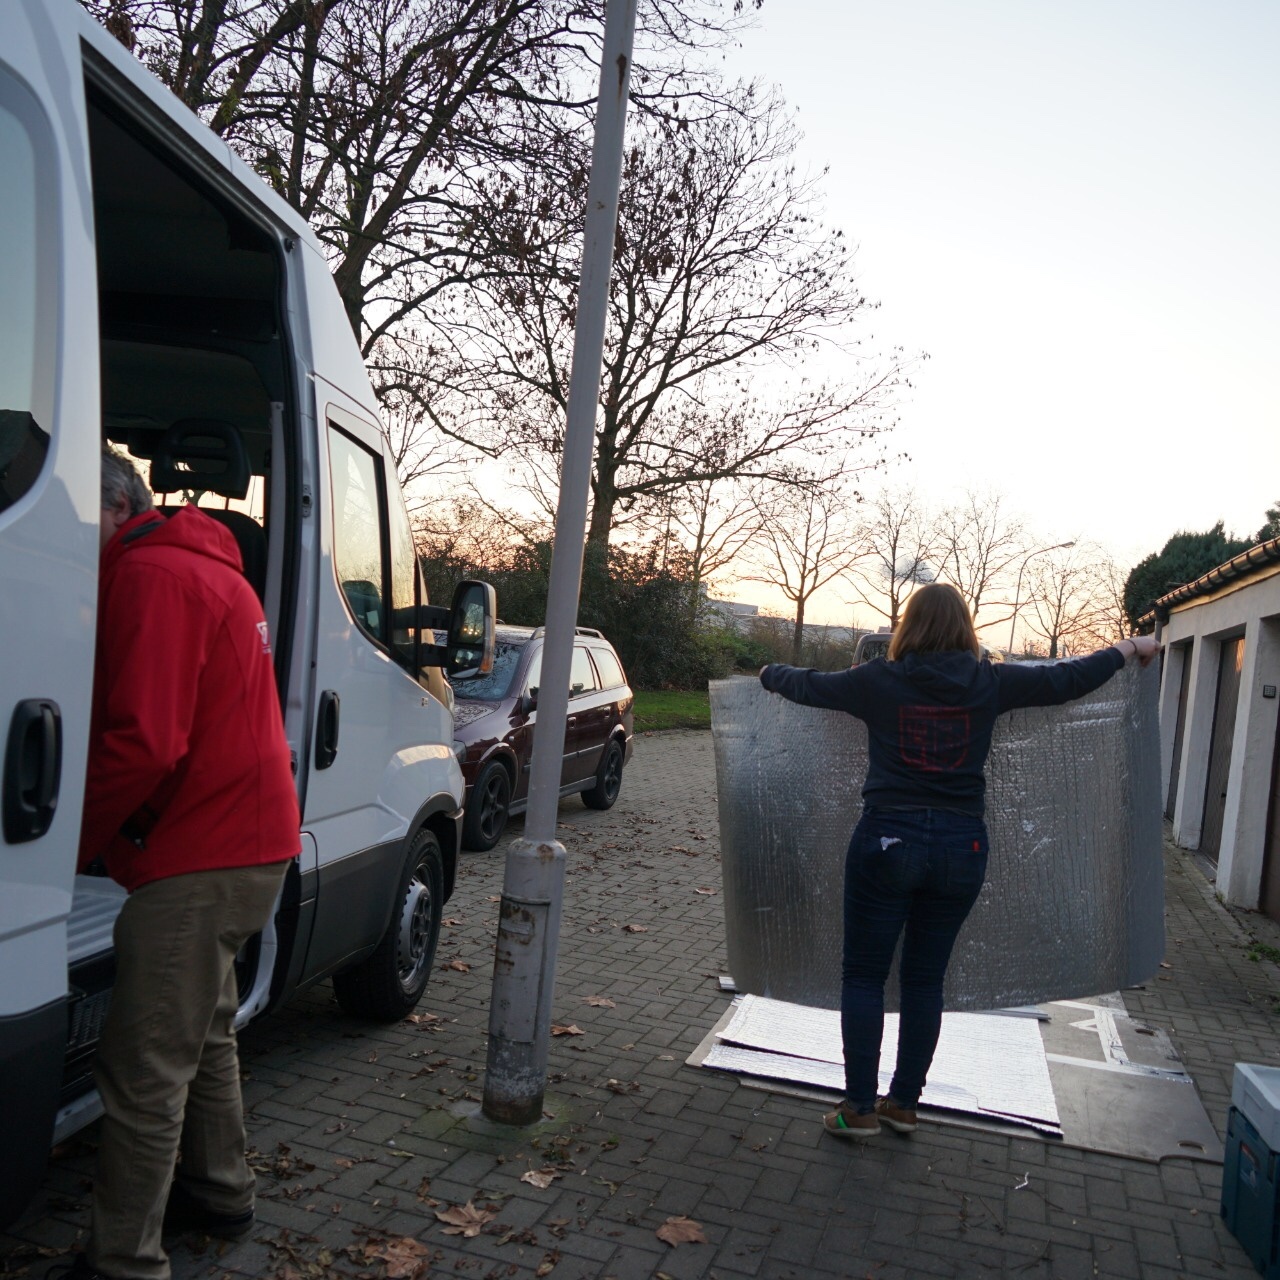
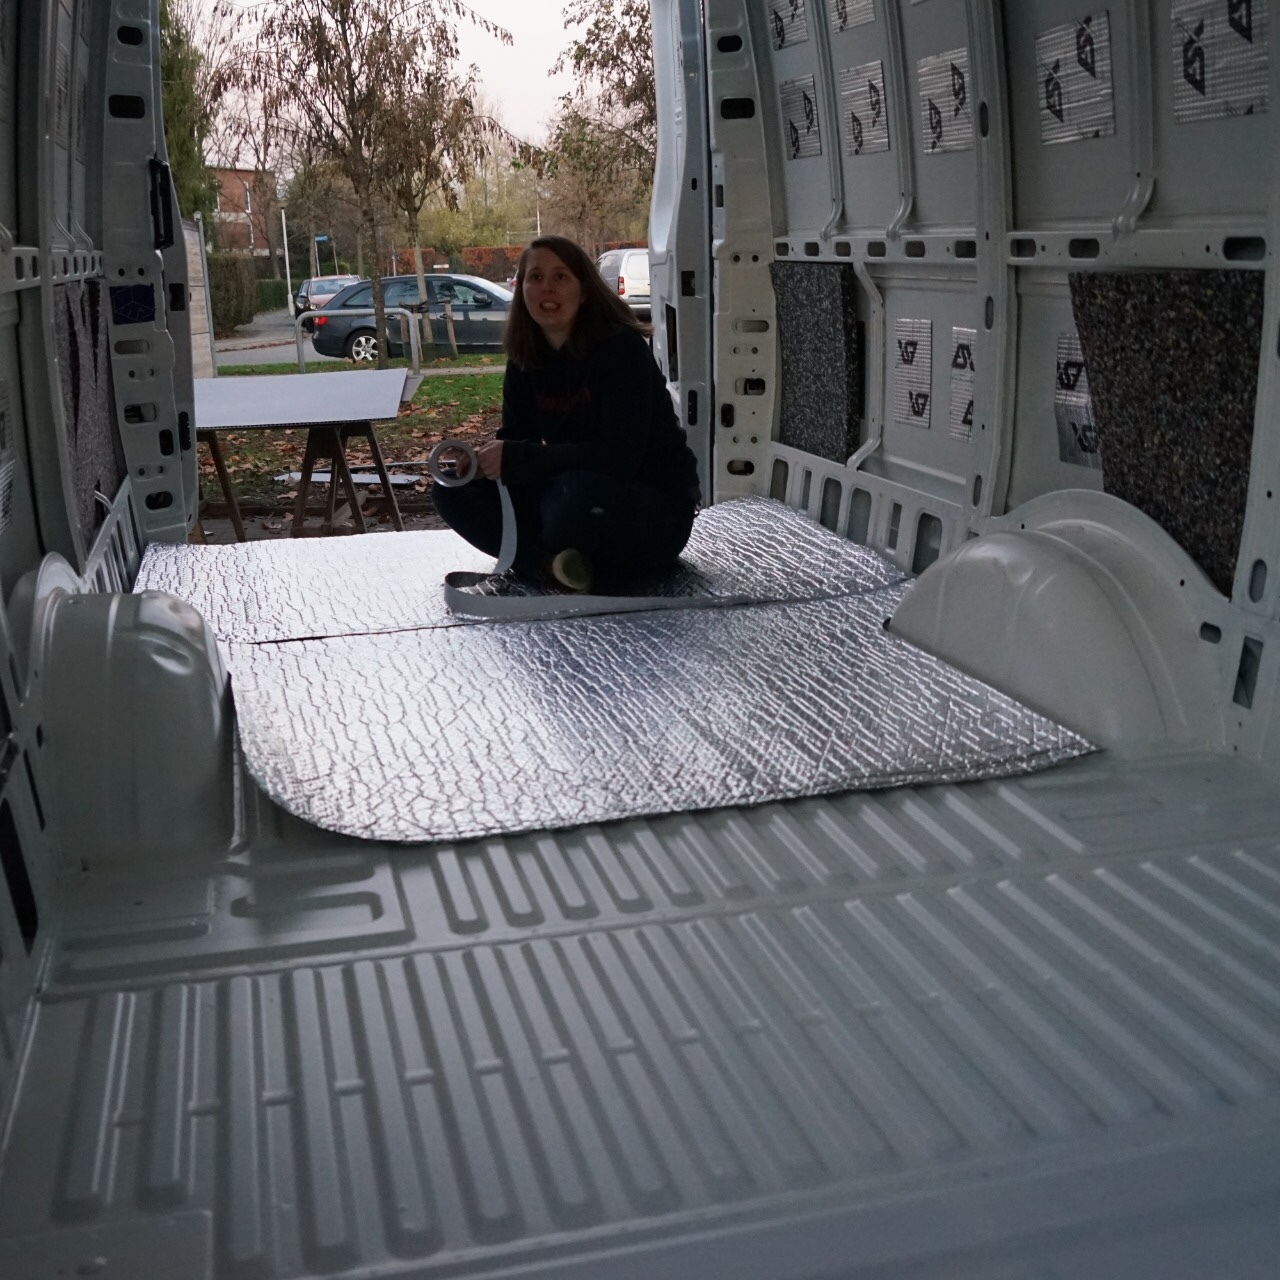
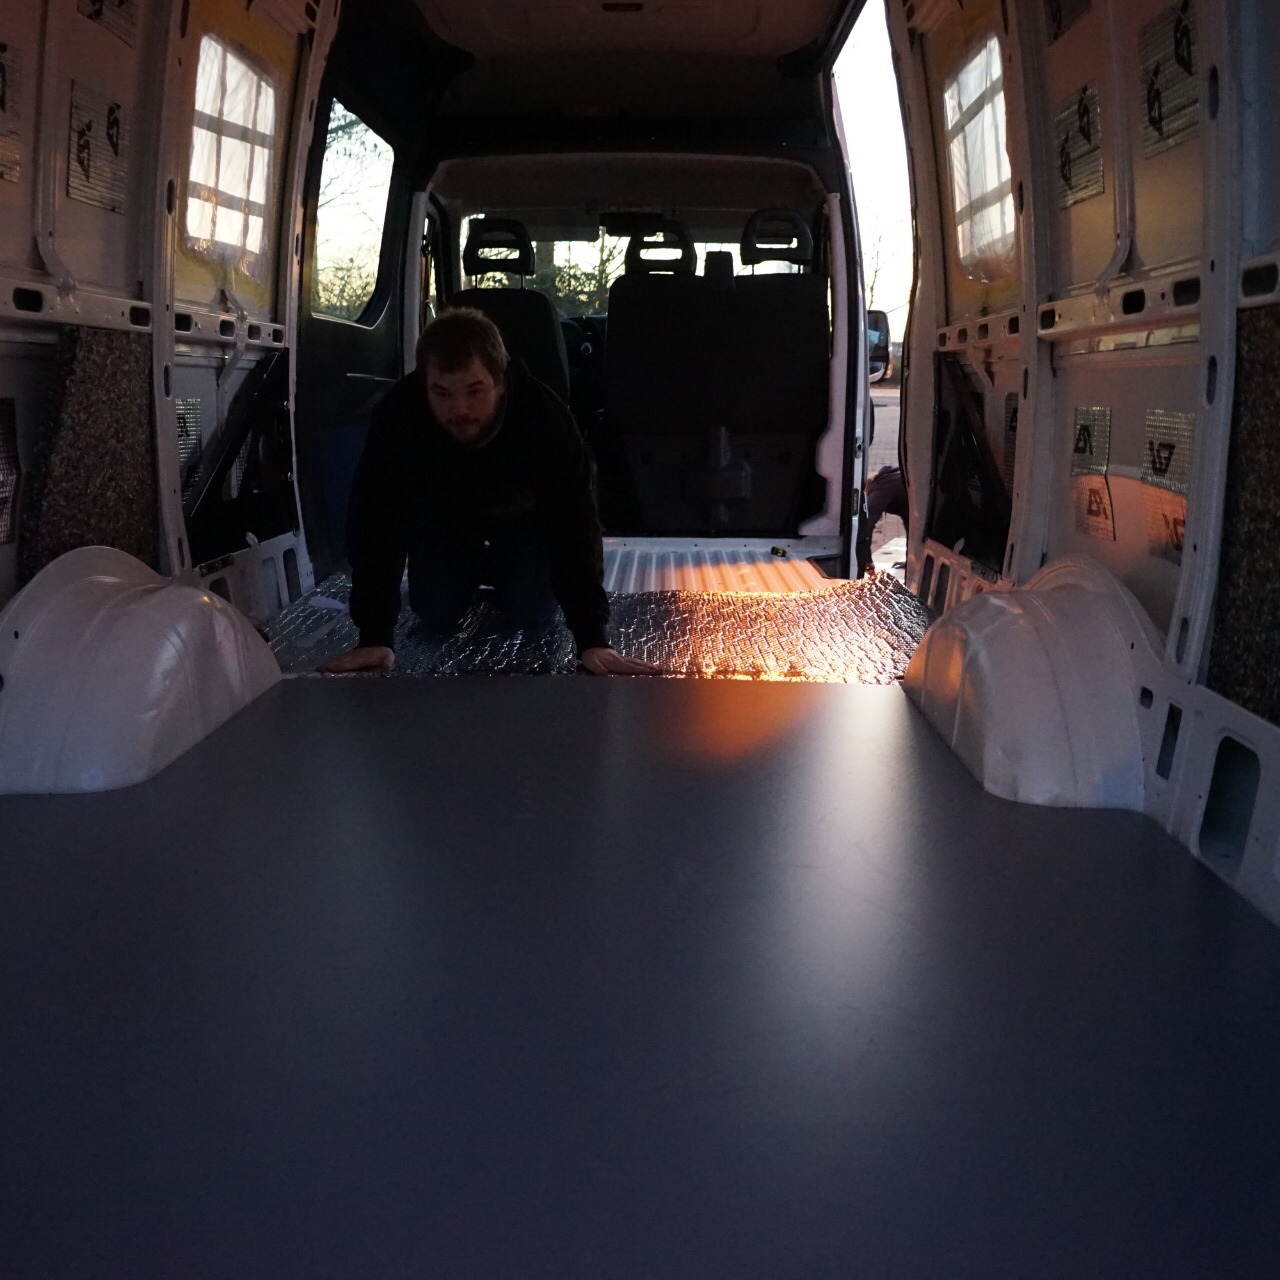

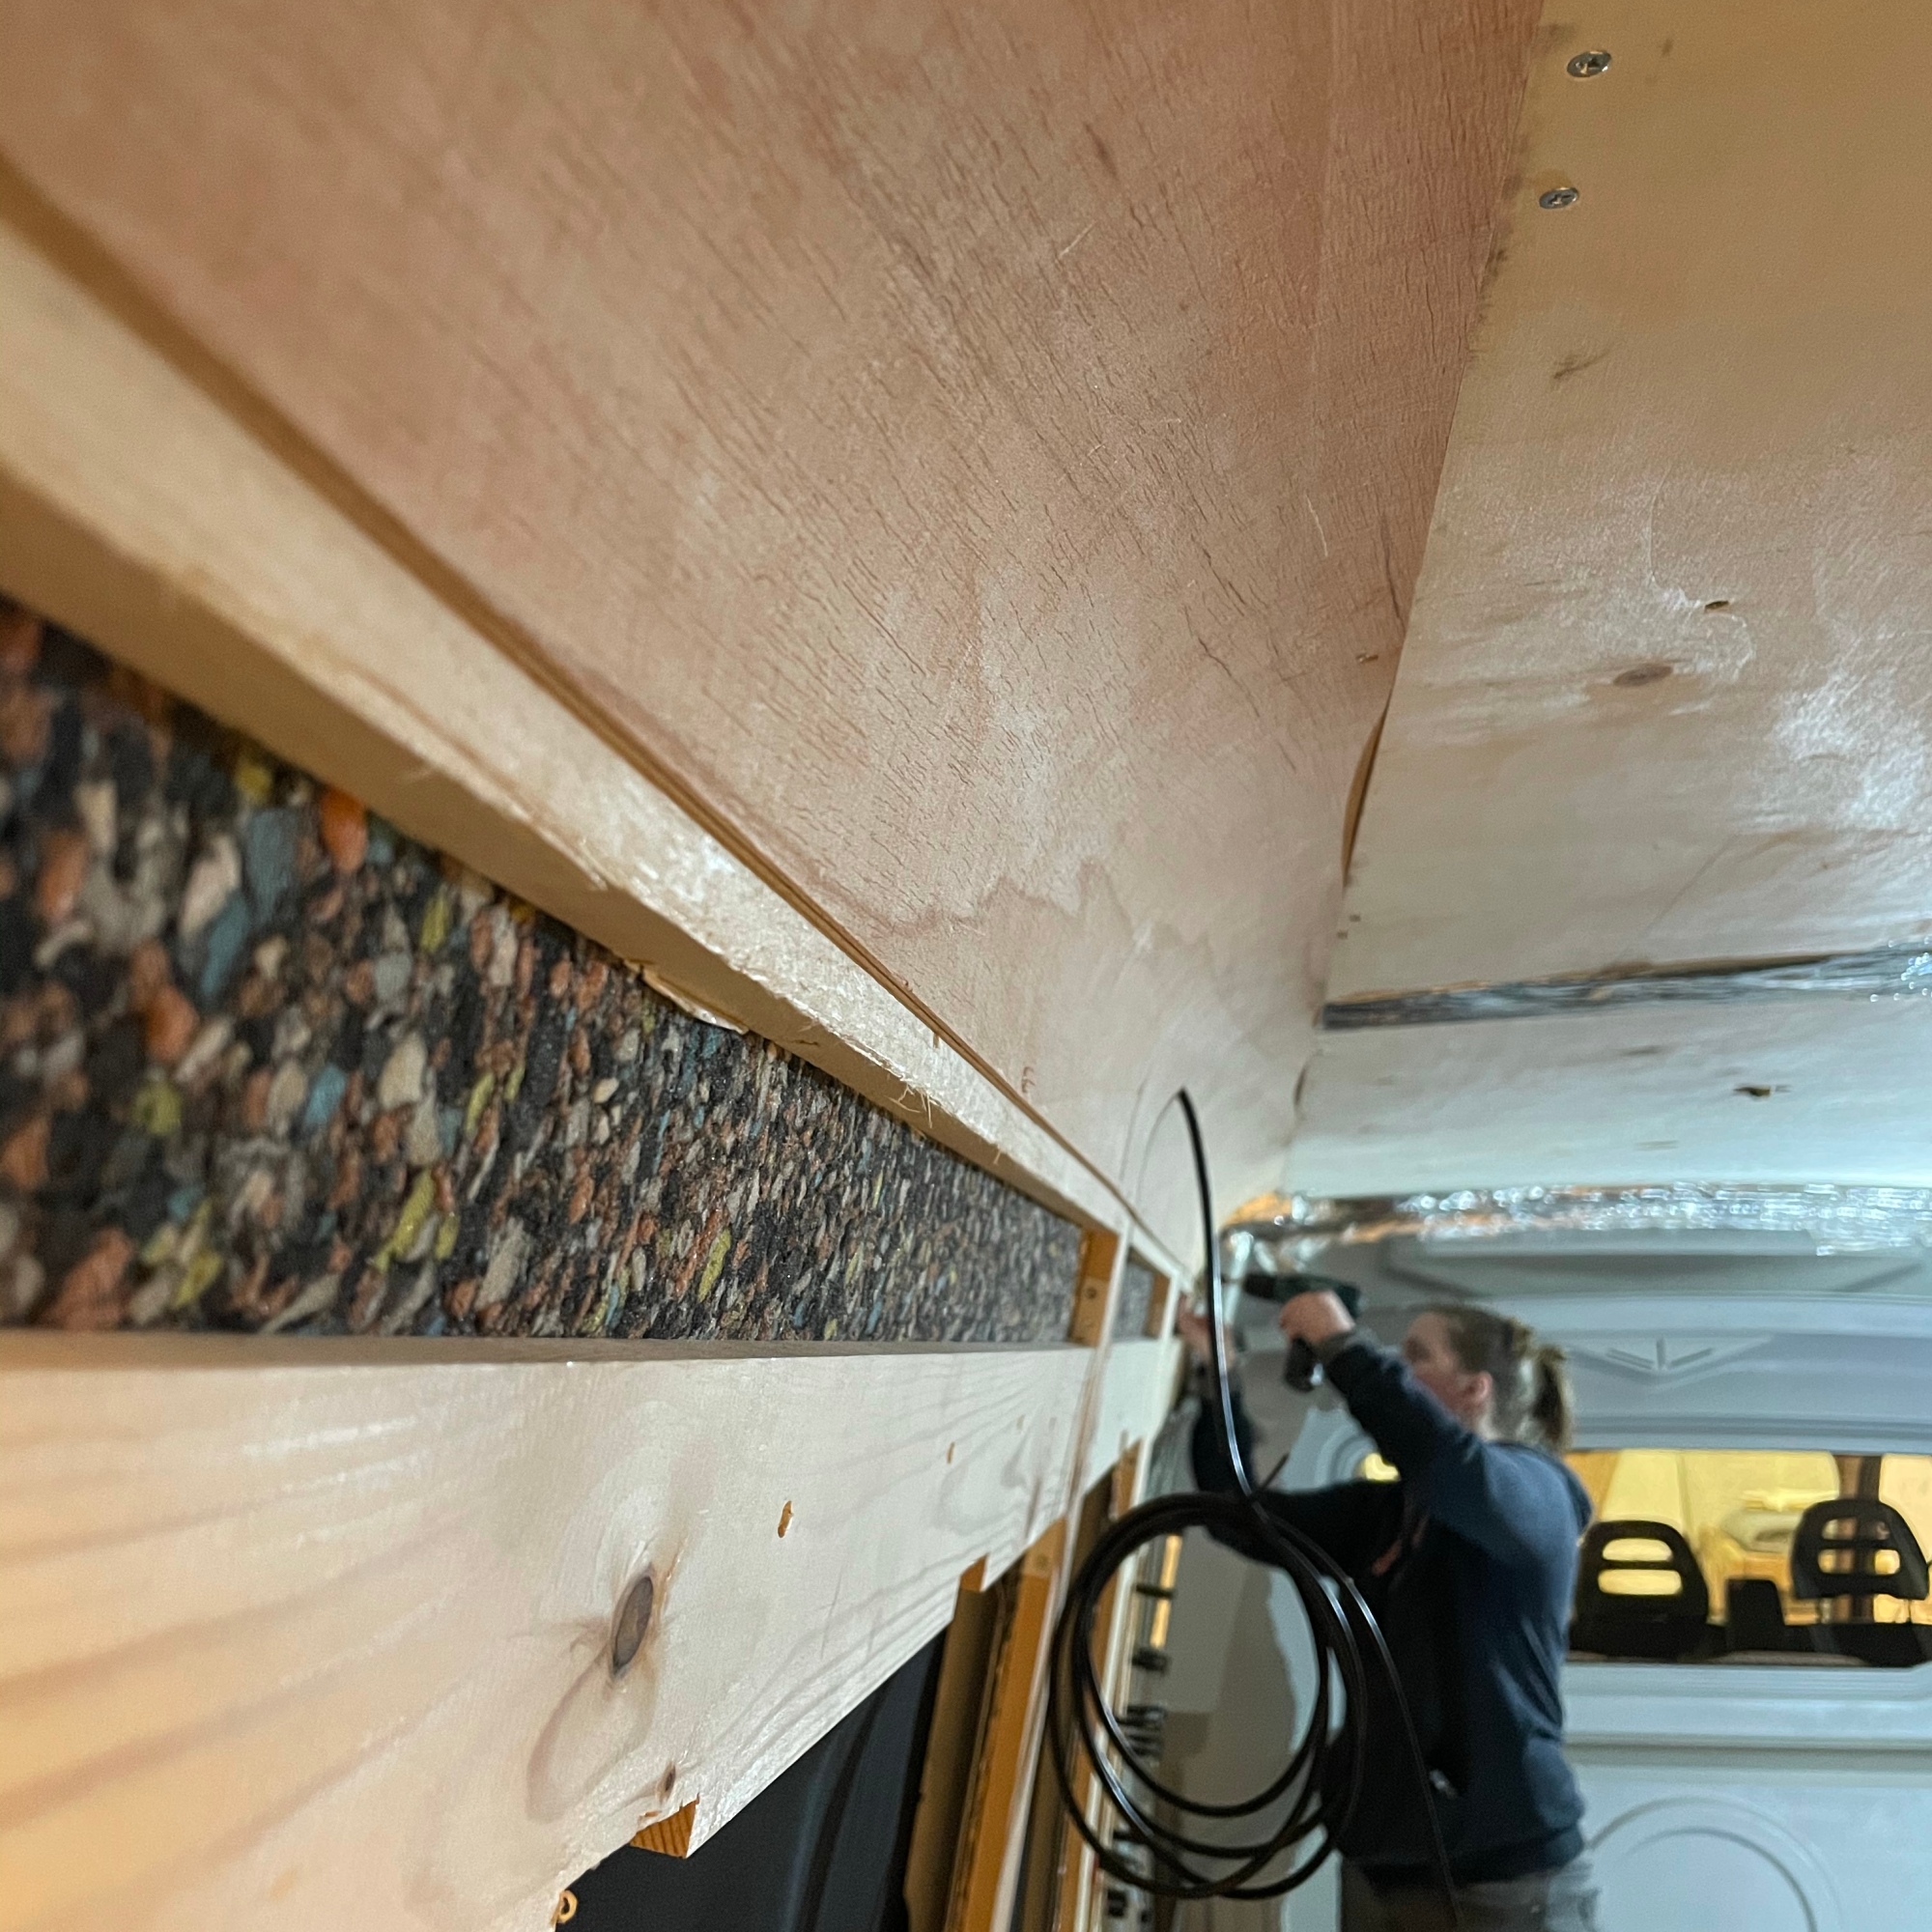
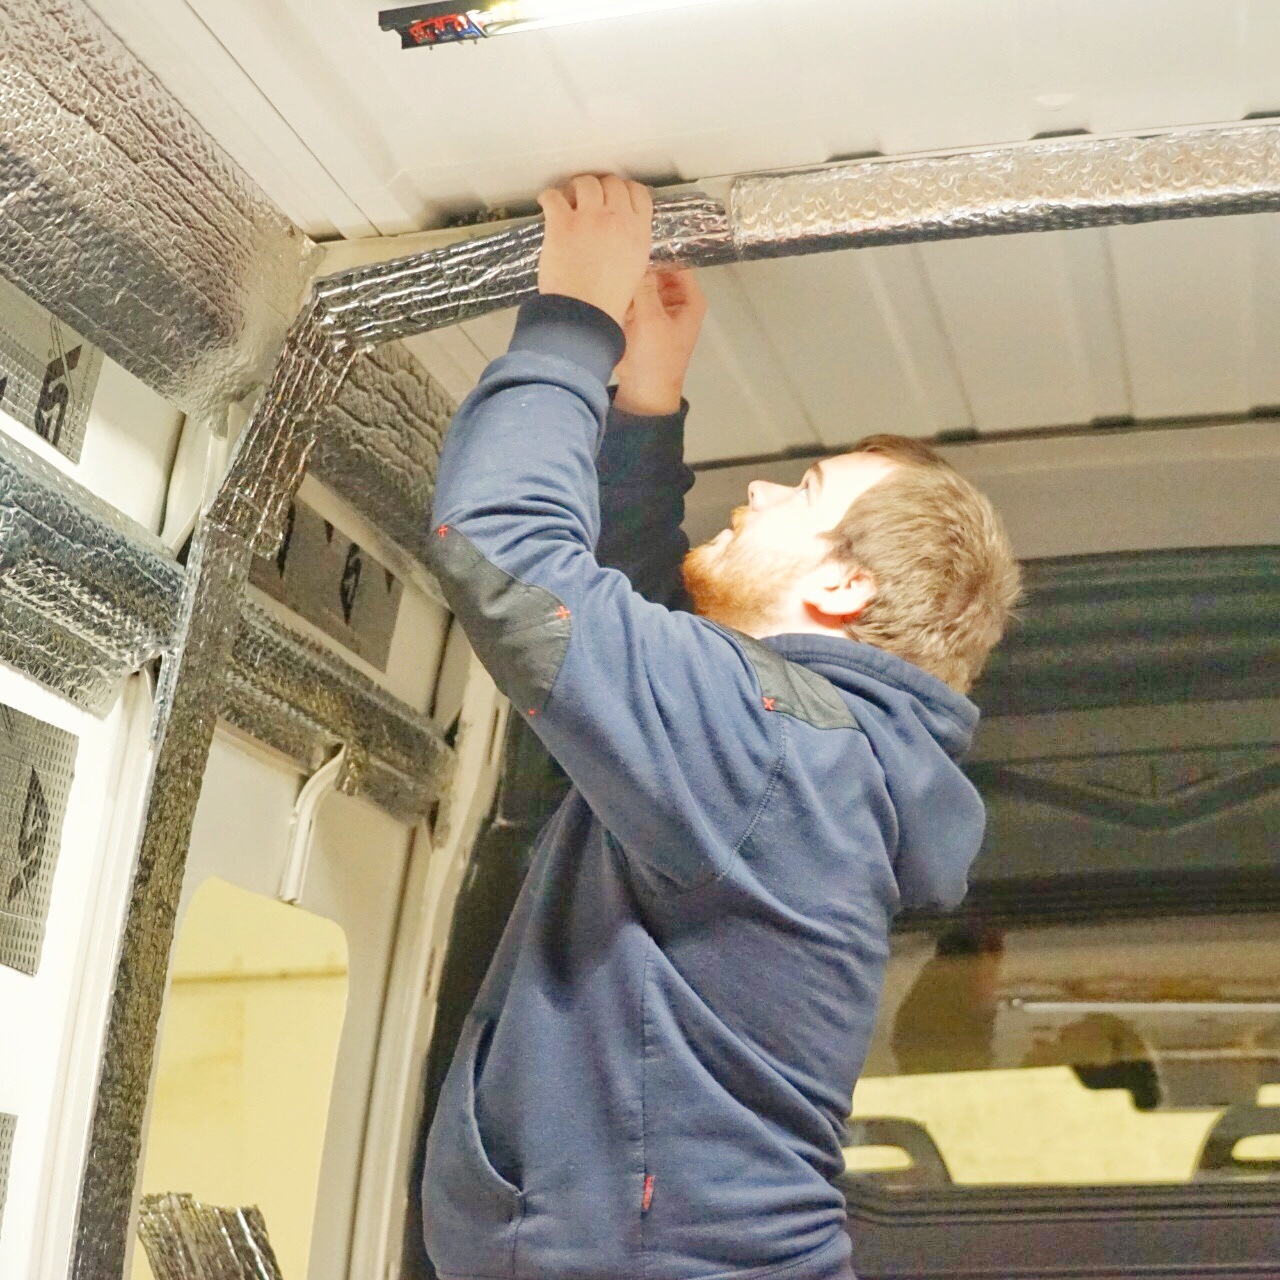
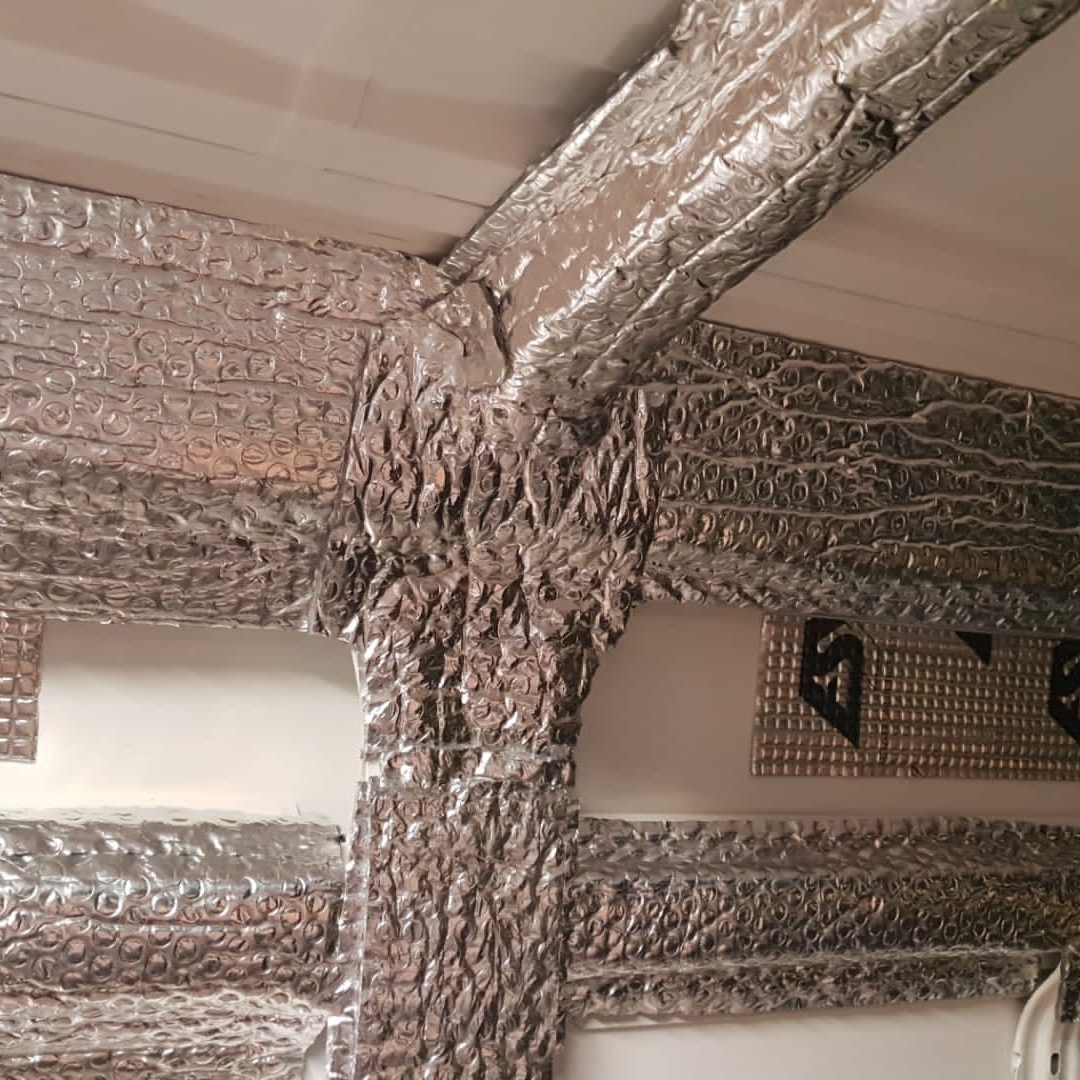
The prone (hollow) parts of the bodywork get stuffed with acoustic insulation, then, it is covered with the Double Bubble two-sided polyethylene coated aluminum foil, which is kept in place with double-sided adhesive tape.
For the recess (non-hollow) parts of the interior, we worked the other way around: thermal insulation (armaflex 13mm) goes first, the acoustic insulation goes on top.

We added a detailed breakdown of our costs on a permanent page 👉🏼 here.

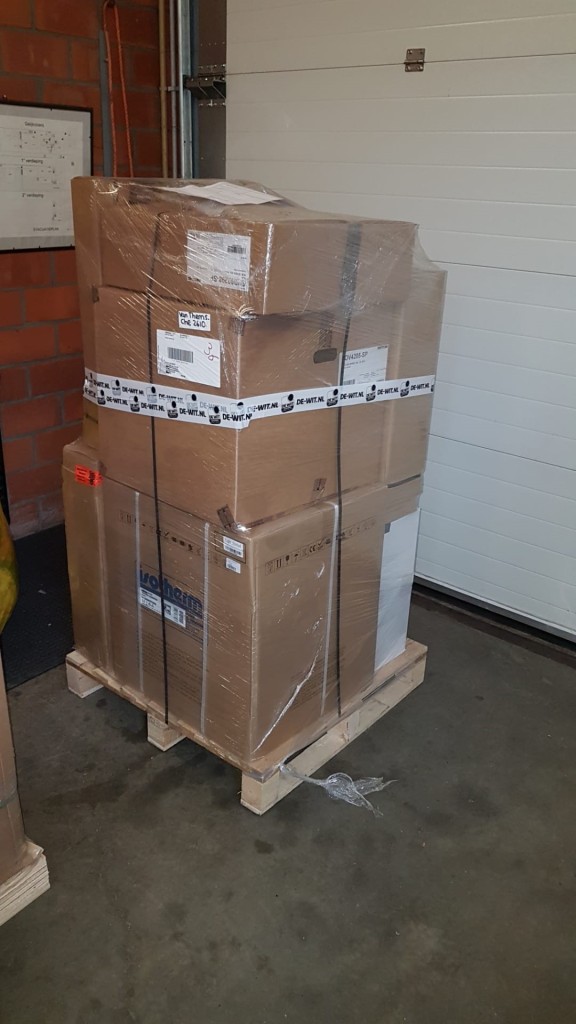
Time for some real action! First part of good news: we ordered the windows and our kitchen appliances (more news will follow on the kitchen build).
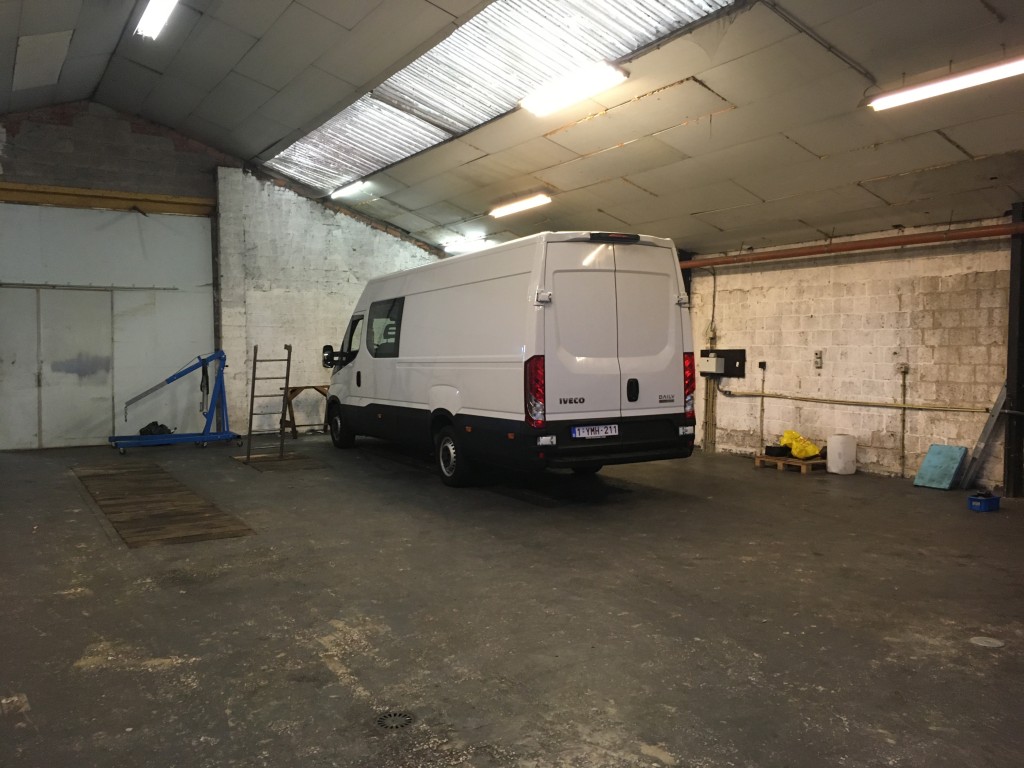
And… we found a workshop at a 20 minutes drive from home. Ronny can stay here while we complete the van build.
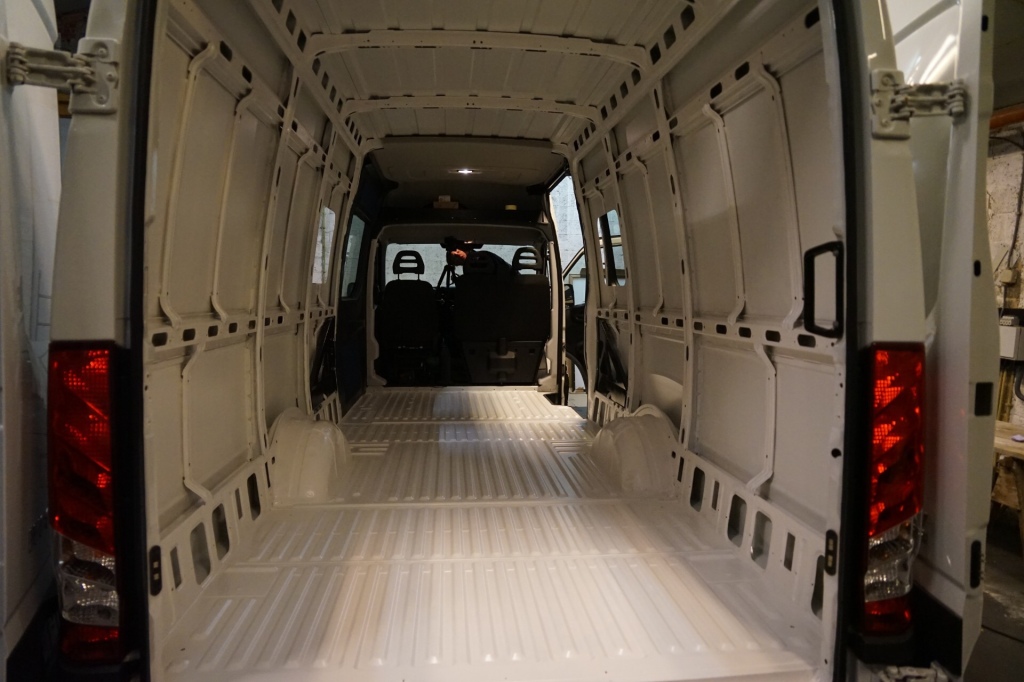
Which meant that we were able to start. For real. First job: install the windows. We chose two Dometic SP7 windows to be installed on both sides of the seating area inside the van.
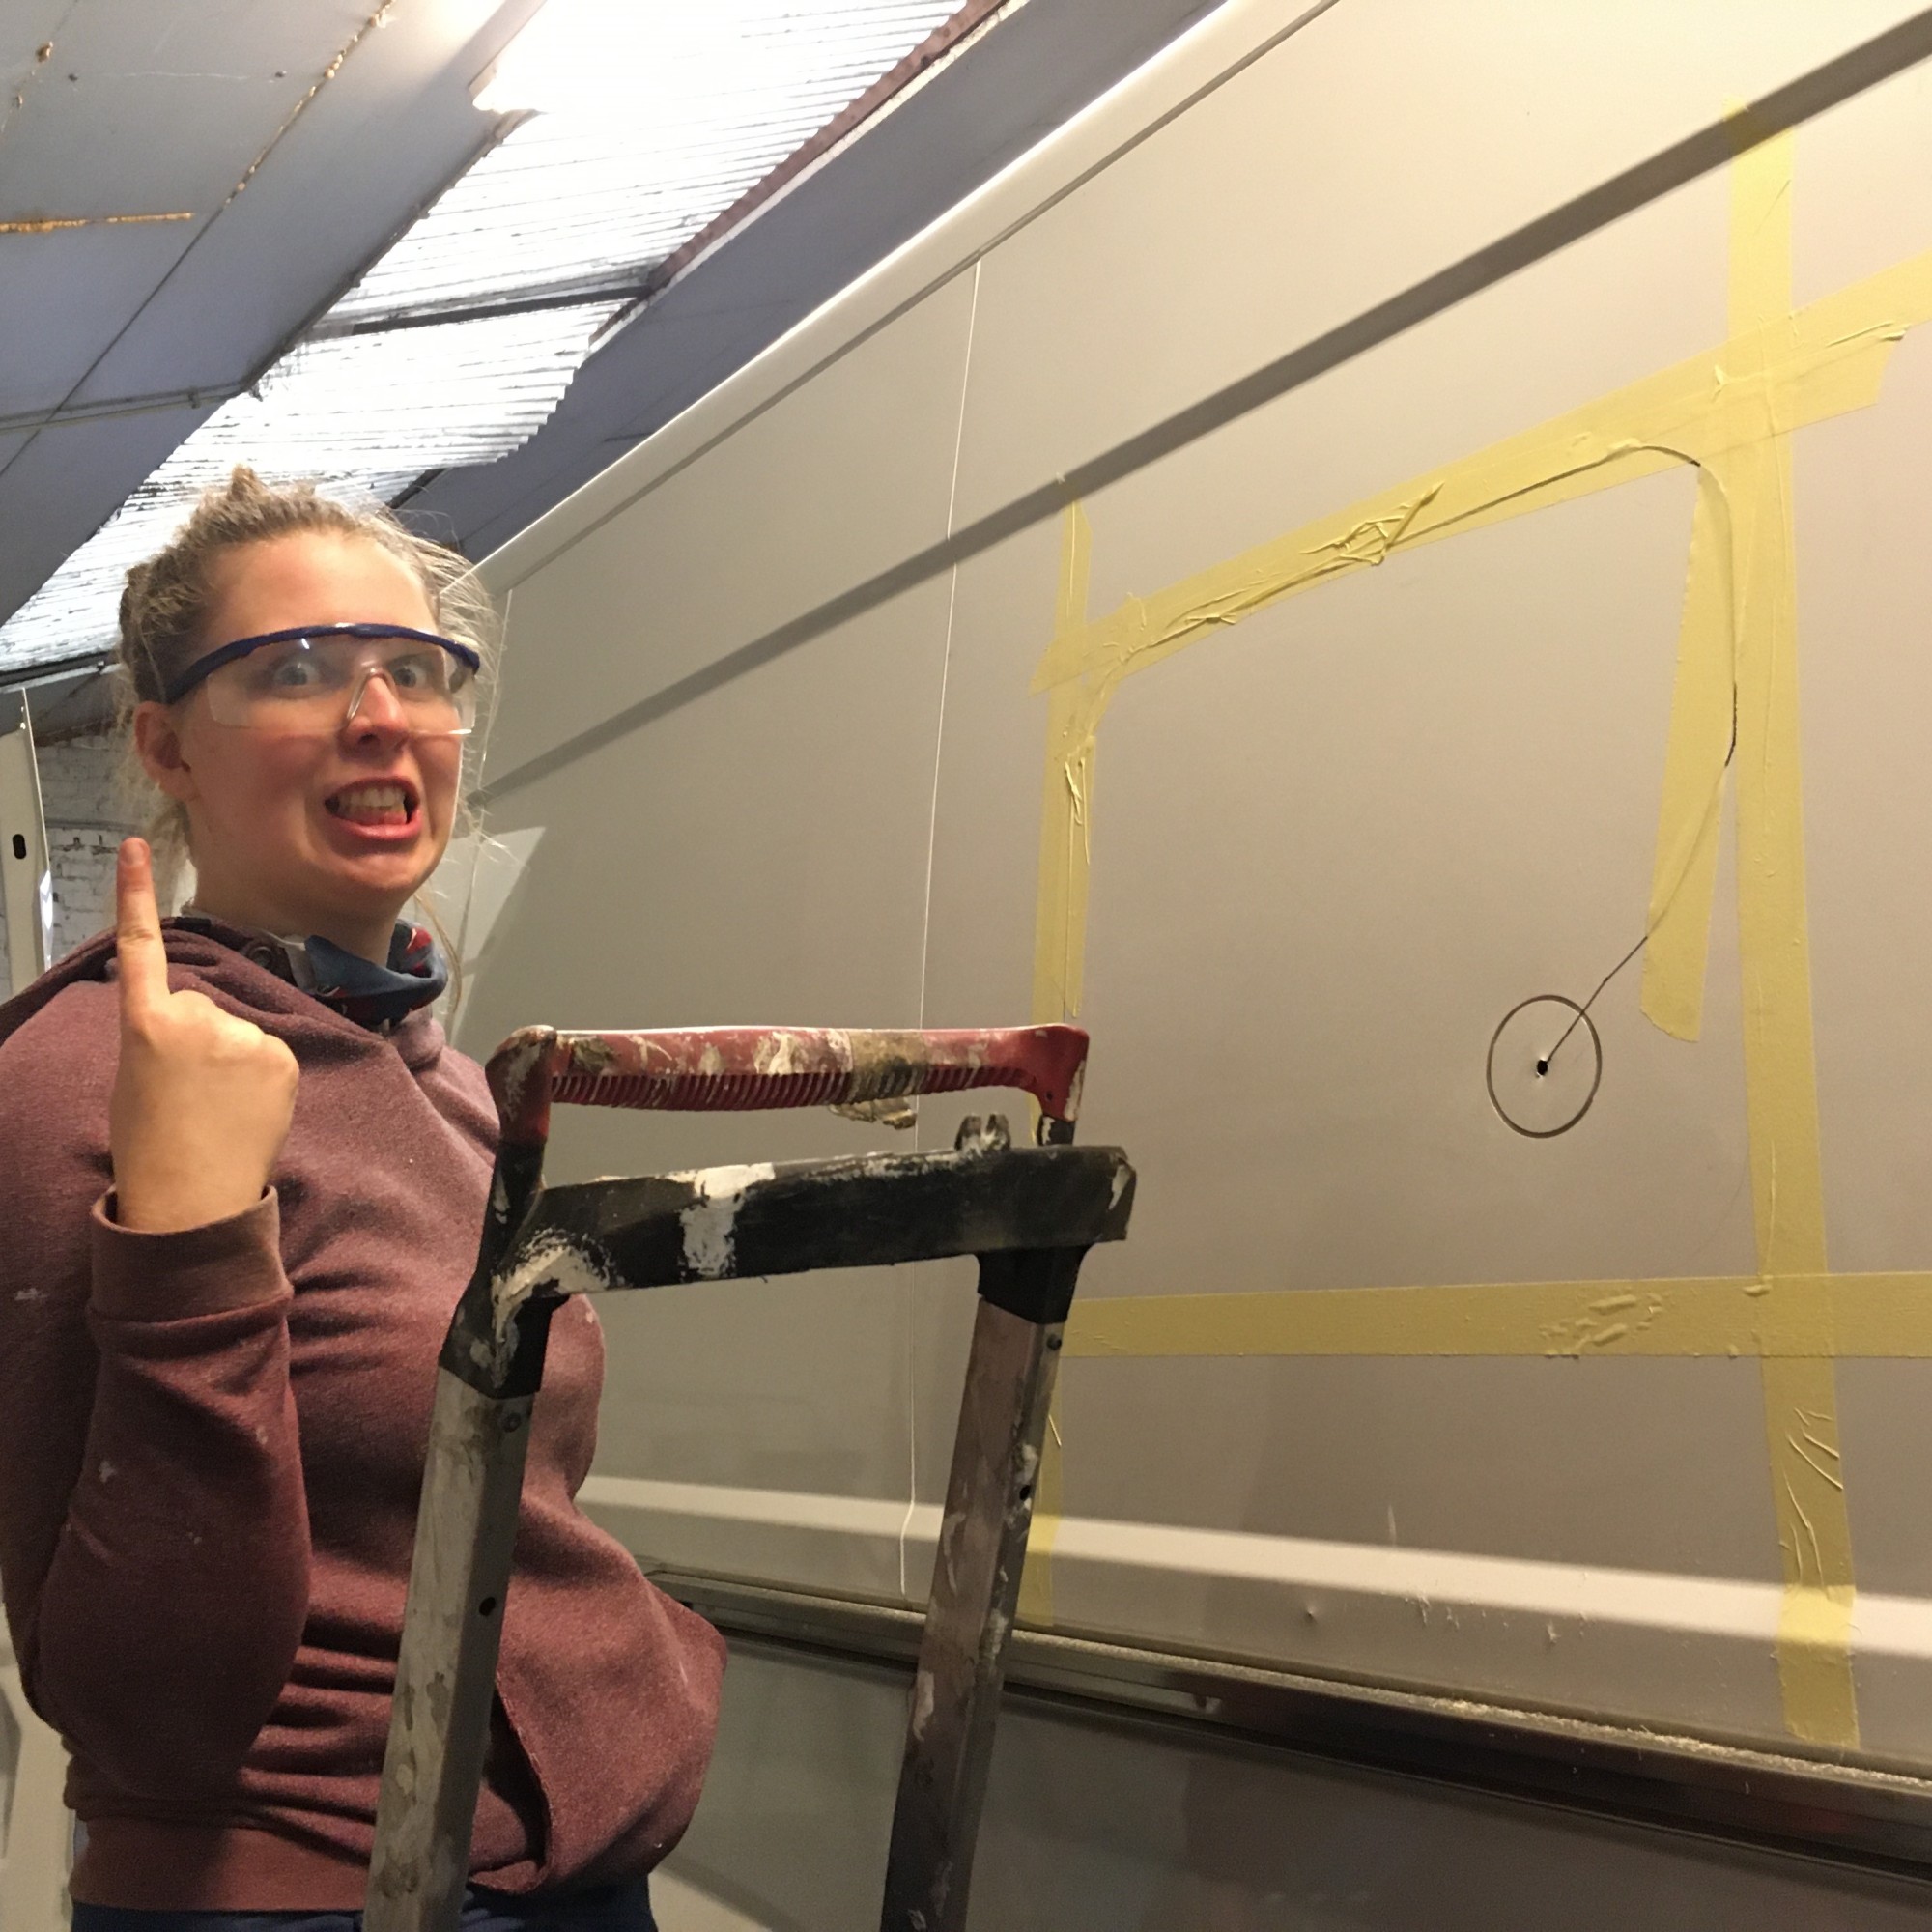
Next step will be cutting out the wooden support for the windows and order the appropriate window fixing kit.
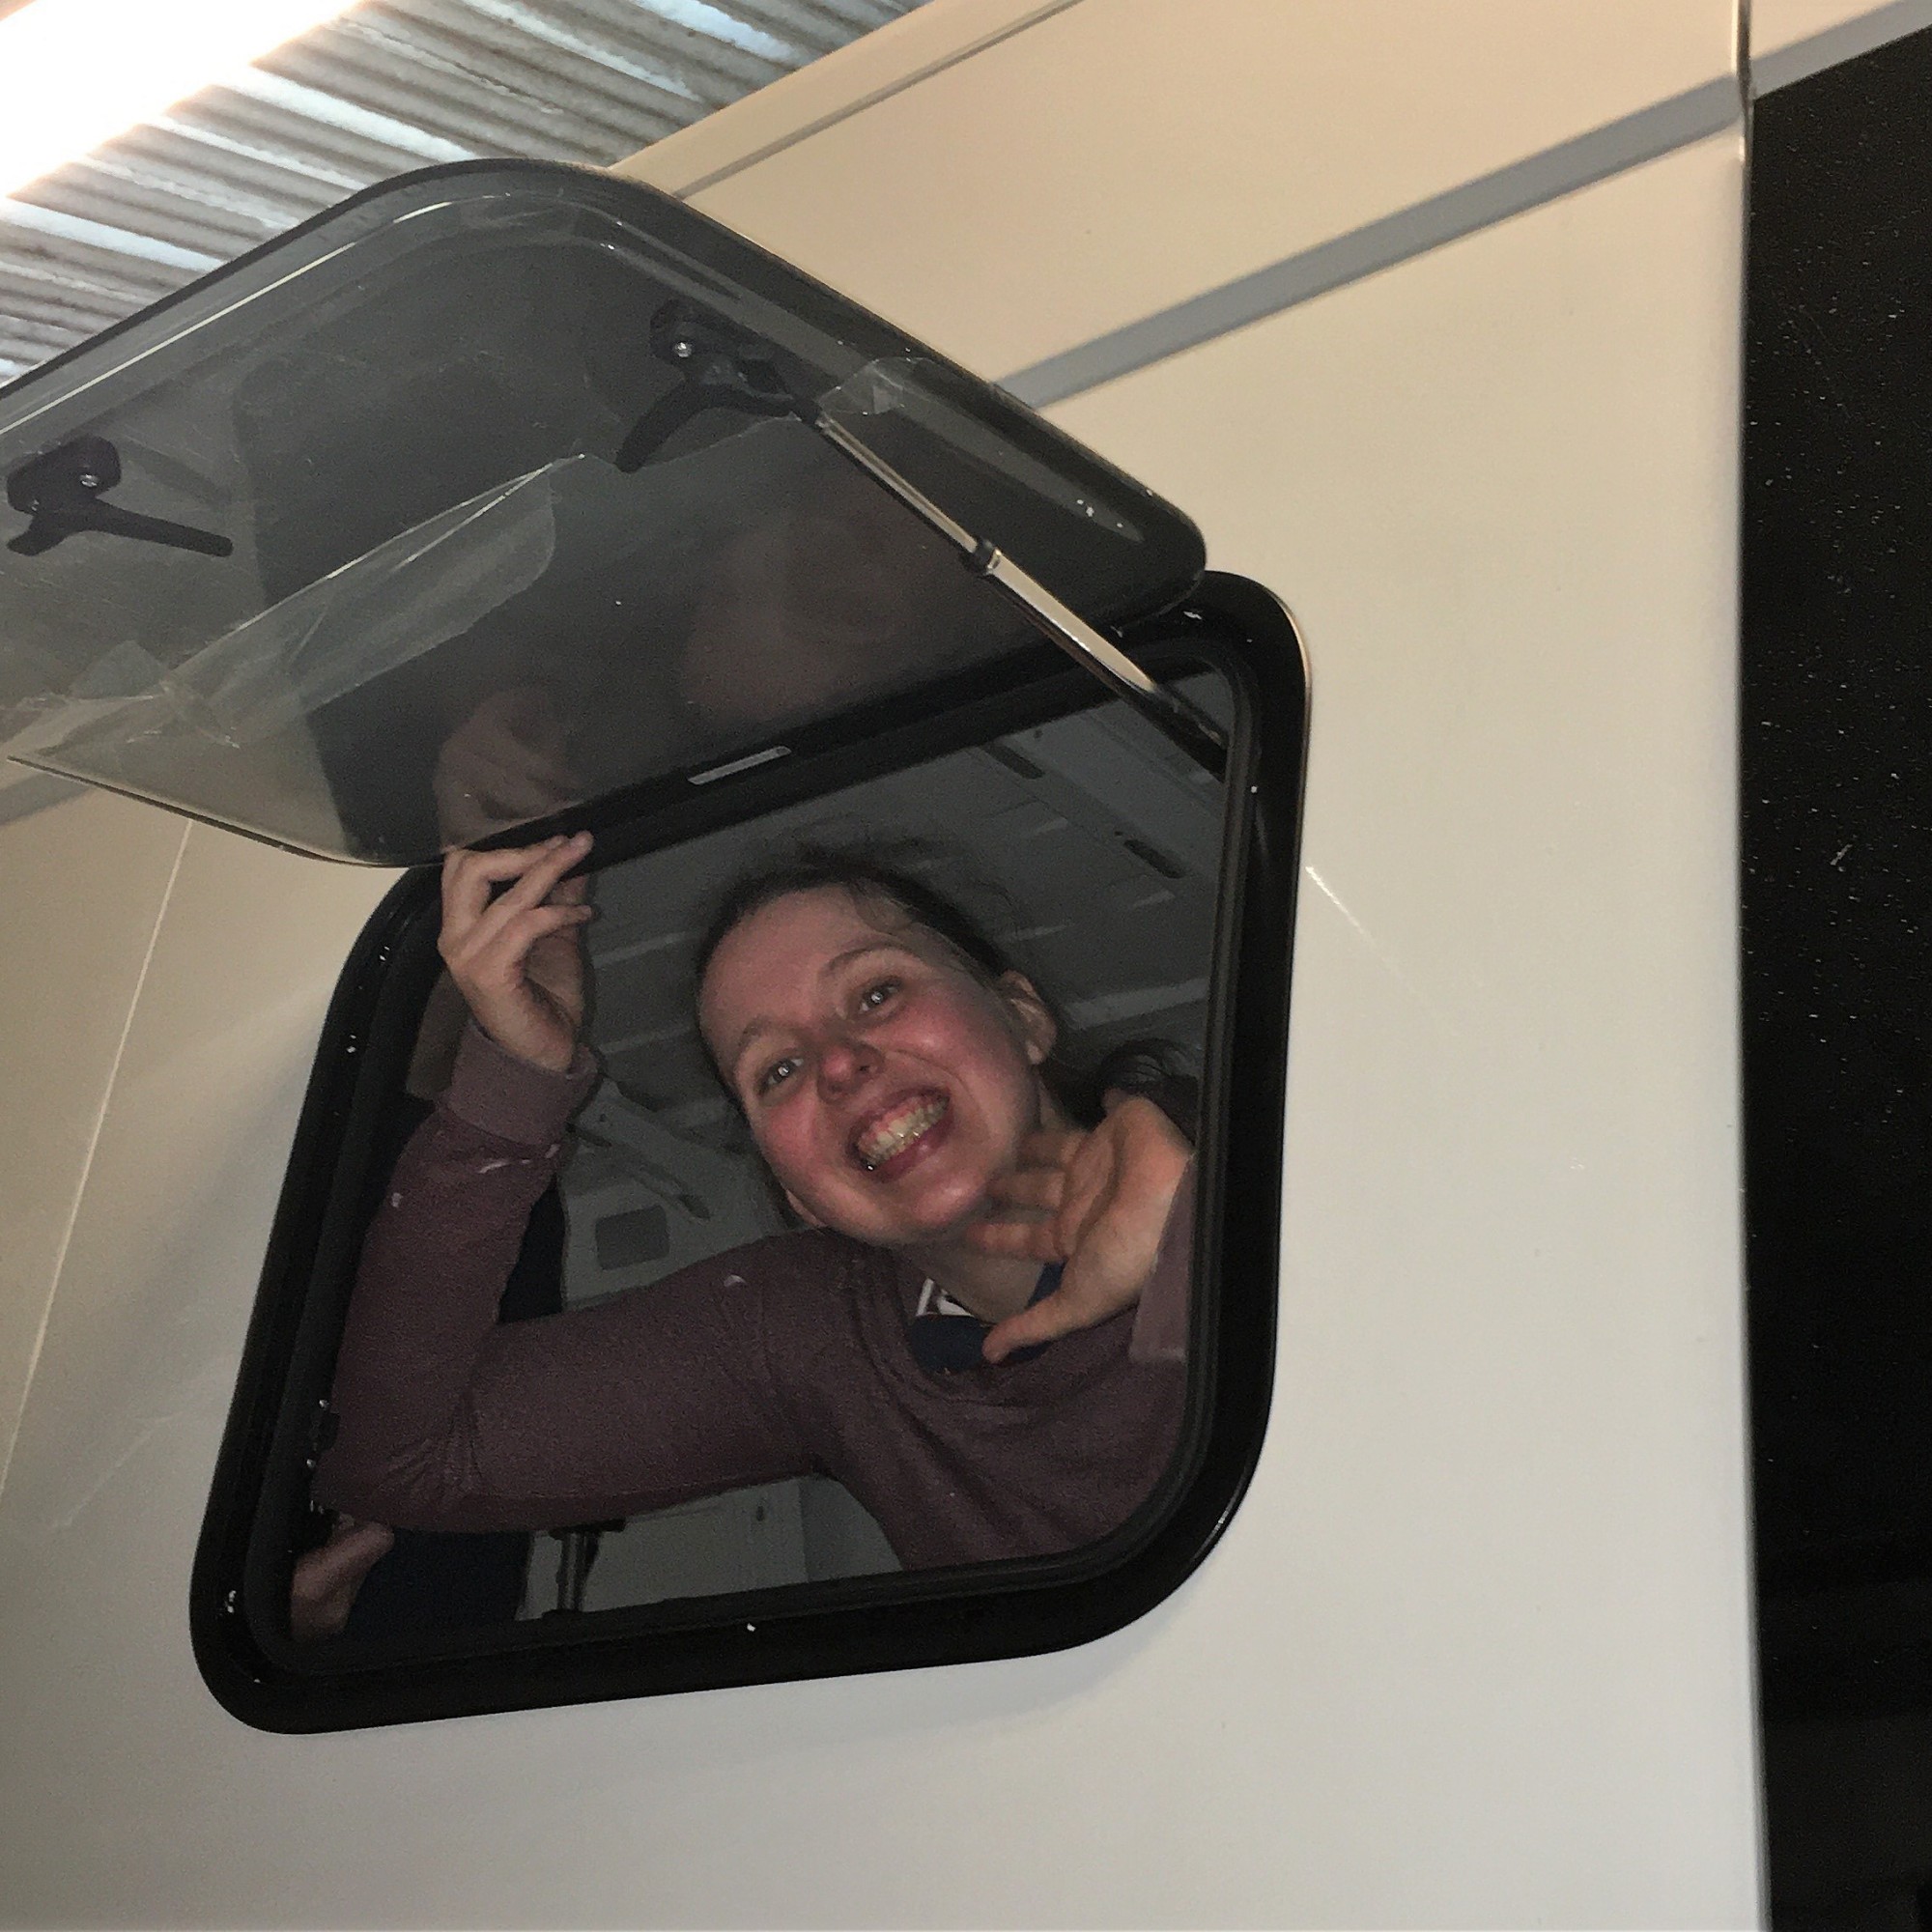
Upcoming: installing our Dometic FanTastic Vent (kitchen) and Dometic GY 11 Roof ventilator (shower).